
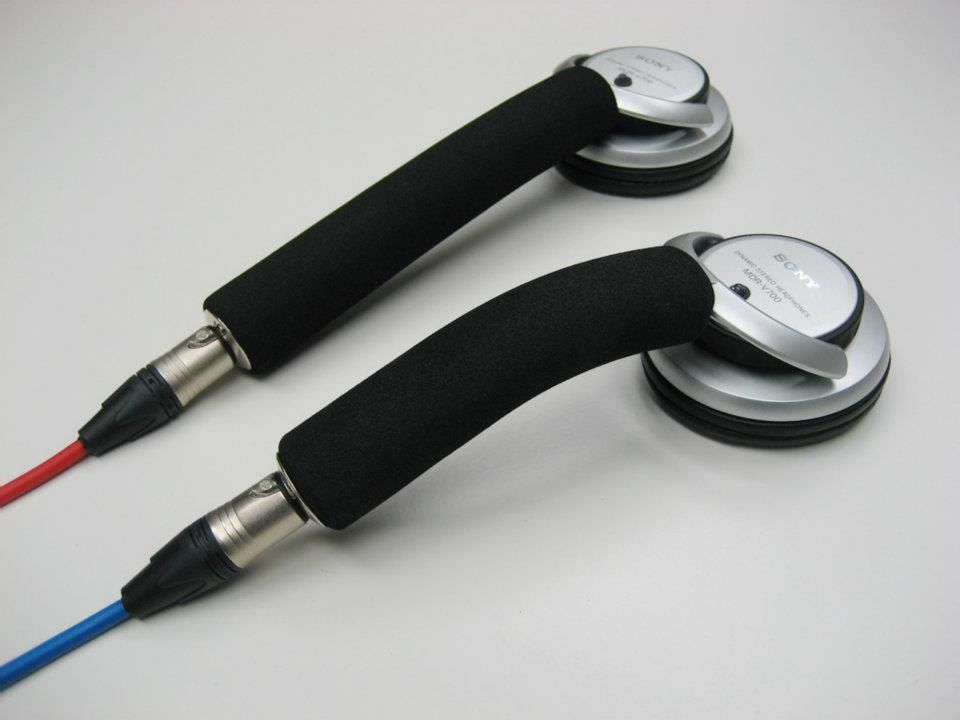
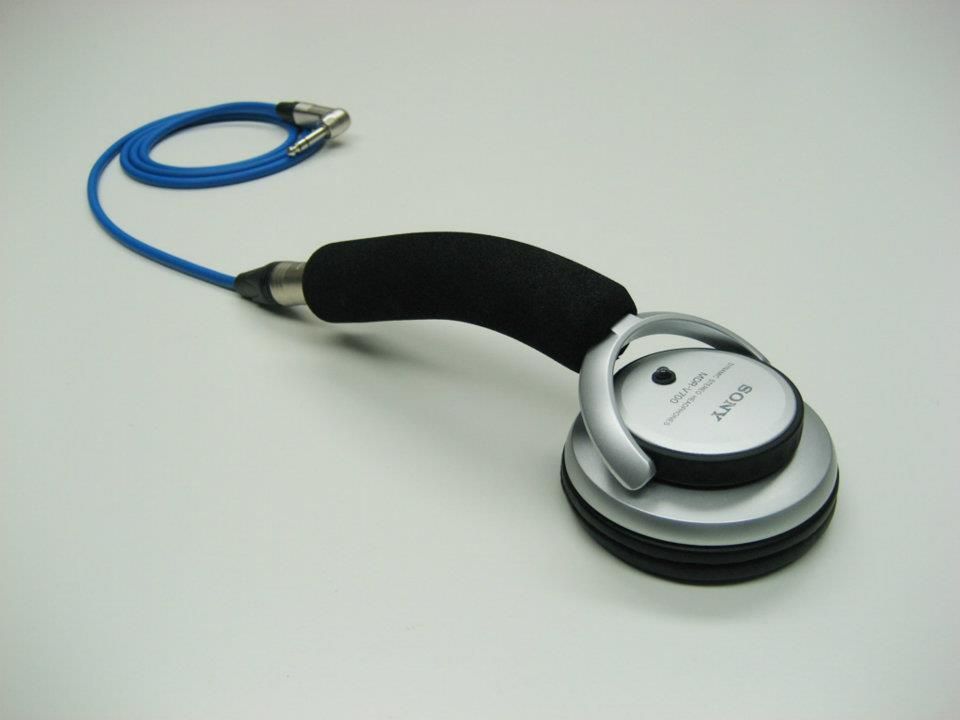
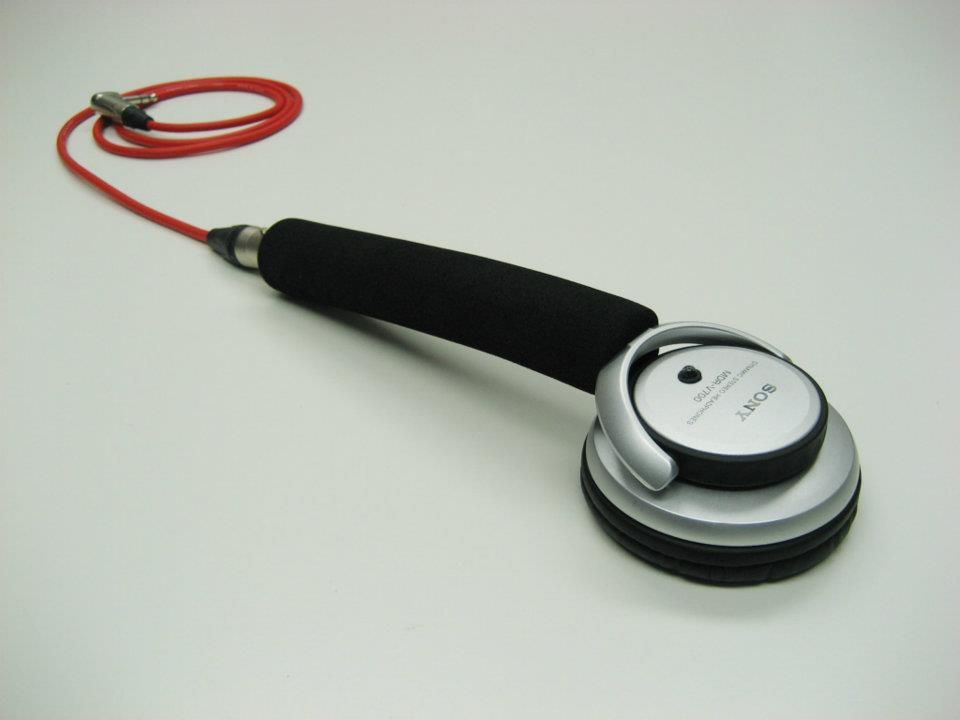
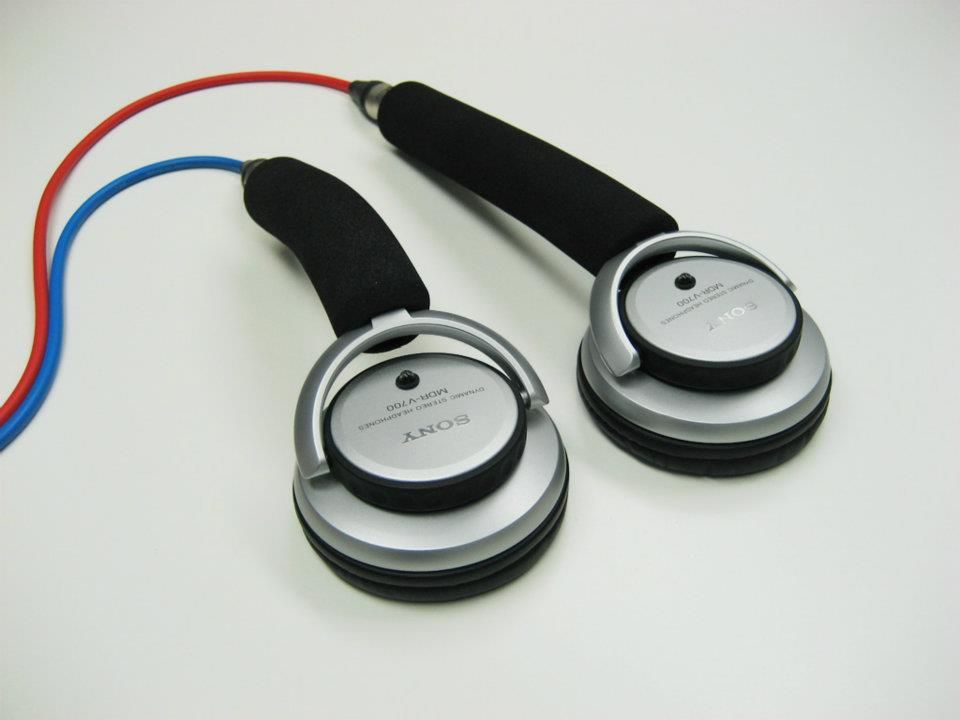
My old CueStick (lollipop, stick, monophone, etc.) was worn out, so I just got done making a couple of new ones. Thought some of you who use this type of conversion might dig the final results.
Cup: Sony MDR-V700
Driver: 50mm, 5,000mW, 24Ohm
Grip: 160mm long x 35mm diameter steel with 22.5º bend, MDCC foam
Switch: Switchcraft 3-position
Socket: Switchcraft XLR
Jacks: Neutrik 90º XLR and 90º TRS
Cable: Canare Star Quad 21AWG
LED: 5mm SuperBright
Resistors: 24Ohm x 2
DIY instructions for those who may want to tackle project themselves:
Parts
Cup: Sony MDR-V700 or whatever make/model you desire. The MDR-V700 is one of the best headphones for this type of modification because it is a uni-directional design.
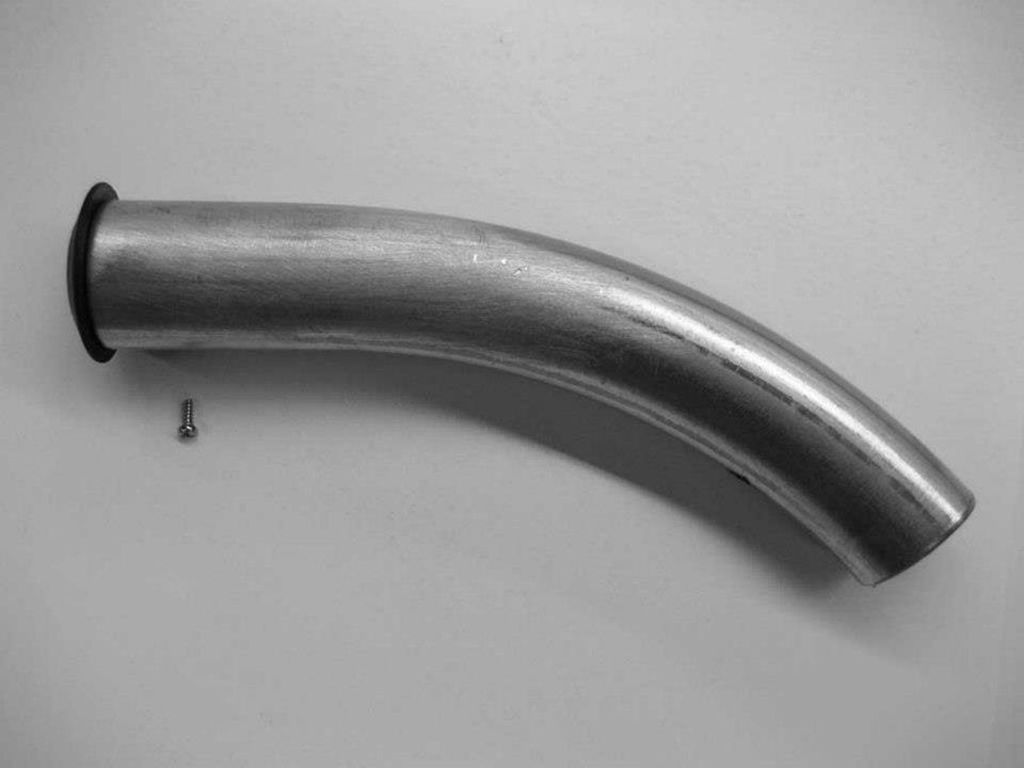
Grip: .875"-1" diameter steel or aluminum pipe cut to whatever length you desire. If you want a curve you will need to have the pipe properly bent to whatever angle(s) you desire.
Grip Covering: Medium-density closed-cell foam cut approximately .5" longer than whatever total length the pipe is and in whatever color you desire. For a professional cosmetic touch you may wish to have the ends of the foam re-shaped with a nice rounded contour along outside edge.
Micro-switch: Switchcraft 56313L2. NOTE: A switch isn't required, but I added one so I can toggle between left, right, and left+right modes. This is so I can verify both left and right channels independently when setting up at a gig in case the venue's mixer doesn't happen to have a balance control or separate left/right level indicators.
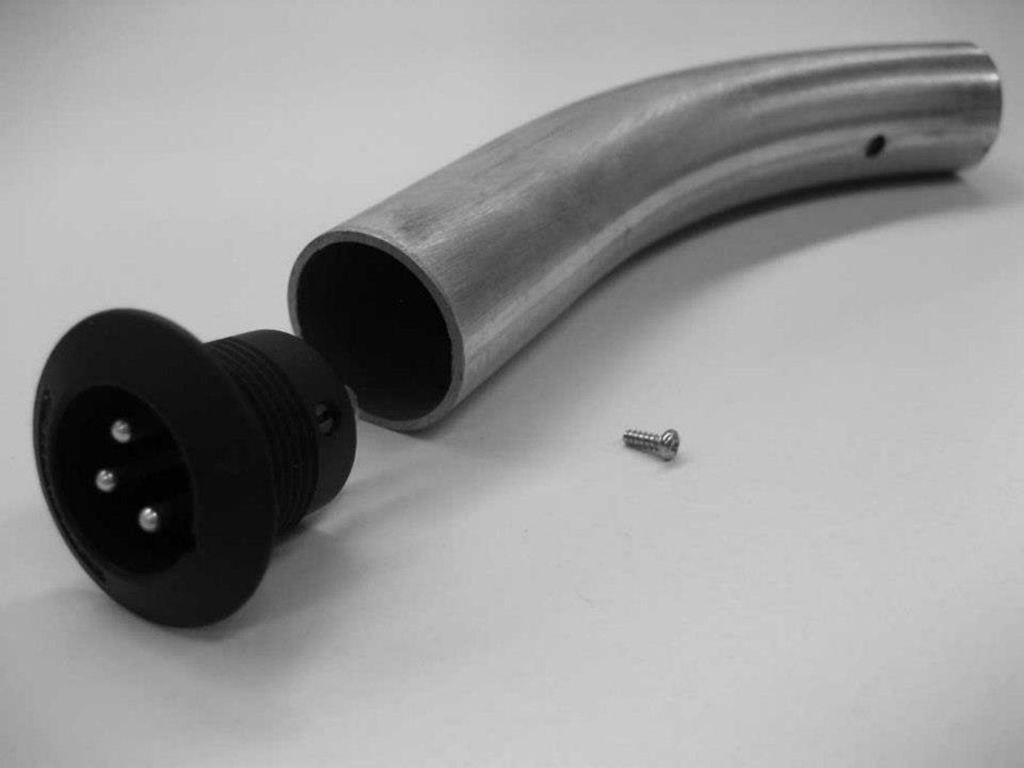
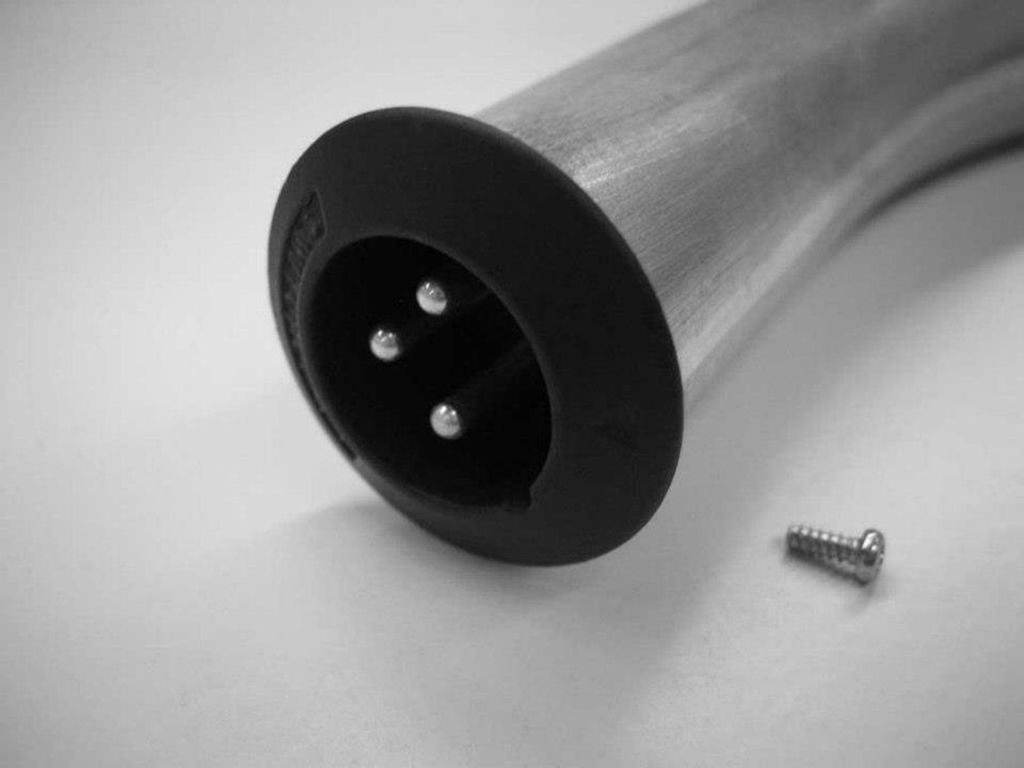
Male XLR Socket: Switchcraft B3M (nickel finish), or B3MB (black finish)
Female XLR Plug: Neutrik NC3FXX (nickel finish), or NC3FXX-B (black finish), or NC3FRX (90º nickel finish), or NC3FRX-B (90º black finish)
Male .25" 3-pole TRS Plug: Neutrik NP3X (nickel finish), or NP3X-B (black finish), or NP3RX (90º nickel finish), or NP3RX-B (90º black finish)
Cable: Canare Star Quad Microphone 21AWG cut to whatever length you desire and in whatever color you desire (black, white, grey, red, blue, orange, green, yellow, purple, or brown)
LED: 5mm SuperBright with mounting bezel in whatever color you desire (white, blue, green, aqua, red, yellow, orange, or violet). NOTE: A LED isn't required, but I added one so I can have a quick visual reference that both left and right channels are being fed into headphone.
Resistors: 24Ohm, .5W (X2). This specification is for the MDR-V700. If you choose another headphone you will need to verify the impedance and wattage of that particular driver and use the appropriate resistors.
Construction
Carefully disassemble standard headphone (or in the case of the MDR-V700 it will most likely conveniently already be disassembled for you - lol). Carefully cut factory leads as long as possible and detach the earcups from the headband.
If you are going to add the optional LED then mount it to the back opening the cup and drilling .25" hole where you want it on the back of the cup and securing it with the snap-in mounting bezel. Carefully solder the LED's +lead to the driver's +terminal and the -lead to the -terminal. Be sure to insulate both leads from each other and any other conductive areas inside cup.
Extend the two leads about 3" longer than the total length of the pipe grip by carefully soldering extensions. Be sure to apply heat shrink at solder joints and wrap leads in protective casing such as TechFlex.
Depending on make/model of headphone, you will need to fabricate a mounting method for securing the cup's bracket to the pipe. How to do this should become apparent once you have the two pieces in front of you, but with the MDR-V700 I simply used a drill press to bore a hole directly through the center of pipe where it aligns with the cup bracket when inserted and attached it with a flush mounted machine bolt/nut.
Feed leads down through center of pipe so they exit at bottom.
Sum the +left and +right leads by connecting and soldering them together with the two resistors at one end only.
Connect the ground lead to the XLR socket's pin #1.
Connect the +left lead to the XLR socket's pin #2.
Connect the +right lead to the XLR socket's pin #3.
At this point test everything by using multimeter and a test audio source. If all checks good, move on.
Be sure to apply heat shrink at all solder joints and wrap leads in protective casing such as TechFlex.
Slide excess length of leads up into pipe and mount XLR socket to end of pipe by drilling a hole in the center of pipe where it meets the center of socket case and secure with a flush mounted set screw.
Apply a few drops of dishwashing liquid to outside of pipe and cover entire surface by smearing it around. Quickly apply small amount of water to inside of foam grip carefully slide all the way onto pipe until bottom end meets flush along edge of XLR socket's mounting flange. Wipe off excess dish washing liquid and water and let air dry.
Make the connecting cable by soldering and attaching the chosen XLR and TRS plugs to desired length of microphone cable.
Plug in. go to work, and enjoy.

Results 1 to 5 of 5
-
01-13-2015, 11:35 AM #1Tech Mentor
![[O/][iii][O/] is offline](djtt_images/statusicon/user-offline.png)
- Join Date
- Jun 2011
- Location
- USA
- Posts
- 135
 Custom Cue Sticks (aka: Stick, Lollipop, Monophone)
-
01-13-2015, 11:56 AM #2Tech Guru
- Join Date
- Nov 2012
- Location
- FL, USA
- Posts
- 2,118
Nice! This looks great!
Bedroom DJ | Pioneer DJM-800 | Pioneer CDJ2000 and CDJ900-NXS | 2 x Mackie MR8MKII | Sennheiser Amperior
-
01-15-2015, 10:33 AM #3Tech Mentor
- Join Date
- Jun 2011
- Location
- USA
- Posts
- 135
Thanks. Here's some additional photos showing raw handle detail as well as wiring schematic. Originally Posted by SlvrDragon50


-
01-18-2015, 11:50 AM #4
 DJTT Mapping Ninja Moderator

- Join Date
- Aug 2010
- Location
- MIDI
- Posts
- 7,493
Good job

-
01-18-2015, 11:58 AM #5Tech Guru

- Join Date
- May 2014
- Posts
- 582
Very cool, I think I may have a candidate for this kind of project.
Numark 4 Trak | VCI-400 | Fostex PM0.3 Bookshelf Monitors | The Triple Threat NI-F1, N1-X1-MK2, NI-Z1 | Serato DJ/Flip

 Reply With Quote
 Posting Permissions
|
|
© 2023 DJTechTools
Bookmarks