
Hello! I've been djing small house parties for a while now, nothing too crazy, mostly just friends. For the longest time i've used Winamp of all things along with a third party crossfader plugin. Well the bug has bitten and after doing some research and seeing Ean's AoTS bit, I got my hands on a copy of Traktor Pro and started looking at controllers.
There are quite a few out there, to my surprise! After looking at a few, and actually getting to play with some, I was not satisfied by any one in particular. So I decided to go ahead a build my own. I am an avid DIY'er and this project will keep my occupied for some time.
So, here we go! I really like the layout of the VCI-100, so I am purloining some of the design cues from that controller. I also had trouble locating a suitable enclosure, so I opted for a Midi-Fighter like open sided setup.
I'll post updates here has I go
Parts so far:
$16 - Lowe's - 18x12 1/4 Inch Acrylic sheet for the top and bottom panels
$5 - Ace Hardware - 3/8 Inch bolts with 1 1/2 Inch spacers to space the panels
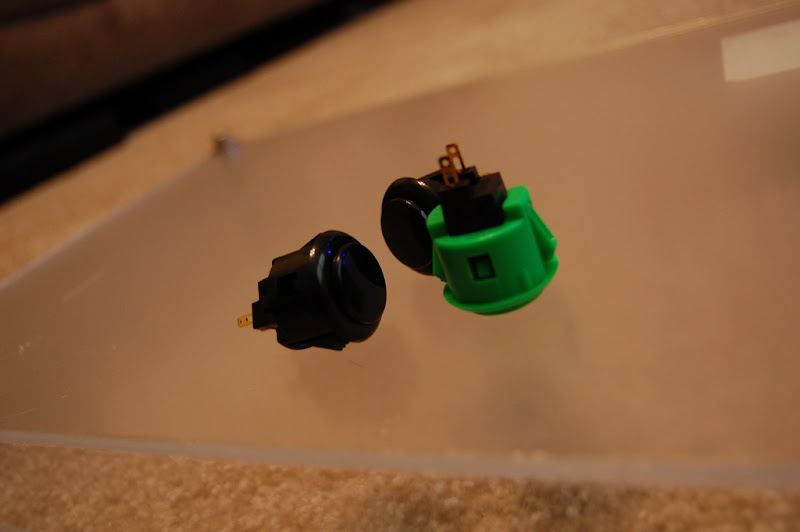
$16 - DJTT - 8 Arcade Buttons for Play/Pause, Cue1, Cue2, Cue3 on each deck
$4 - DJTT - 2 Arcade Buttons, one on each side of the top panel for Shift functionality
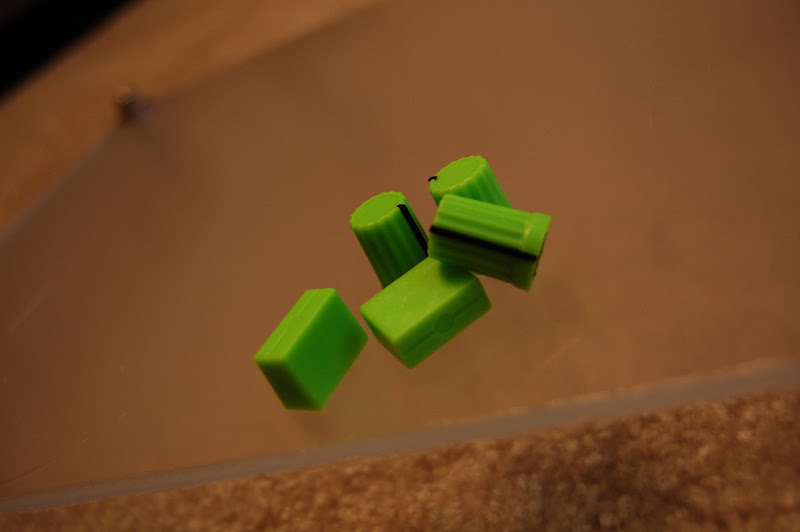
$39 - DJTT - Green knob pack from the DJTT store for Faders, EQ, Fx etc...
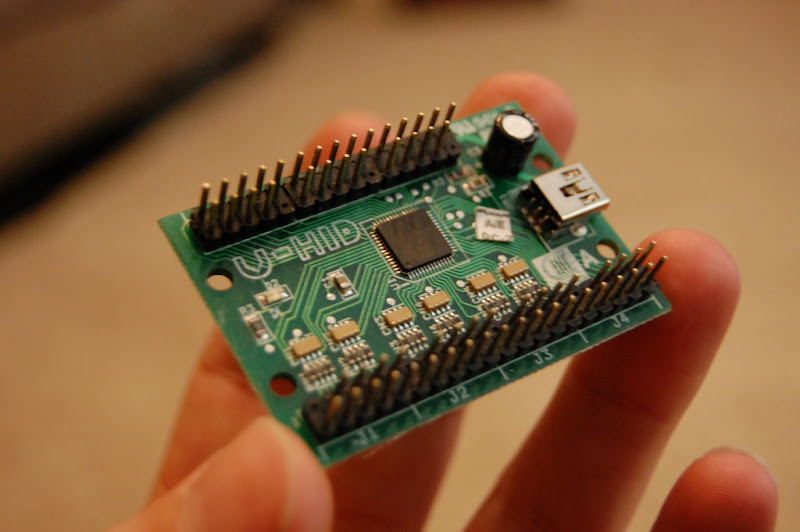
$75 - UHID - UHID Board for interfacing it all to the laptop
$20 - Wirecare - 1/8 Inch flex weave wire sleeve
$8 - Sparkfun - Green LEDs
$8 - Sparkfun - Blue LEDs
$12 - Sparkfun - Rotary POTs
$9 - Sparkfun - Jumper Wires
$2 - Sparkfun - Heatshrink
$4 - Sparkfun - 10 Segment LEDs
--------
Total cost to date: ~$215
--------
Freebie - Micro-ATX power supply on board to provide 3.3v 5v and 12v for LED lighting, the USB interface, and some future parts that I have not acquired yet
No longer being used:
Griffin Powermates for the jog wheels
And last but not least, a couple of old cannibalized hard drives
--------
The assembled enclosure. protective film still covering the acrylic top and bottom. The controller is 18x12 and around 2 1/2 tall.
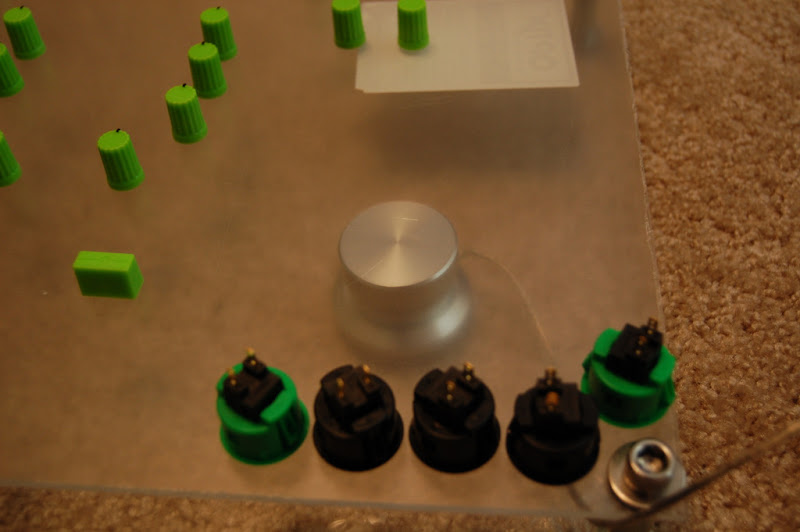
Horray arcade buttons! The green buttons do not match the green knob pack nearly as close as I wish they did. I was going to use the green buttons for my Shift and Play/Pause. After speaking with Zach @ DJTT on the phone yesterday I will be using all Black buttons. Thanks again for your help yesterday sir!
Knobs! Self explanitory here~
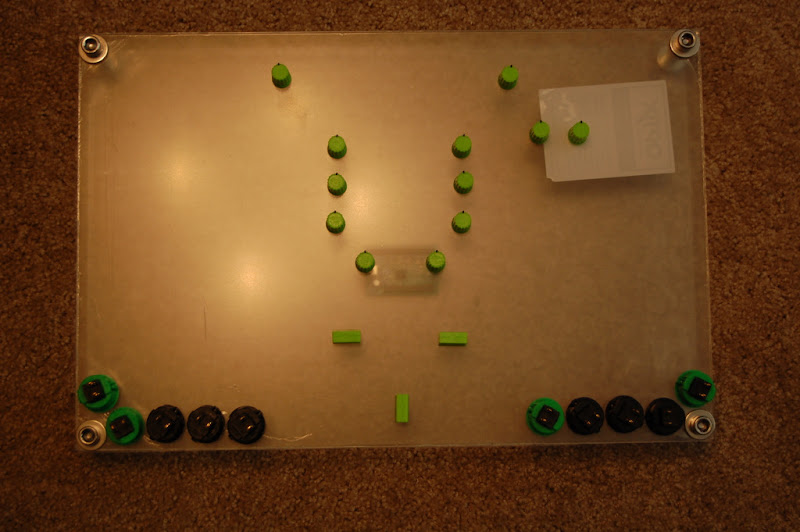
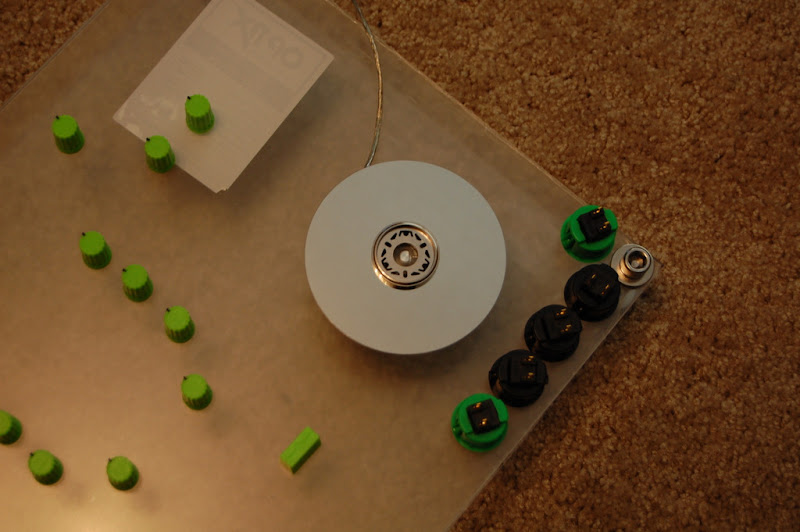
Eyeballing a potential layout for the controls. The two that are spaced wide at the top will be Master and Headphone vol/gain. They are spaced to provide a place for one of the components I have not gotten my hands on yet. You can also see the UHID board under the top panel, just below center.
The UHID board that will make it all work. I will actually need to run a second 8 input board to handle a few more knobs. This thing is REALLY tiny.
The first Powermate, still assembled, beneath the top panel. I will cut a hole in the top panel to allow access to the Powermate.
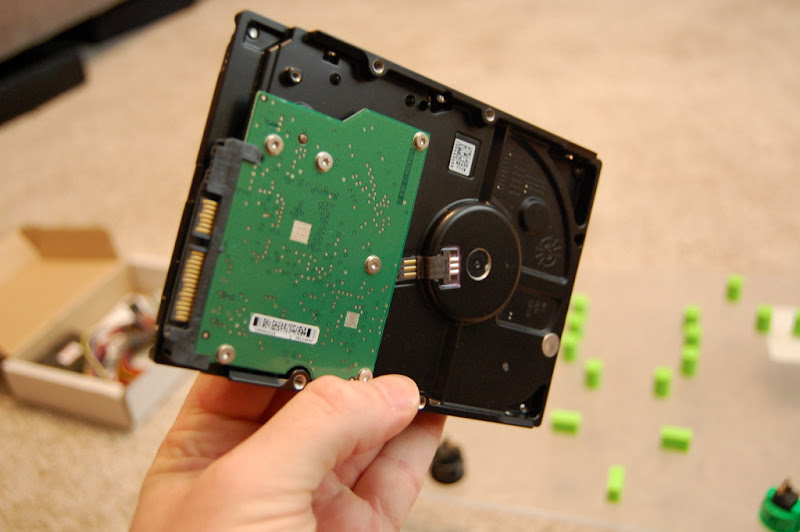
Old'n'Busted hard drive. Time to gut it!
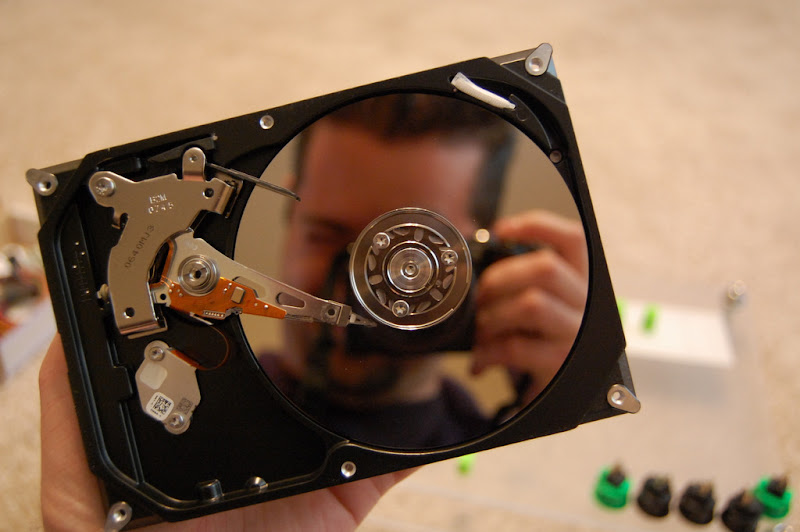
Hard drive top cover removed.
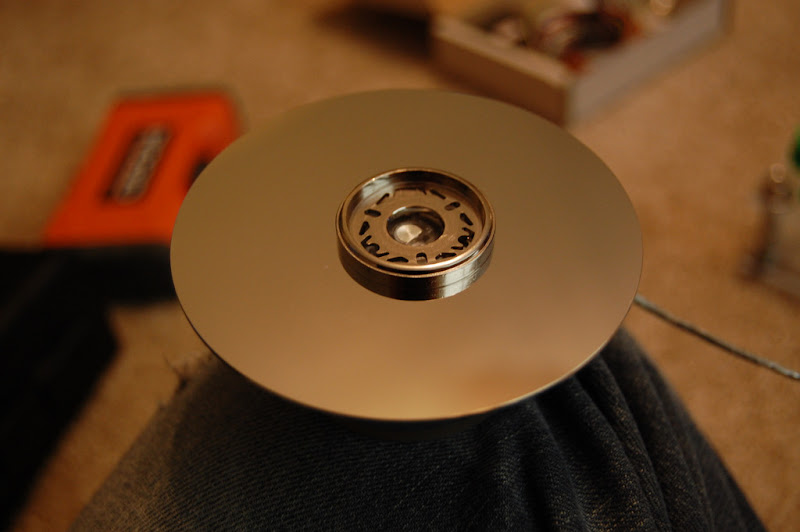
The platter, the only piece I wanted~
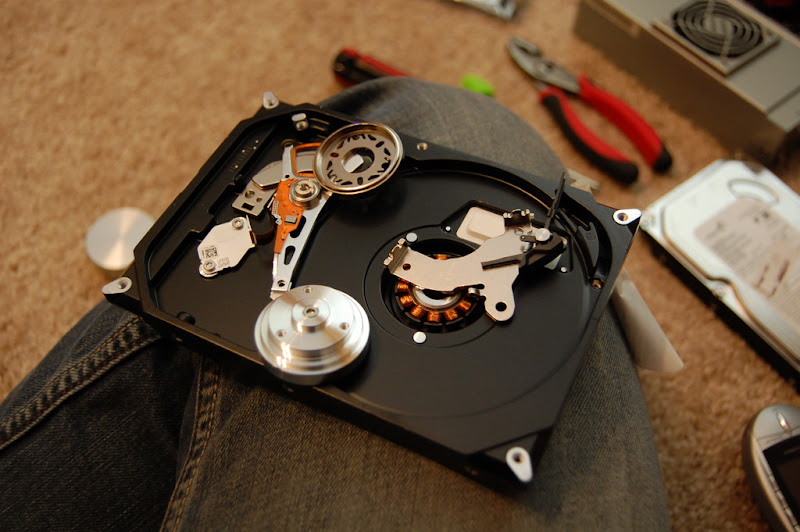
Scrap parts.
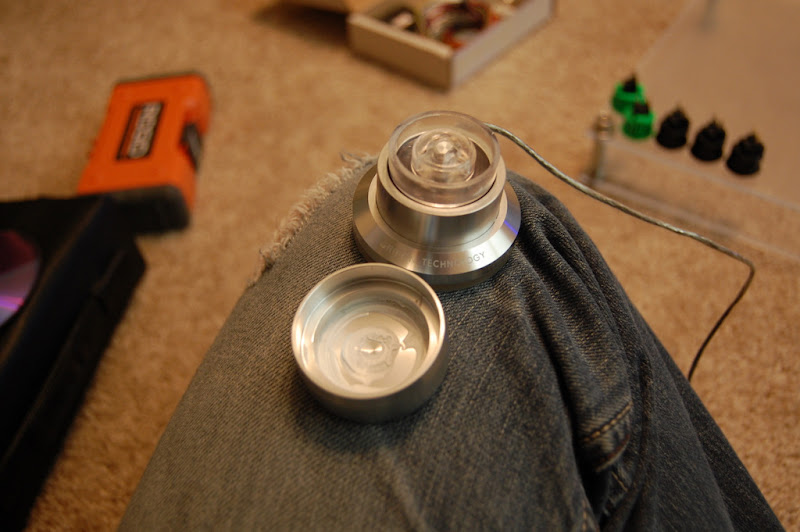
Removed the top knob from the Powermate. You can see where I am going with this...
Jog wheels
Sitting on top of the top panel, just to get an idea.
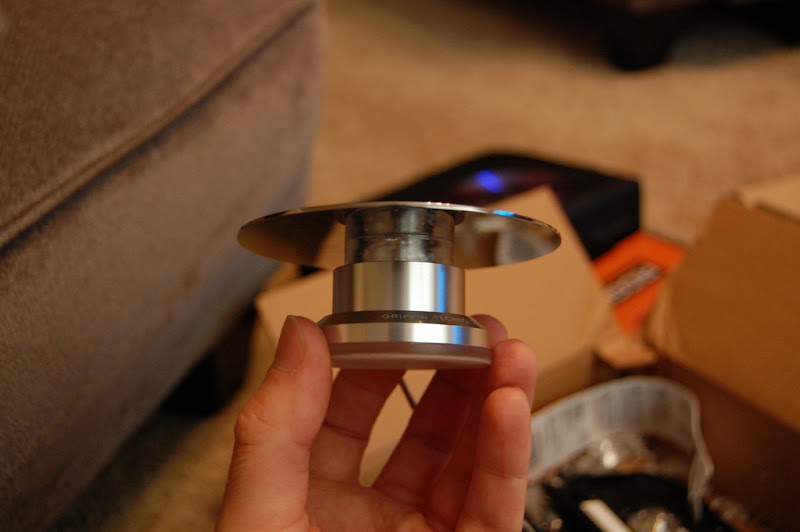
Removing the friction material from the Powermate so it can free-spin.
And the platter is attached to the Powermate. I do not like the current screws I used, so they will be changed soon. It free-spins pretty good when I want it to, and the 'click' functionality of the Powermate is maintained. Nothing as sensitive or versatile as the Vestax wheels, but I am sure I will find a use for it.
That's it for now. More to come!

Results 1 to 10 of 109
-
08-07-2010, 04:13 PM #1Tech Wizard

- Join Date
- Jul 2010
- Posts
- 33
 *Build Log* DIY Controller From Scratch
Last edited by thelpb; 08-10-2010 at 09:22 AM.
-
08-07-2010, 04:37 PM #2
 DJTT Infectious Moderator

- Join Date
- Apr 2010
- Location
- Sherman, TX
- Posts
- 13,925
Yeah, I'm subscribing to this thread!!!
-
08-07-2010, 04:55 PM #3Tech Mentor

- Join Date
- Jul 2010
- Location
- Stockholm
- Posts
- 140
Nice! Which uhid is that and how much did it cost? How will you make the jog wheels work with unlimited rotates?
-
08-07-2010, 05:04 PM #4Tech Guru

- Join Date
- May 2009
- Location
- Scotland
- Posts
- 686
I was going to say if you need anyone to help you that there are many here on this site willing to do so, but you seem to have a good knowledge of what your doing, so maybe you can teach us a few things.
-
08-07-2010, 05:07 PM #5Tech Wizard
- Join Date
- Jul 2010
- Posts
- 33
They make three boards, a 50 input, an 8 input, and an 8 input with accelerometer. I currently have the 50 input board which ran $74.99. The 8 input board is like 35, which I will also need for the additional knobs. I picked it up from here. Originally Posted by oskars

The Powermate is an unlimited spin rotary encoder. I've already done some simple testing with Traktor and the jog functionality works very well when I bind the left and right spin so a simple keypress. I'll post a video~
Actually, one thing I am having a hard time locating is a button similar to this one that doesn't cost almost 3 bucks a pop. Any ideas? Originally Posted by Archies'bald
Last edited by thelpb; 08-07-2010 at 05:11 PM.
-
08-07-2010, 05:18 PM #6Tech Student
- Join Date
- Aug 2010
- Posts
- 4
Awesome! This looks like a great project. Can I ask where you got the acrylic top and bottom sheets?
-
08-07-2010, 05:21 PM #7Tech Guru
- Join Date
- May 2009
- Location
- Scotland
- Posts
- 686
Ok. This is where things can get a little awkward when you're doing stuff like this. Do you need the tactile feel of arcade buttons and do you also need to have a half inch hole?
If not, something like this might do on Ebay link. The response is nowhere near as good as the arcade buttons (it's spring is very strong) and it's 16mm (I don't know what that is in imperial measurement), but it's cheap and it's a solid button.
If you are Stateside you may be able to find something similar.
-
08-07-2010, 05:34 PM #8Tech Wizard
- Join Date
- Jul 2010
- Posts
- 33
Lowe's, it was actually a single 18x24 sheet that I had them cut in half. Originally Posted by iCallShotgun
I really like the tactile feel of the Arcade buttons, but they're too big for all the misc buttons I need to complete the controller. Hence the smaller ones. Still looking! Originally Posted by Archies'bald
-
08-07-2010, 06:00 PM #9Tech Guru
- Join Date
- May 2009
- Location
- Scotland
- Posts
- 686
Judging from what I've read from the reviews on that button it's a replacement for the X-Box controller buttons. Would it be possible to buy broken controllers off of Ebay to supplement your buttons? If you could find old ones with damaged cords, you may be able to desolder the buttons for next to nothing.
Only thing is I don't know how they are mounted in the controller. Hell, you may even be able to use the rest of the controller as a brain for some of your other pots, buttons etc.
I'm just thinking out loud here.
You're main problem would be trying to mount the buttons, I think.
-
08-08-2010, 02:52 AM #10Tech Wizard

- Join Date
- Jul 2009
- Location
- Columbus, OH
- Posts
- 22
Definitely following this thread. I've been very interested in doing something like this myself, possibly using the MIDIbox system. I love the idea with the hard drive and Powermate. But the Powermate is a USB device on its own, how would you integrate it with the controller itself?
I did a bit of reading on that UHID card. Looks interesting. 50 inputs... so does it convert these inputs to MIDI notes, or will you need some other device to do this?


 Reply With Quote
 Posting Permissions
|
|
© 2023 DJTechTools
Bookmarks