thats nice i am loving this controller. i want one !! lol i think im gonna build one of my own .
nice logo!
back in business
hello people,
i was away for a long time, but now i’m back in business…
iv’e made some progresses on my project, the top is done, let me tell you the story…

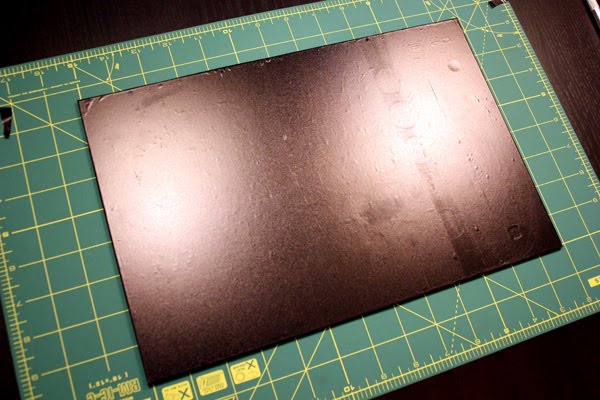
this are the tools of the trade

i’ve had the acrilic allready cut, and it will be covered with 3 vinil aplications

first i used a black opaque acrilic that will be used as a mask for the LEDs

this is the template that is going to be used to make the cuts

every cut carefully made

this was the most difficult part of the cutting

this is the finall product of the vinil that will be used as a mask

this is a translucent red vinil glued on top of the opaque black mask
and then the third and last vinil aplication, a translucent black vinil glued on top of the translucent red glued on top of the opaque black mask… confusing? you will see the result in a few seconds…

then i cut off the holes for the buttons

top completed

top temporarily on box with buttons

now the reason for all of this trouble…
i wanted the LEDs to stay completely hidden, when i’m not pressing the buttons i will get just a black surface like the picture above

when i press the buttons the LEDs, the light will come out from the black surface like the picture above

button off

button on

the final result is not perfect, it was made by someone who has no qualifications, me…
ideally this should have been made by a professional, but the price was just too expensive, i searched on a couple of stores and they were asking for about 100$… what i’ve made cost me 15$
but i like it not to be perfect, it has “soul” and it will age naturally
![]()
what do you think?
brilliant! looking really good so far ![]()
where did u get the acrylic cut?
i got the acrylic cut from a local store, here in portugal, it’s very easy to get…
by my experience (i’m an architect and work with different materials in models) is that you can get lower prices from not specialised stores, iff you know what you want and have time to spend…
iff i got the acrylic cut from a advertisement store or something, laser cut, hi tech etc… i would have paid x5 times for the same piece cut from a local acrylic store that makes furniture, cd stands, etc.etc.
this is sickkkk
what thickness is the acrylic? did you intend to leave the buttons raised or will you be pushing them flush with the top?
just curious. excellent work!
Nice work - very clever!
ya im definitely gonna watch the progress of this one! sweet lookin’ controller bro can’t wait to see the finished product!!
![]()
![]()
the acrylic is 3mm thick…
the rest of the question, i didn’t quite understand what you’re asking, the buttons will be as they are in the picture, the top has about 2cm space avaiable…
This looks awesome!
Is the PCB from the game controllers?
How will (or did) you tie it all together to connect via USB?
I think it will look like this:
![]() That was mine with 32 Buttons and 16 Faders/Knobs
That was mine with 32 Buttons and 16 Faders/Knobs
hi,
there are two gamepad pcb connected to a usb hub, there is also a usb sound card, and 3 or 4 extra usb slots for aditional exterior connections
no no… hehehhe
mine is well organised heheheh, i’m using band wire (like hard drive wiring)
Ribbon cables are the way forward!
Looking forward to more updates ![]()
analog gamepad
hello,
does anyone know iff it’s possible to bypass the analog switch of a gamepad, every time that i connect the gamepad, i have to press the analog, i would like to have it allways in analog mode.
thanks
I will be looking in to doing the same thing shortly. At the moment I can only think of extending some wire from the switch and led to front panel, so you don’t have to go in to the enclosure each time you want to turn the analogue on. This will give you a switch and a visual indicator of what’s happening inside.
I don’t think shorting the switch out will help because if you plug the usb in, with your finger on the analogue button, it doesn’t automatically turn the analogue signal on (At least, that’s how mines works).
If I get round to doing mine before you finish, I’ll let you know.
i will only use analog so i don’t really need the extra switch in the panel, i’ff you find any sollution please let me know…
thanks
I think all game pad’s differ in this respect.
The last controller I built using a game pad all I did was bridge the wire’s on the analog button and all was good.
Like this
The one I built before that was different though. The previous method didn’t work and I ended up sending the wires to a small button hidden at the back of the unit which had to be pressed to activate analog.
this was my first idea, but it seems that the buttons needs to be pressed each time when turned the gamepad on…
i really didn’t want to hide a button or use a button space on the front…
![]()