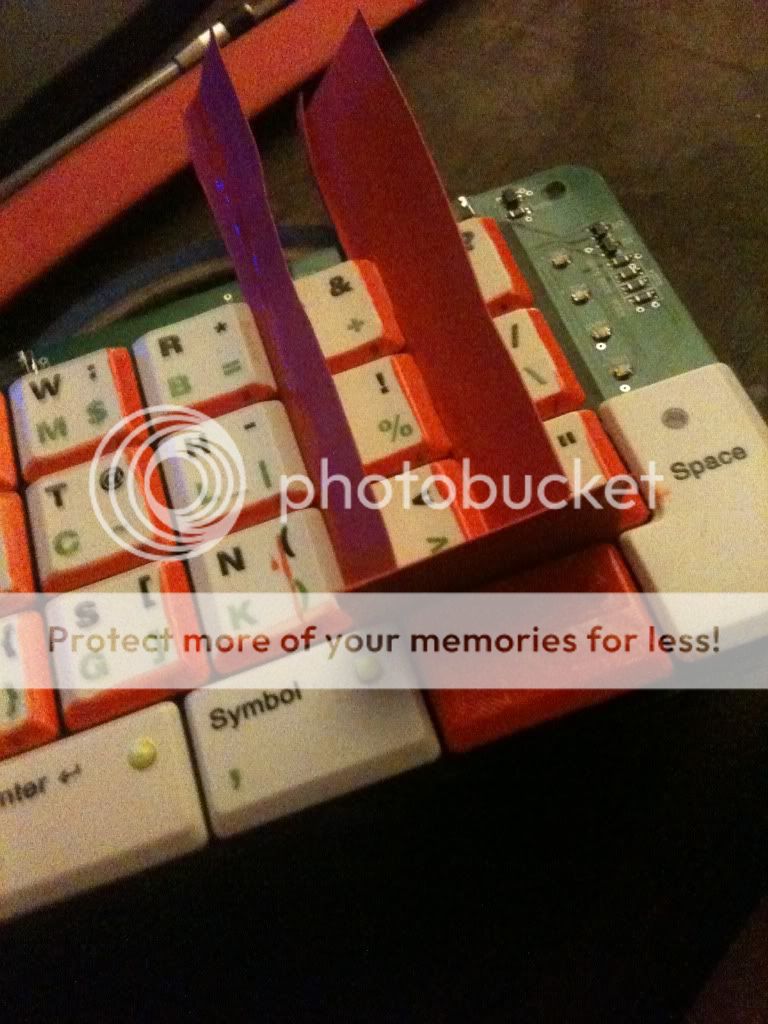
Ive got one of these.. mabey Ill paint it up… this has alot more possibities because of the shift-alt-ctrl abilities
Ive got one of these.. mabey Ill paint it up… this has alot more possibities because of the shift-alt-ctrl abilities
Gr8 stuff, dude!!! Use it wisely! 
@Str8upDrew: thanks!!! That does the trick! I even use the num lock key…When its turned off,I use up/down to search through my library, insert button to load a song, and left/right to search through the song. I will make some video tomorrow so that people can see what it does.
I recommend to anyone who uses laptop for playing music to buy one of these, it really makes life easer!
Well Ive started to paint my frogpad… and its alot of work because im afraid to pull the buttons off in fear I might break it… so its being masked with heatshrink tubing cut up.. and Im using nail polish because of the enamel… nail polish will stick btw and you have a ton of colors to choose from
I suggest first to do the mapping, then paint. I’m gonna paint labels on my keys so first I have to find the best mapping for them and then paint. I don’t know if you are planning to do the same or just paint them in different colors,without labels.
Nail polish is a nice idea…The brush that comes with them can make really nice texture on keys.
…
Link?
…
another tip for all you DIY people
white DJTT knobs + nail polish = unlimited colors
OPI brand nail polish often comes in sets which have smaller jars afaik they call them minis
and dont forget glow in the dark nail polish enamel
and look for TULIP SLICK fabric UV fabric paint for putting little dots to show the marker. also works well for covering LEDS to have nailpolish painted around them. like in this example… the painting looks sloppy atm, but im more concerned with painting the edges without ruining the circuit… later i will use masking tape to do the center part
Can’t you just pop the keys off and paint them individually?
yes and no…
they are attached with super small plastic clips all around the inside with a thin metal paperclip looking device, really small…
I would rather it take me 10 x longer and not have a broken key. Im the type with alot of patience … i put on a movie… do a few rows.. let them dry and work on something else.
im also working fulltime from home so I can come back to it all the time. Plus ive always found things that take alot longer to do allow you to rethink the whole thing a few times and can make corrections before its too late.
Can’t argue with that. Look forward to seeing it finished.
hey!
I love the idea. i’ll get one of those and try using it as a pseudo-midi fighter. Only thing is that i’ve never mapped a controller in traktor. How do i go about doing it? I cant find information on it…
Very easy,mate! I also did it for the first time when I mapped my numeric keypad.
Go to Preferences in traktor, then Controller manager. In there, click on Add under Device drop down list, and add a generic keyboard. Now you will have a blank Assignment table. By clicking od Add in… under it, you will get the function list of traktor that can be assigned. When you pick what you want, simply press the Learn button and press the button on your keyboard that you want to use for that.
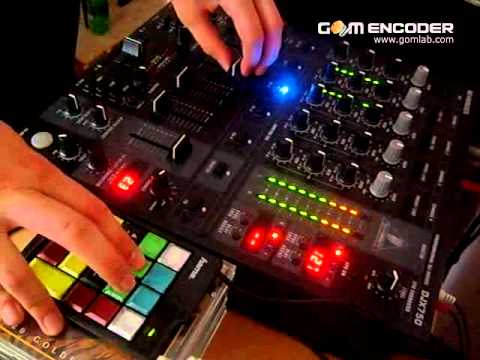
And here’s a little demo of what I did. Hope you will like it!!!
good stuff! I bought the numpad but i’m having a bit of trouble understanding the controls in the mapping tool.
What do i need to select if i want to map the + and - buttons to go through the different loops sizes (1,2,4,8,16,32) so that the + will increase the loops size to the next one, and the - button will decrease the loops size to the previous one?
If you’ve got a link that explains the different what each title in the mapping tools does, by all means share it!
thanks
chris
Sorry, I don’t have a link or any manual. I just figure it out myself. You should play a bit. Set something that you think it could be it by its name, then try it out with some song.
Here’s a print screen how I did it. You should set type of controller to Button, and Interaction mode to inc(rease) or dec(rease), depending do you want to make it longer or shorter.
Use the same setup, for example as I did to my + and - buttons, for change tempo. Use the Tempo function, with a slice difference that you can then change the “sensitivity” with Resolution setting.
thanks! that’s excatly what i was looking for! I wasnt aware of the increase/decrease parametres