Tell me about it. I’m still learning new stuff every day after 3 years of building controllers. ![]()
So received the faceplates today, of the three plates one had a minor mistake but practically unnoticeable all the other parts fit like a glove!
Got the buttons from focus attack and the final price was… 55.25(buttons)+27(shipping)+32(import charges) so about $7 a piece..![]()
You’ve played a blinder there mate. That is going to be one beautiful controller. ![]()
Thanks!! I must say in someway it’s much easier than anticipated but also a lot of more work.
Here is another pic of my first try bending plexiglass, i used some scrap material I had lying around so it’s quite dirty and turned out horrible but the bending (while keeping it precise) was much easier than i thought!

The controller was balancing on a couple of 3d printed stands and the reflective shielding was not installed (prevents light from buttons to reach others) but here is the first test:
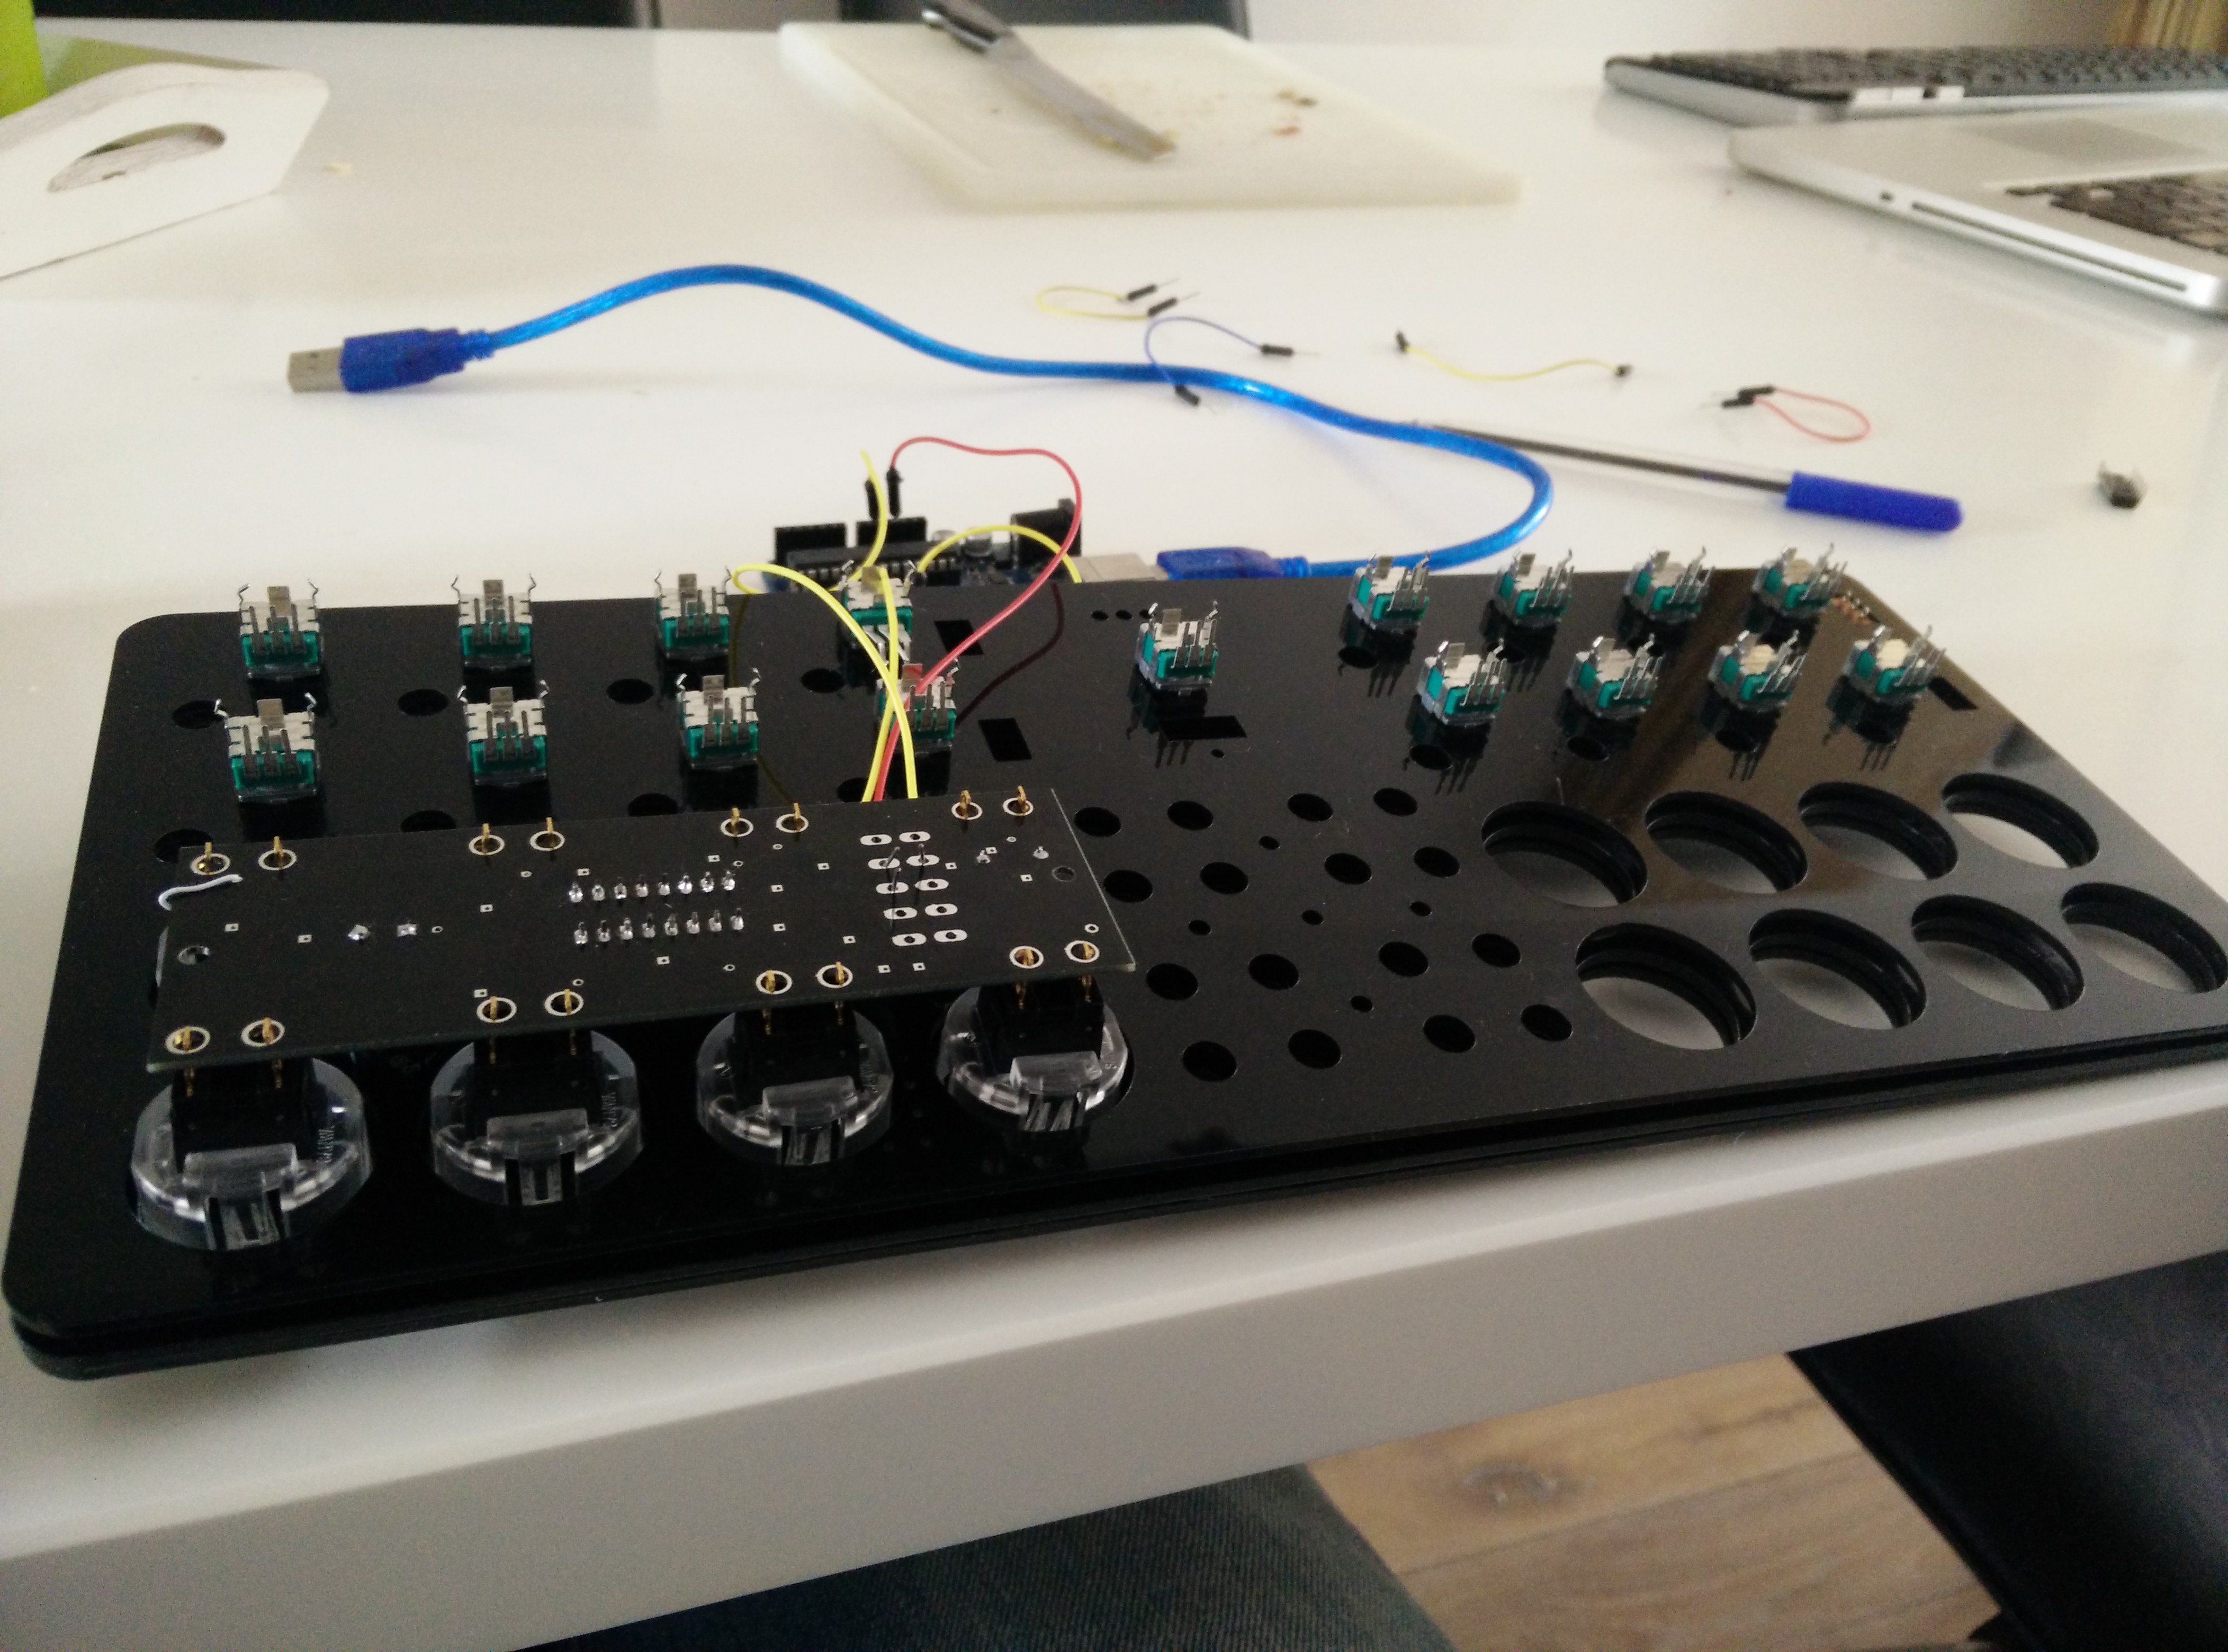
Have got the last PCB perfectly working right now and am really happy that i chose the TLC chip, though I’m running into some serious space-wise issues right now. The last PCB is larger and closer to the board than anticipated, I’ve already solved this issue at the side of the arcade buttons but am still struggling to fit in the middle 4*4 grid…
Here are some more pic’s of the button process, this was such a pain in the *ss and I’m still not done. I used too much superglue on the first two buttons so I have to order new ones from china which is going to take another 4 weeks probably ![]() . The coding is almost entirely done though including Remix deck mode, support for traktor’s hot-cue colours and the ability to display the colour of a clip in Ableton.
. The coding is almost entirely done though including Remix deck mode, support for traktor’s hot-cue colours and the ability to display the colour of a clip in Ableton.
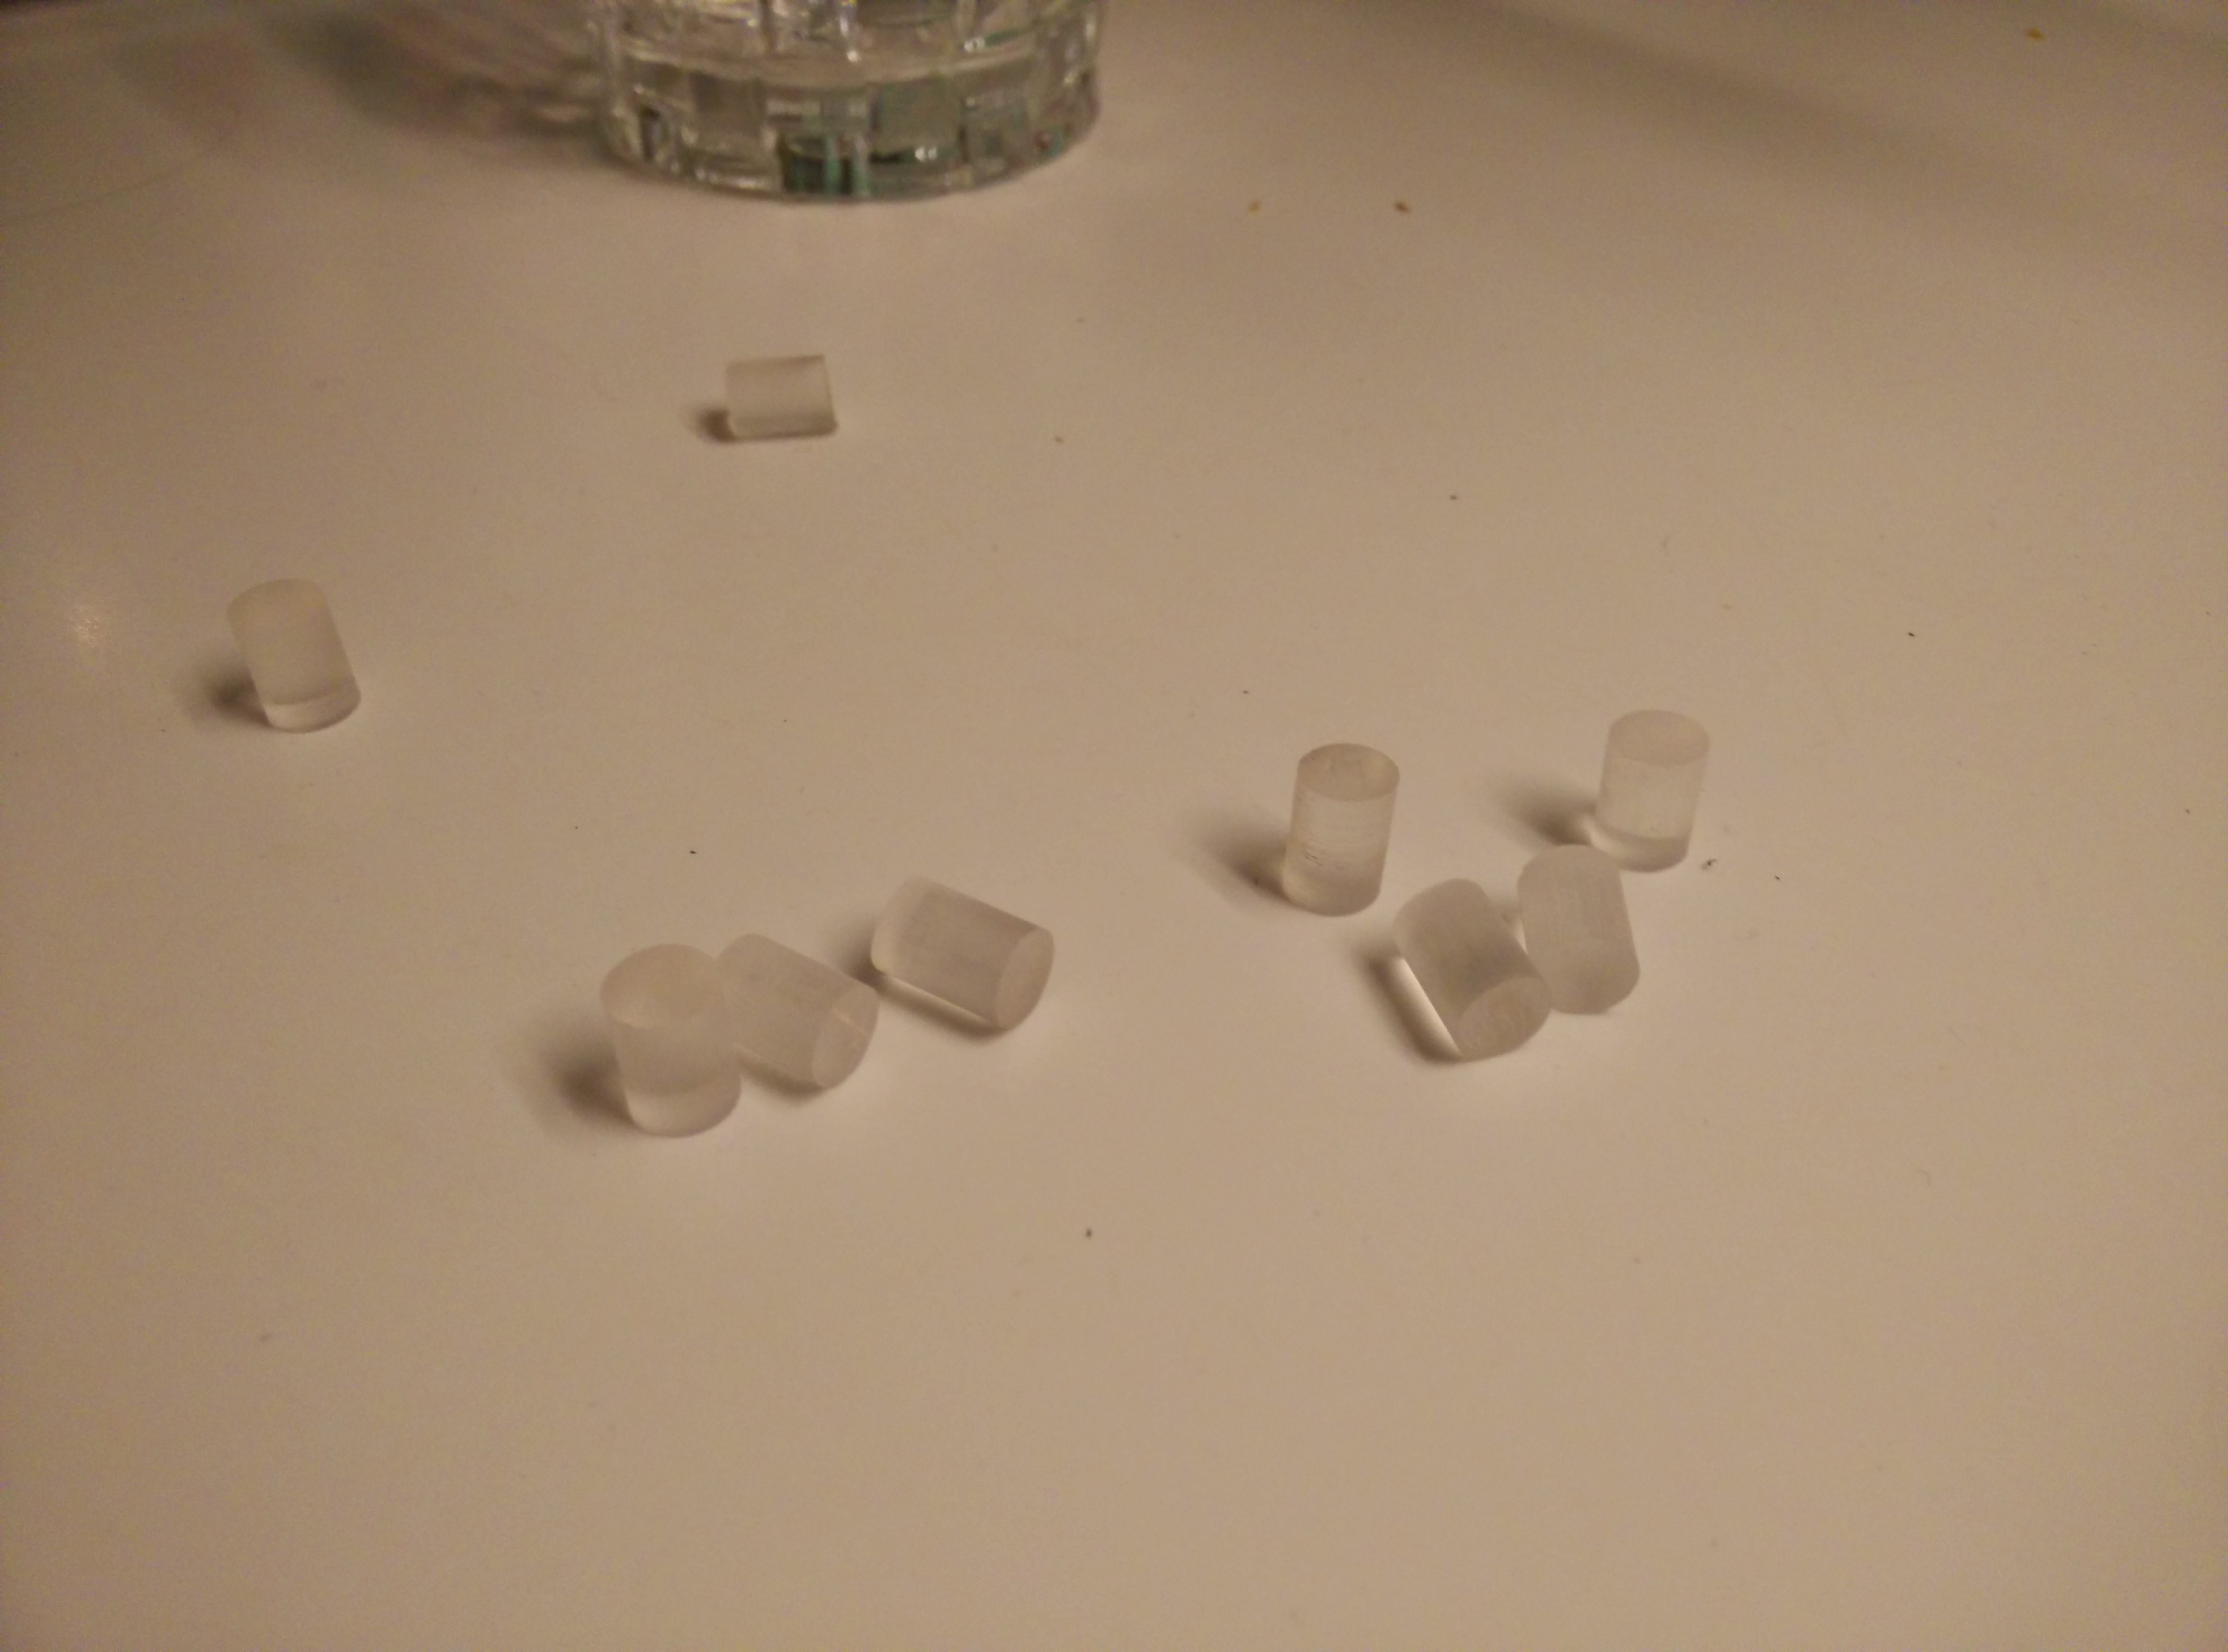


EDIT: The actual buttons are not this tall, there ate two more 2mm layers on top of this one so the actual height is about 2-3mm. & the lights are definitely not on here
Well the last miles are the hardest, only need to design two more PCB’s, 3d print one button and order + bend the acrylic for the sides (it is going to be slightly translucent red).
Did you ever finish this project?
Hahaha nooooo I did not, I still want to but in hindsight I wish I’d been less ambitious. The compact form factor was super time-consuming and hard to work with but custom building the those FX button caps was really tremendously stupid, most realistic way right now would be 3d printing a “mold” and pouring them from silicone. A ton of work.
I lost all code, PCB, laser-cut and 3d files.
The only thing that happened after that post is I ended up 3d printing the “enclosure” (the sides).
Edit: I’ve recovered some of the files, it’s not much but I’ll be keeping them here
I reall liked your pc boards you had made. Where did you get them cut from and did you use eagle?
I did use Eagle, since it’s owned by Autodesk right now I probably wouldn’t choose it again but I still use it and it works well. I used Dirty PCB’s. It was definitely the best choice at the time but now PCBWay and JLCPCB might be a better pick now(but Dirty PCB’s is still great).
Great build! Well done Sir!
I’ve also struggled finding decent buttons and led pipes / light guides for my builds. Am planning on trying to create silicone pads from silicone rubber (Wagner sil 26 LE Premium Silicone Rubber Duplication Food Safe 1 kg: Amazon.de: Home & Kitchen) and conductive rubber pads (https://www.aliexpress.com/item/32900992831.html). Maybe those would feel nice and work well.