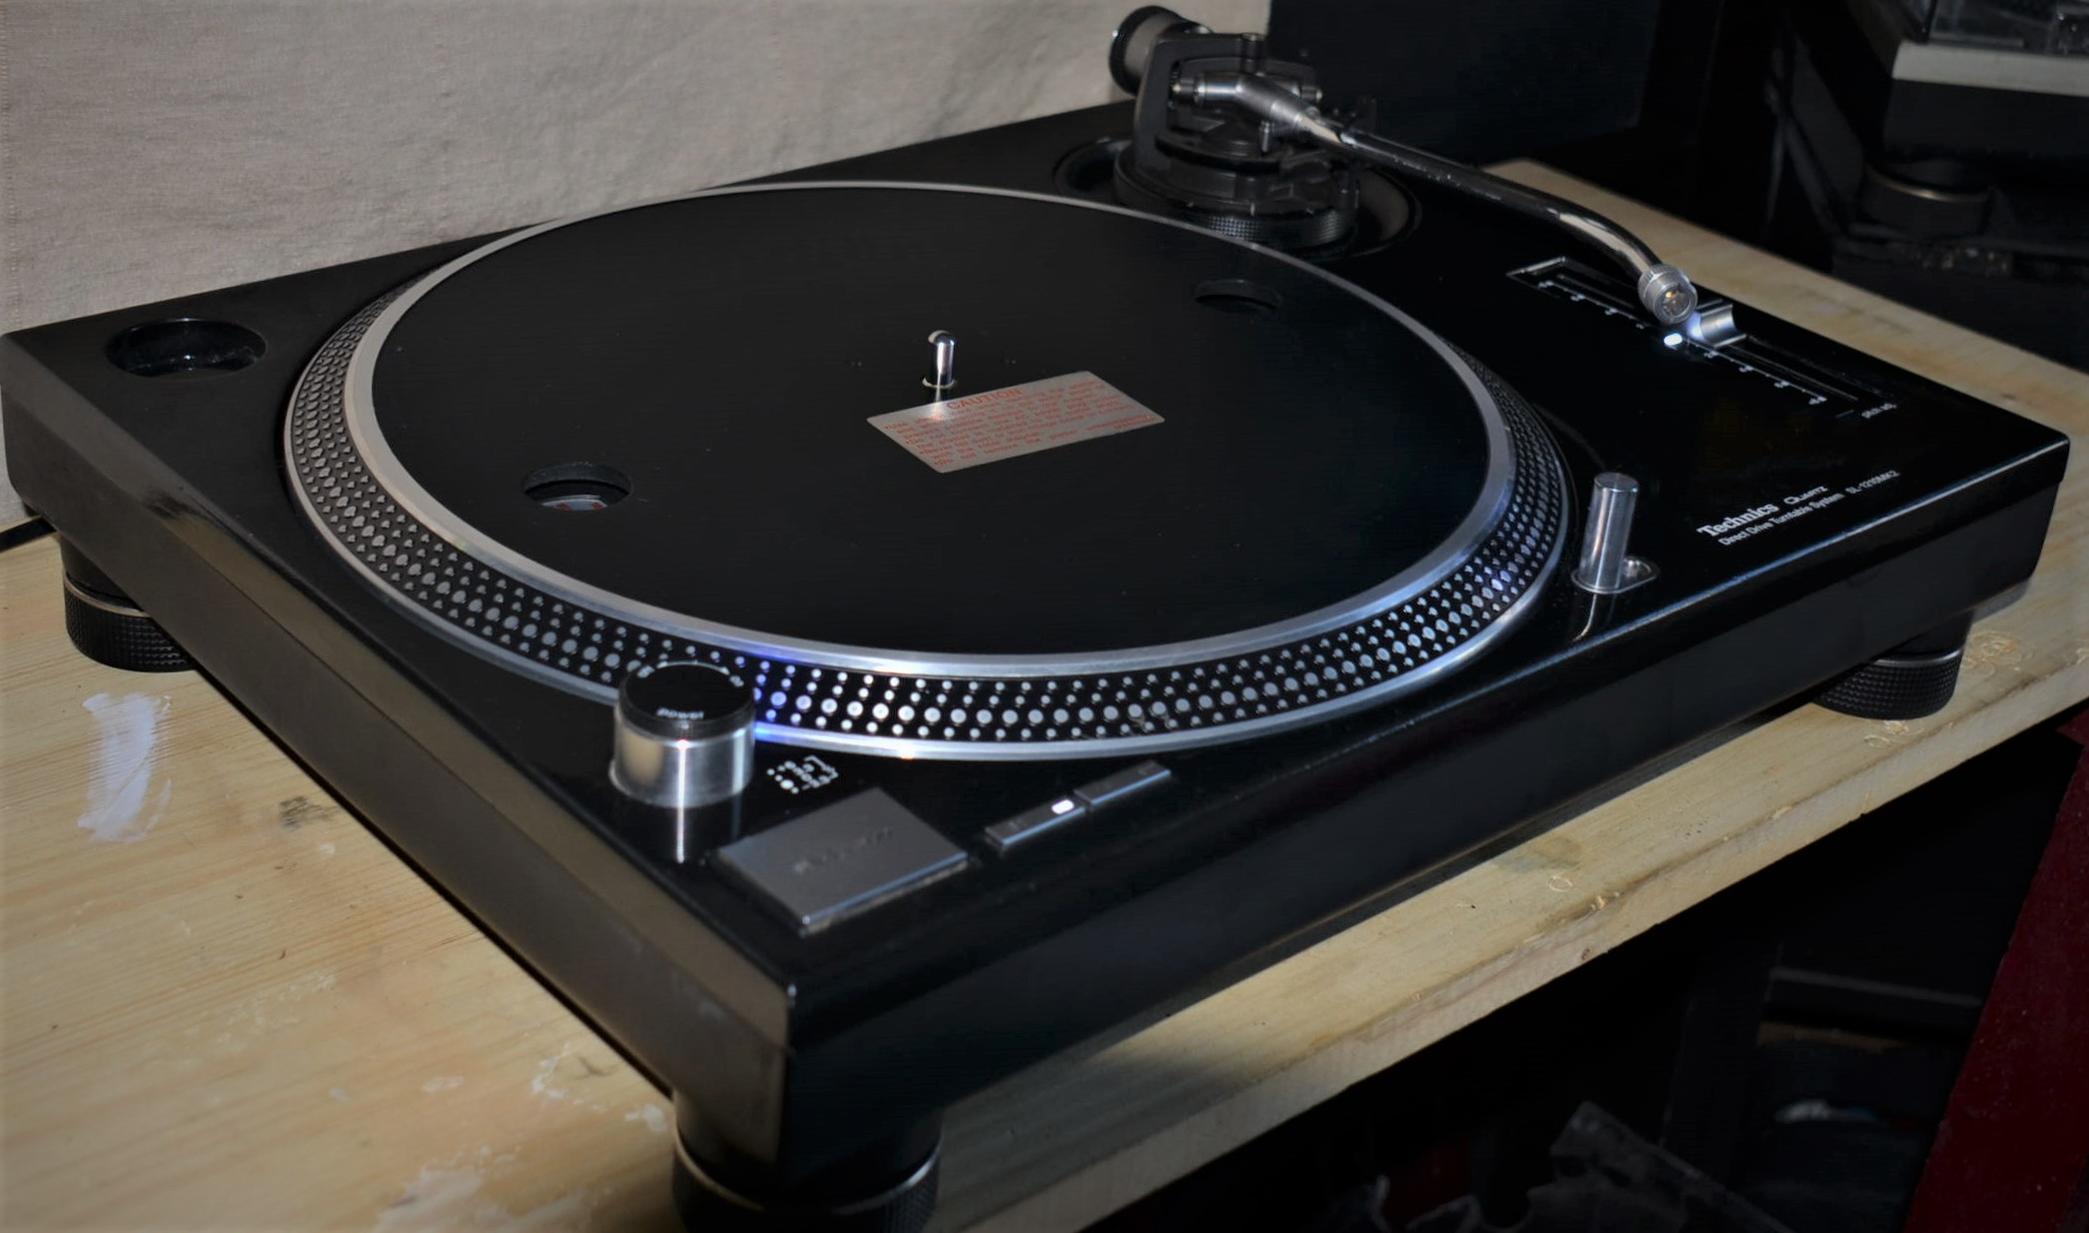
Technics Sl1200/10: Repairs, mods, restore, pimp
Link to my FB page , dealing about my Technics Sl1200/10 MKs repairs, mods, restore, pimp…
Technics Sl1200/10: Repairs, mods, restore, pimp
Link to my FB page , dealing about my Technics Sl1200/10 MKs repairs, mods, restore, pimp…
![]()
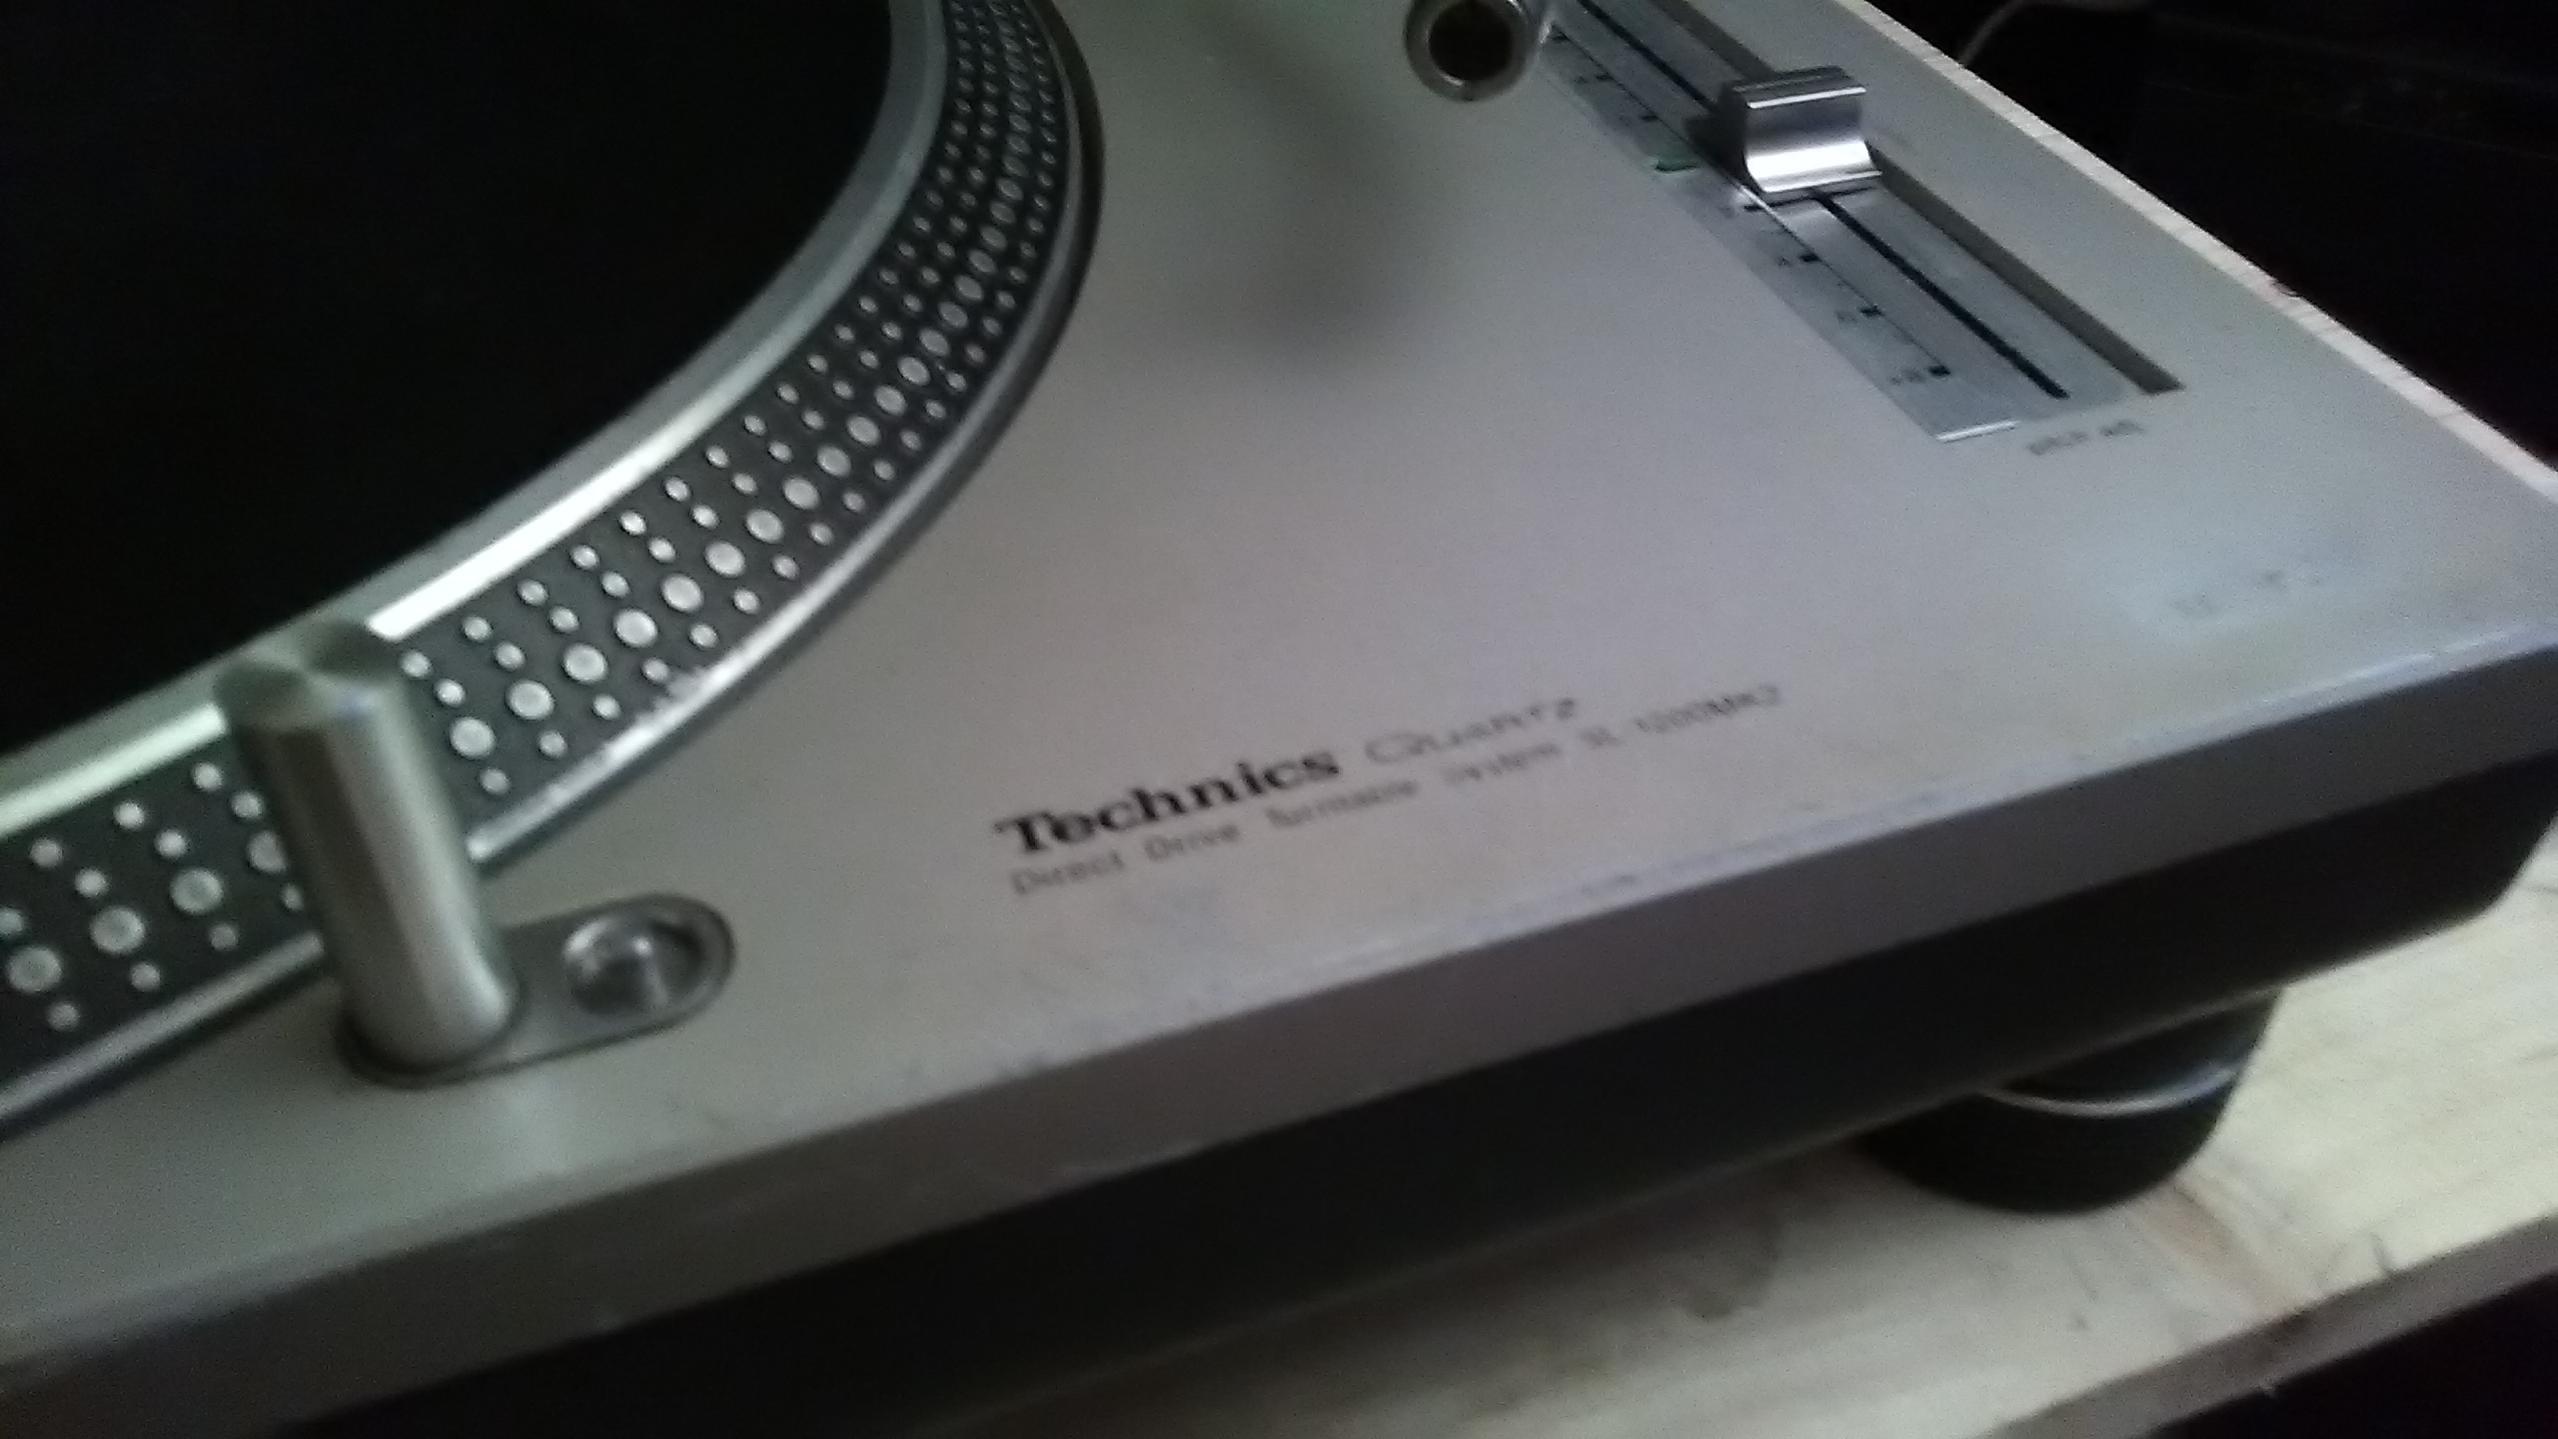
Does anybody know the original colour code for 1210, can’t find it anywhere??
It’s not paint, mate. It’s some kind of hard, matt/satin finish coating. And it’s bloody thick, too!
It’s quite hard to get off. If you don’t strip it back completely, you end up with very round edges (where the paint covers the previous chamfered edges) that looks pretty naff.
+1 on patch.
Actually I sent to a company to sandblast the deck aluminium cabinet and then apply epoxy paint.
They have mulitple colors to offer and so much grey shades, but never find the exact shade.
It s quite the same situation for the 1210 colour, but hte colour i found is very closed to the orginal.
Let me 2 weeks and you will see new pictures from a 1210 I actually restore.
Whatever it is there has to be a color code for that and probably this method of coating is applied elsewhere too.
Is this supposed to be the silver color or?
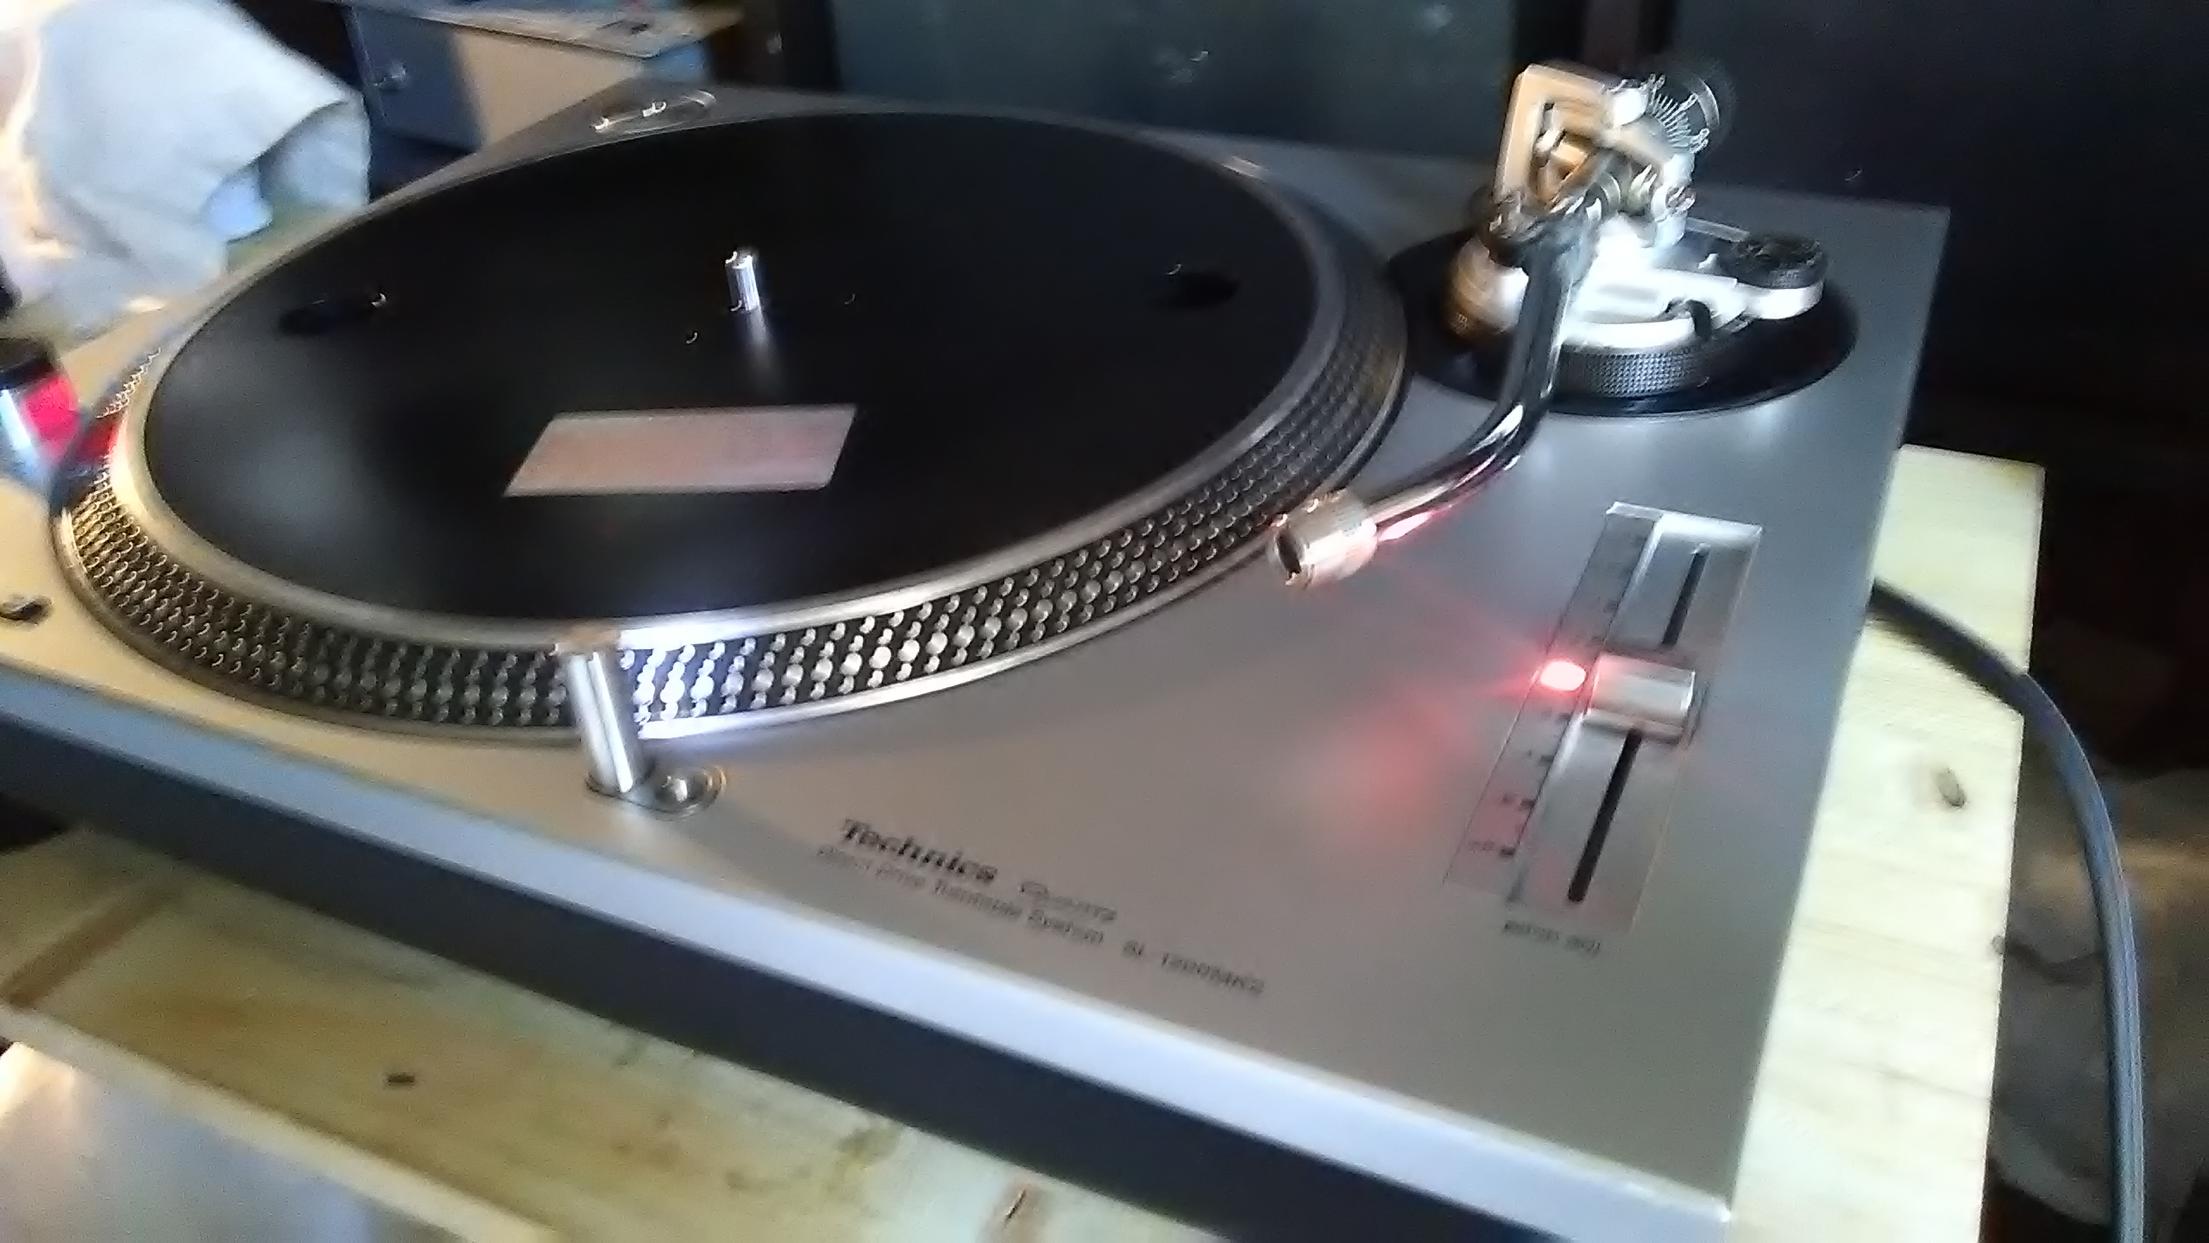
Can you tell more about the RCA mod? Can the rubber base be taken off keeping the rca “box” intact and mounted in place as it is?
No, it s not the orgilan silver color. The name of the paint ref. I use for this pair is silver but has nothing to do with the original. THe one i use is more clear. Its also not a satin varnish but shiny.
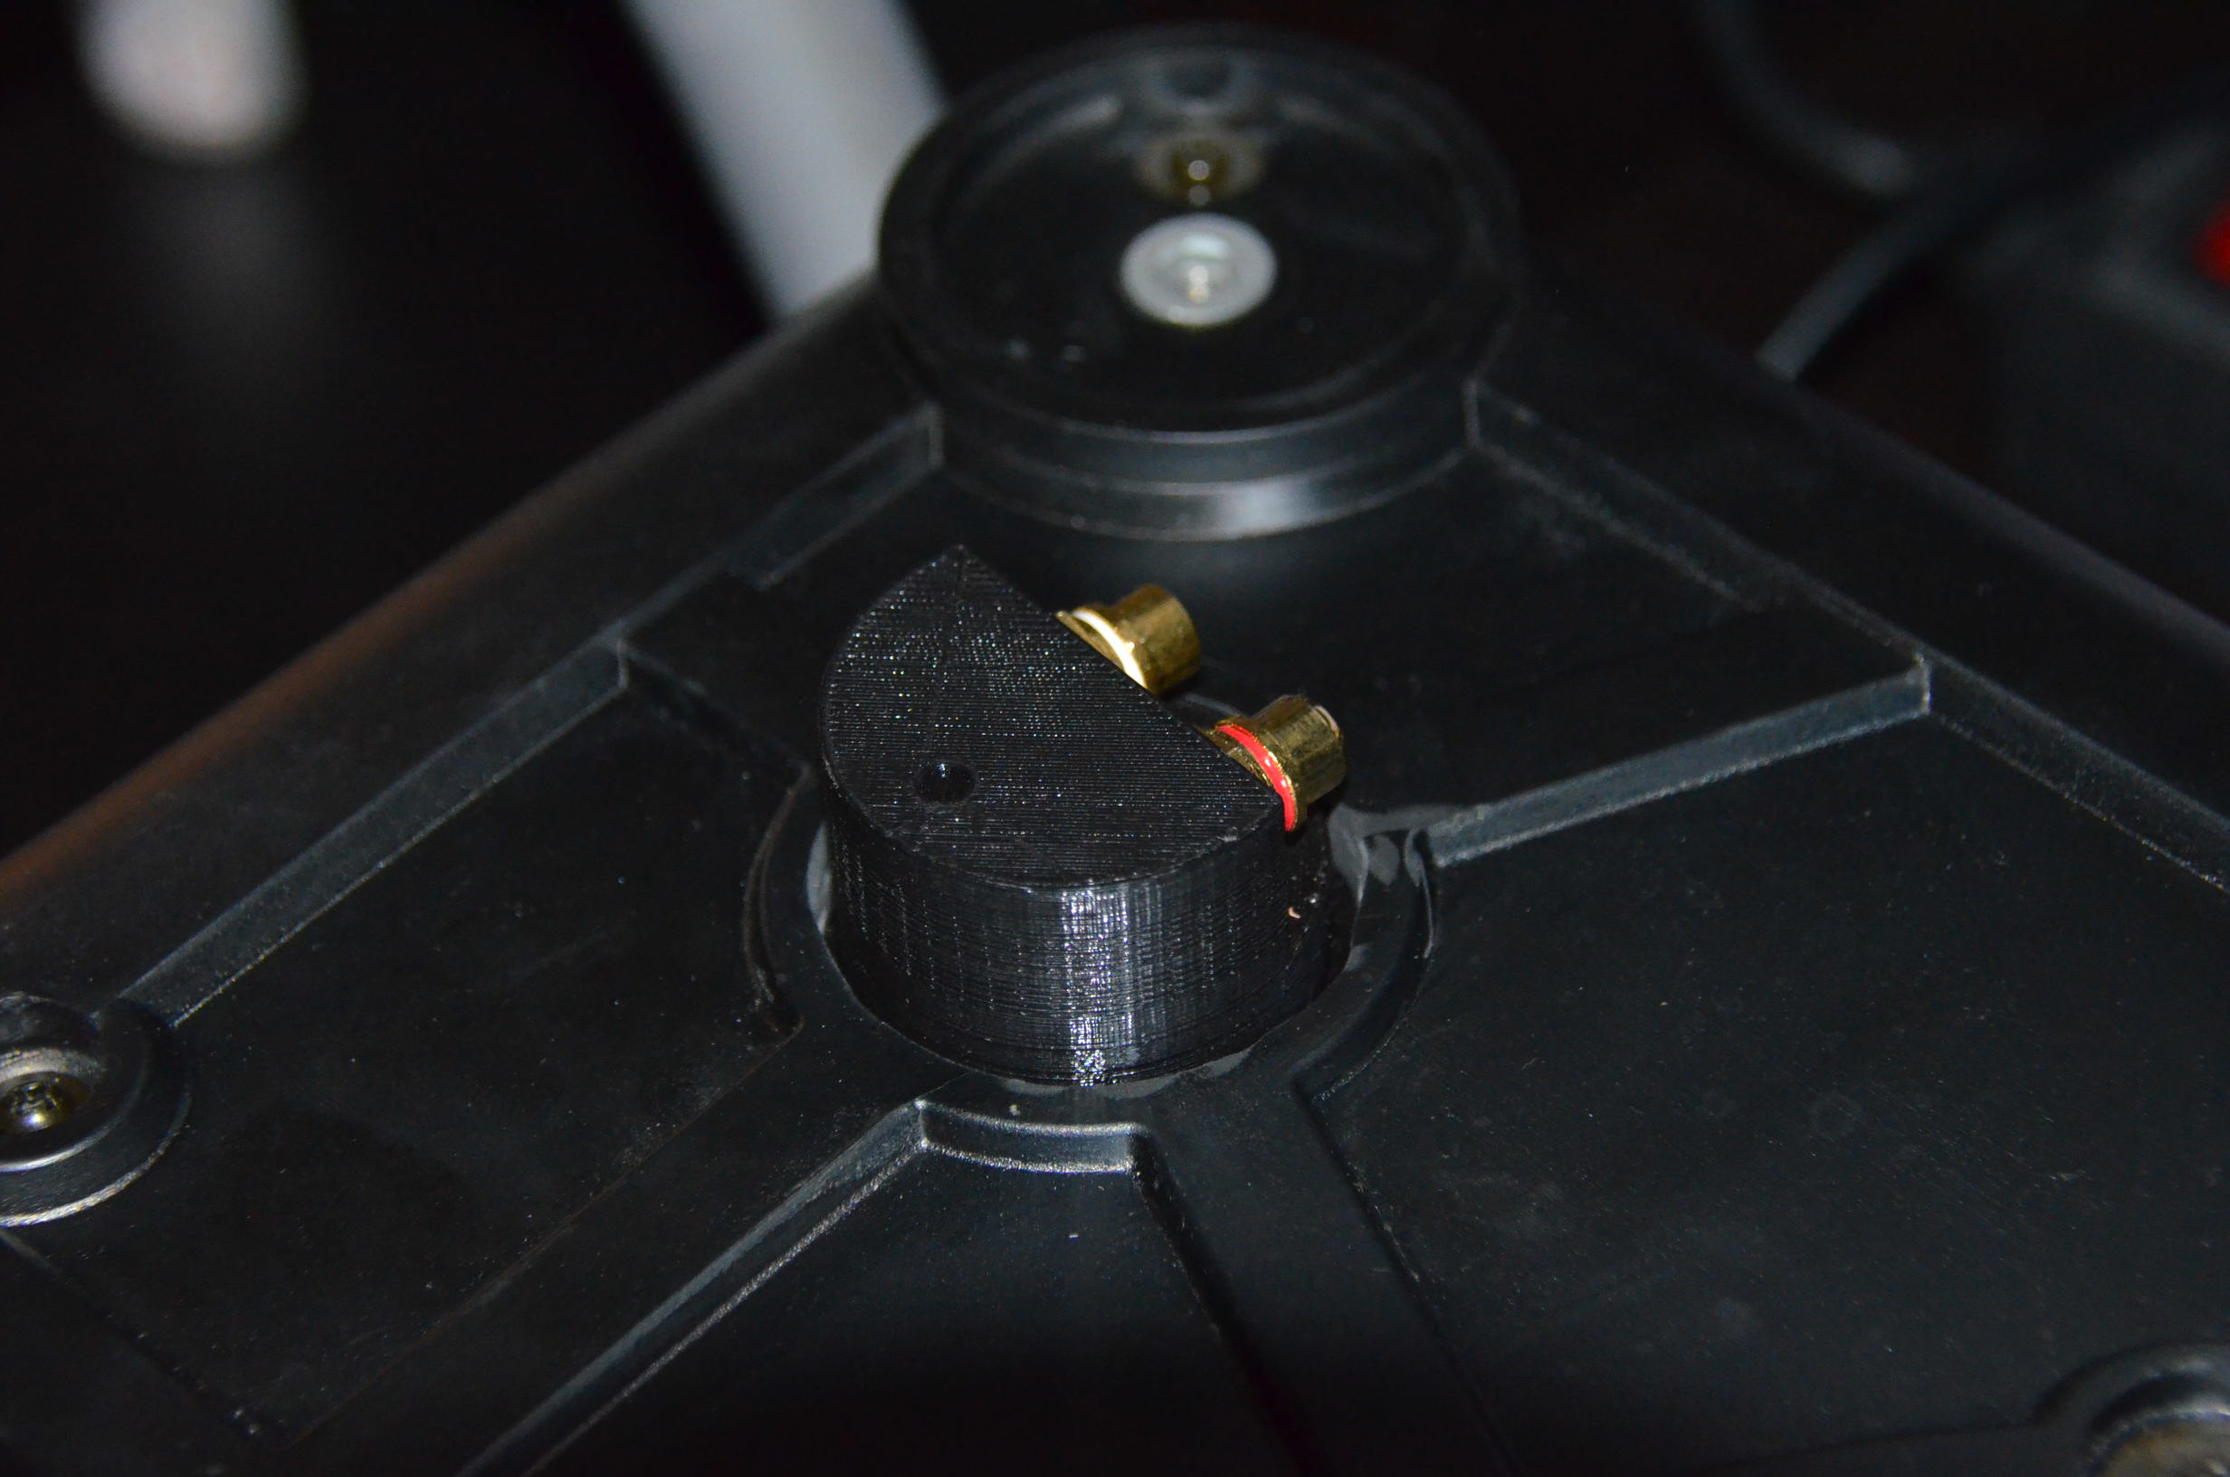
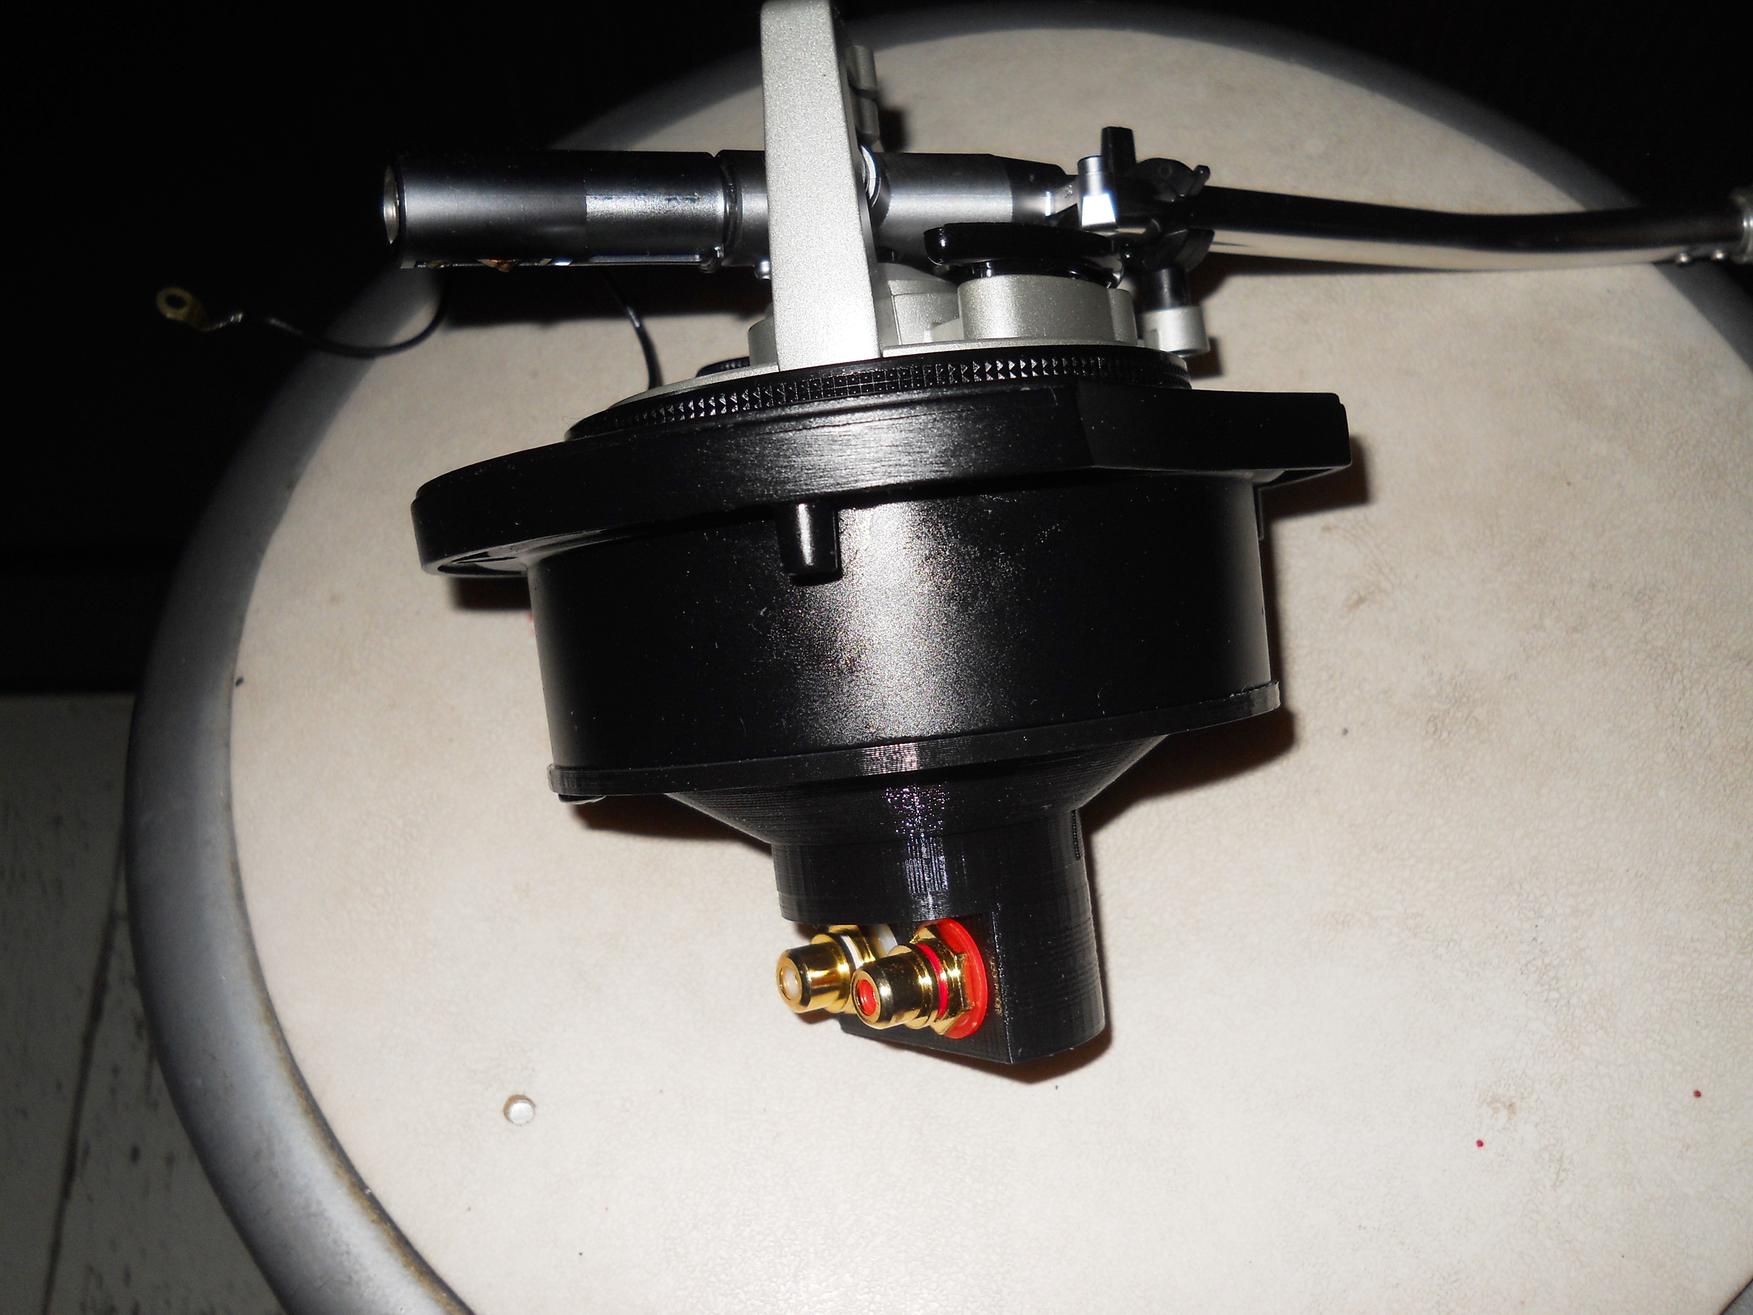
For the RCA mod, you can take off and on the rubber base as easily and normal aus you do with cables. Maybe more easy because you dont need to pass the cable trough the hole when you take off and on.. The RCA box is mounted in place of the aluminium 10mm base from where the cables come.
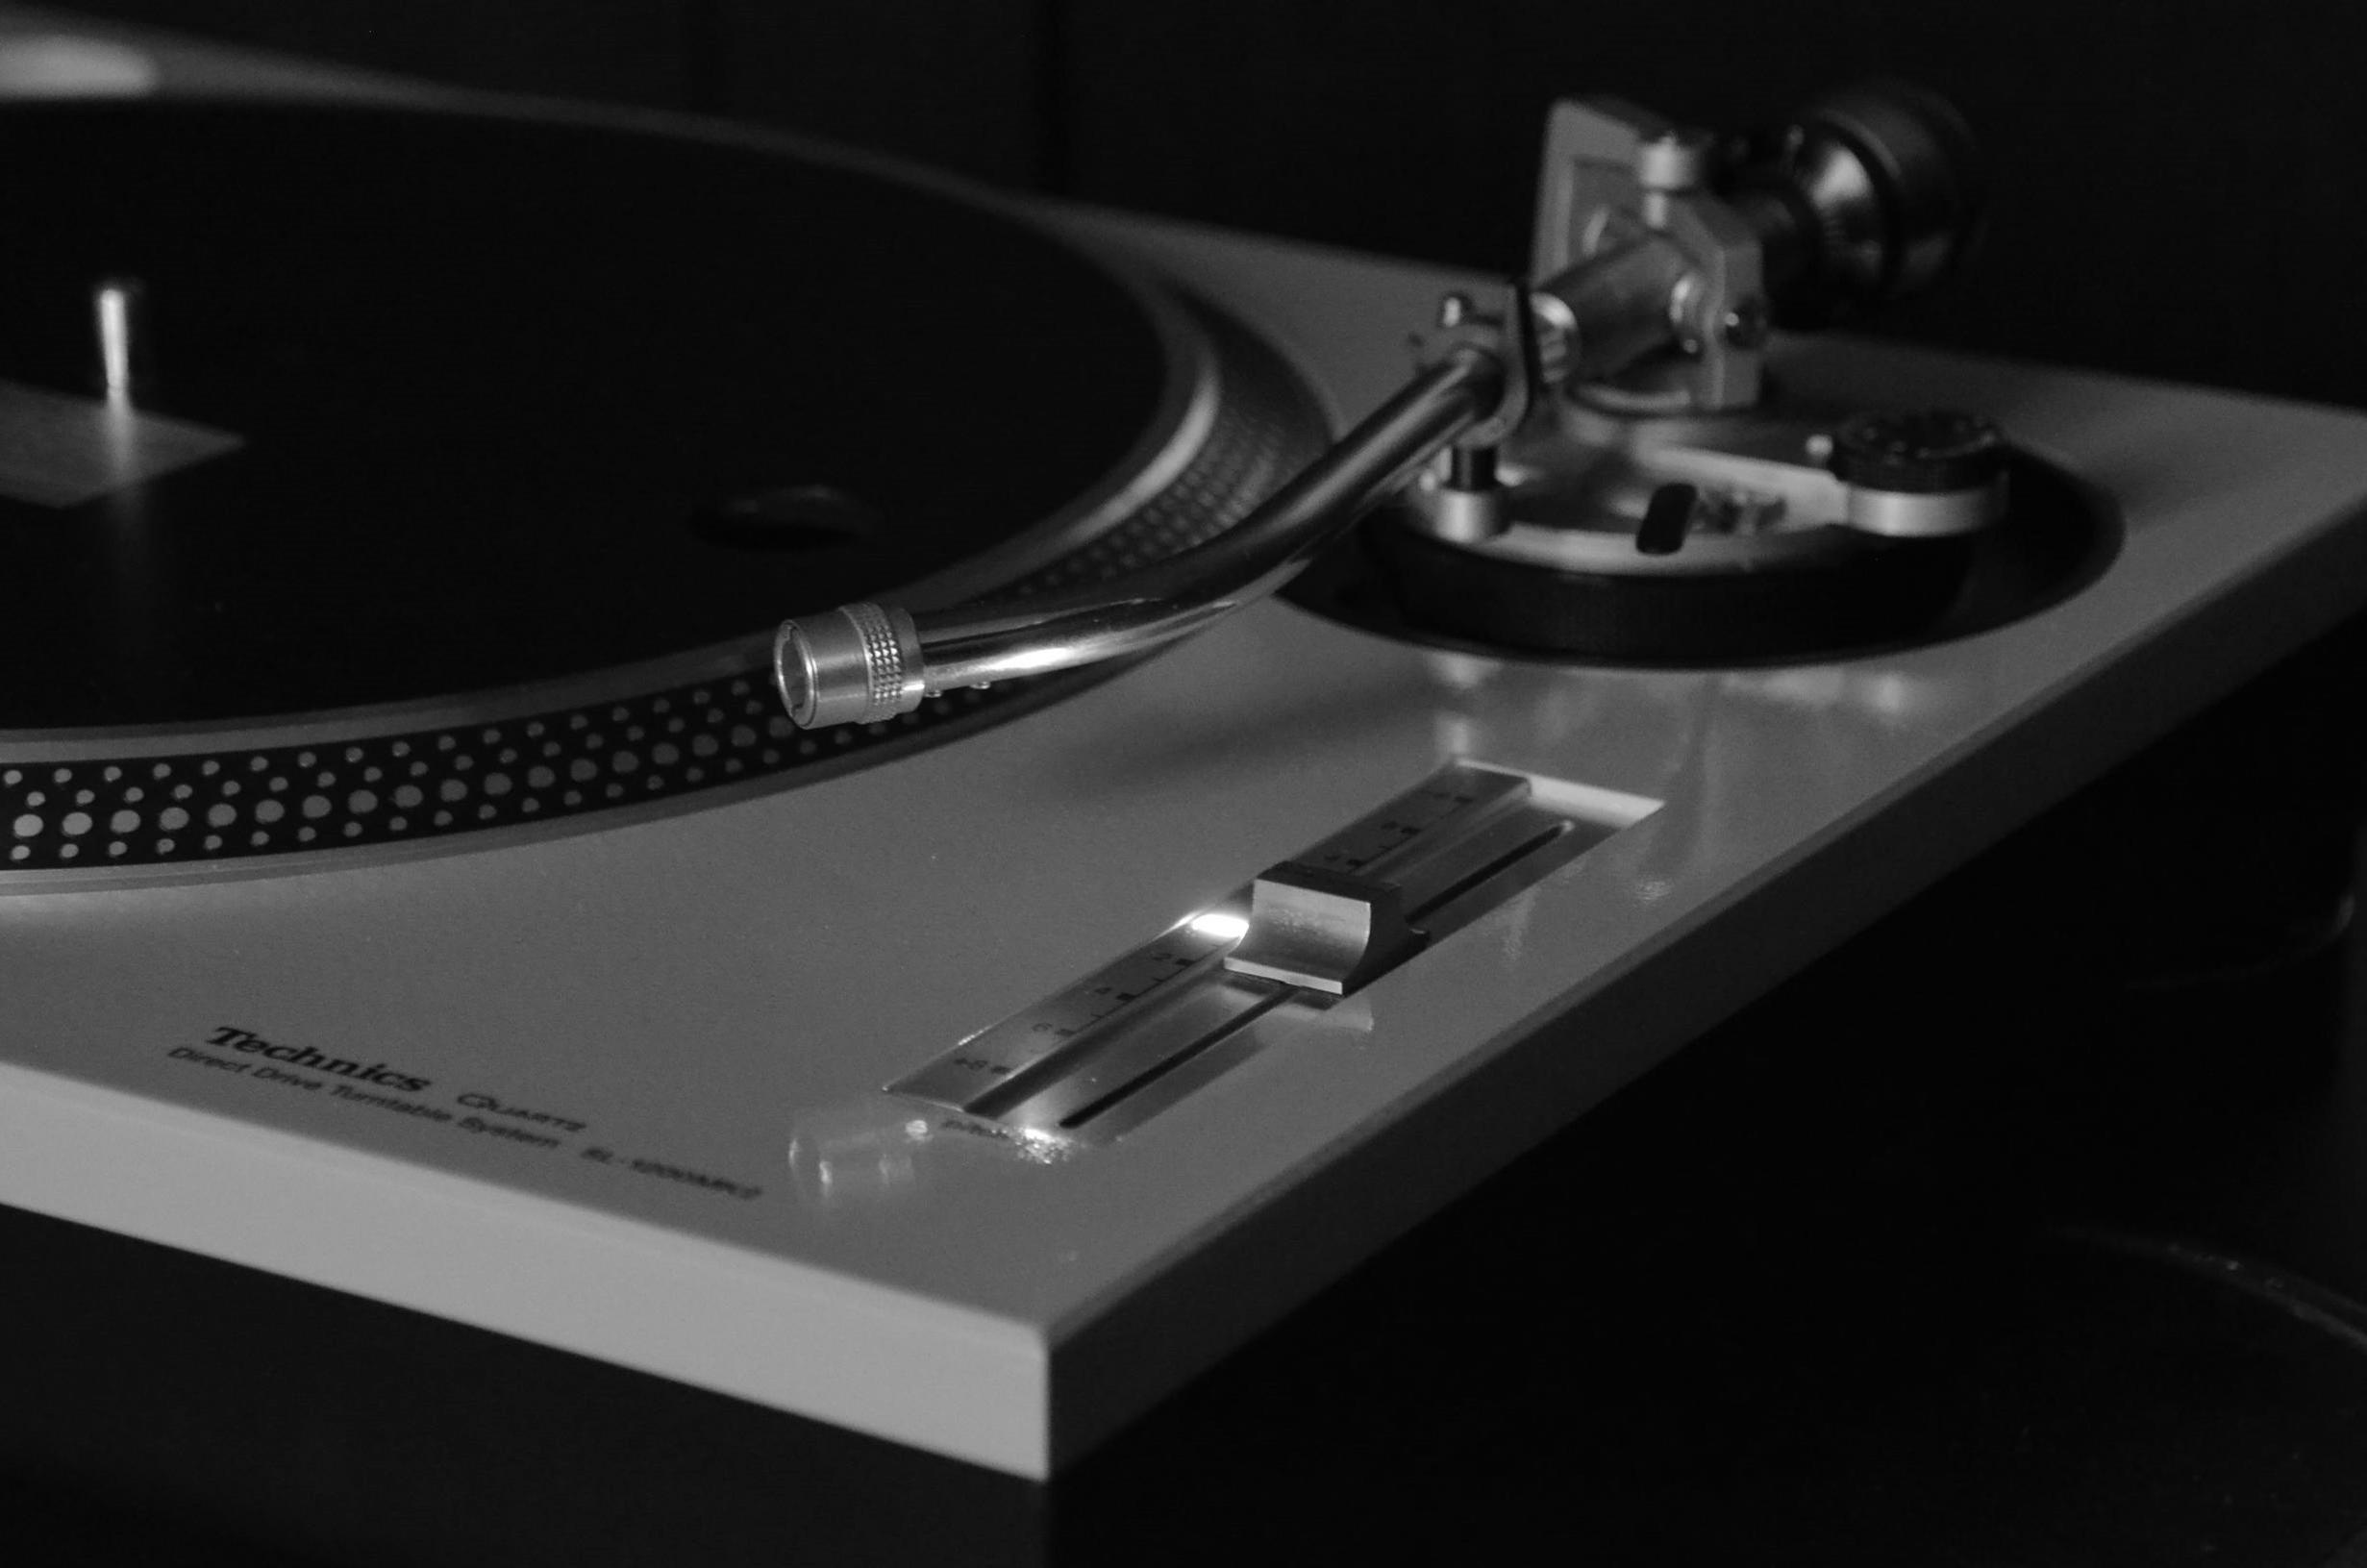
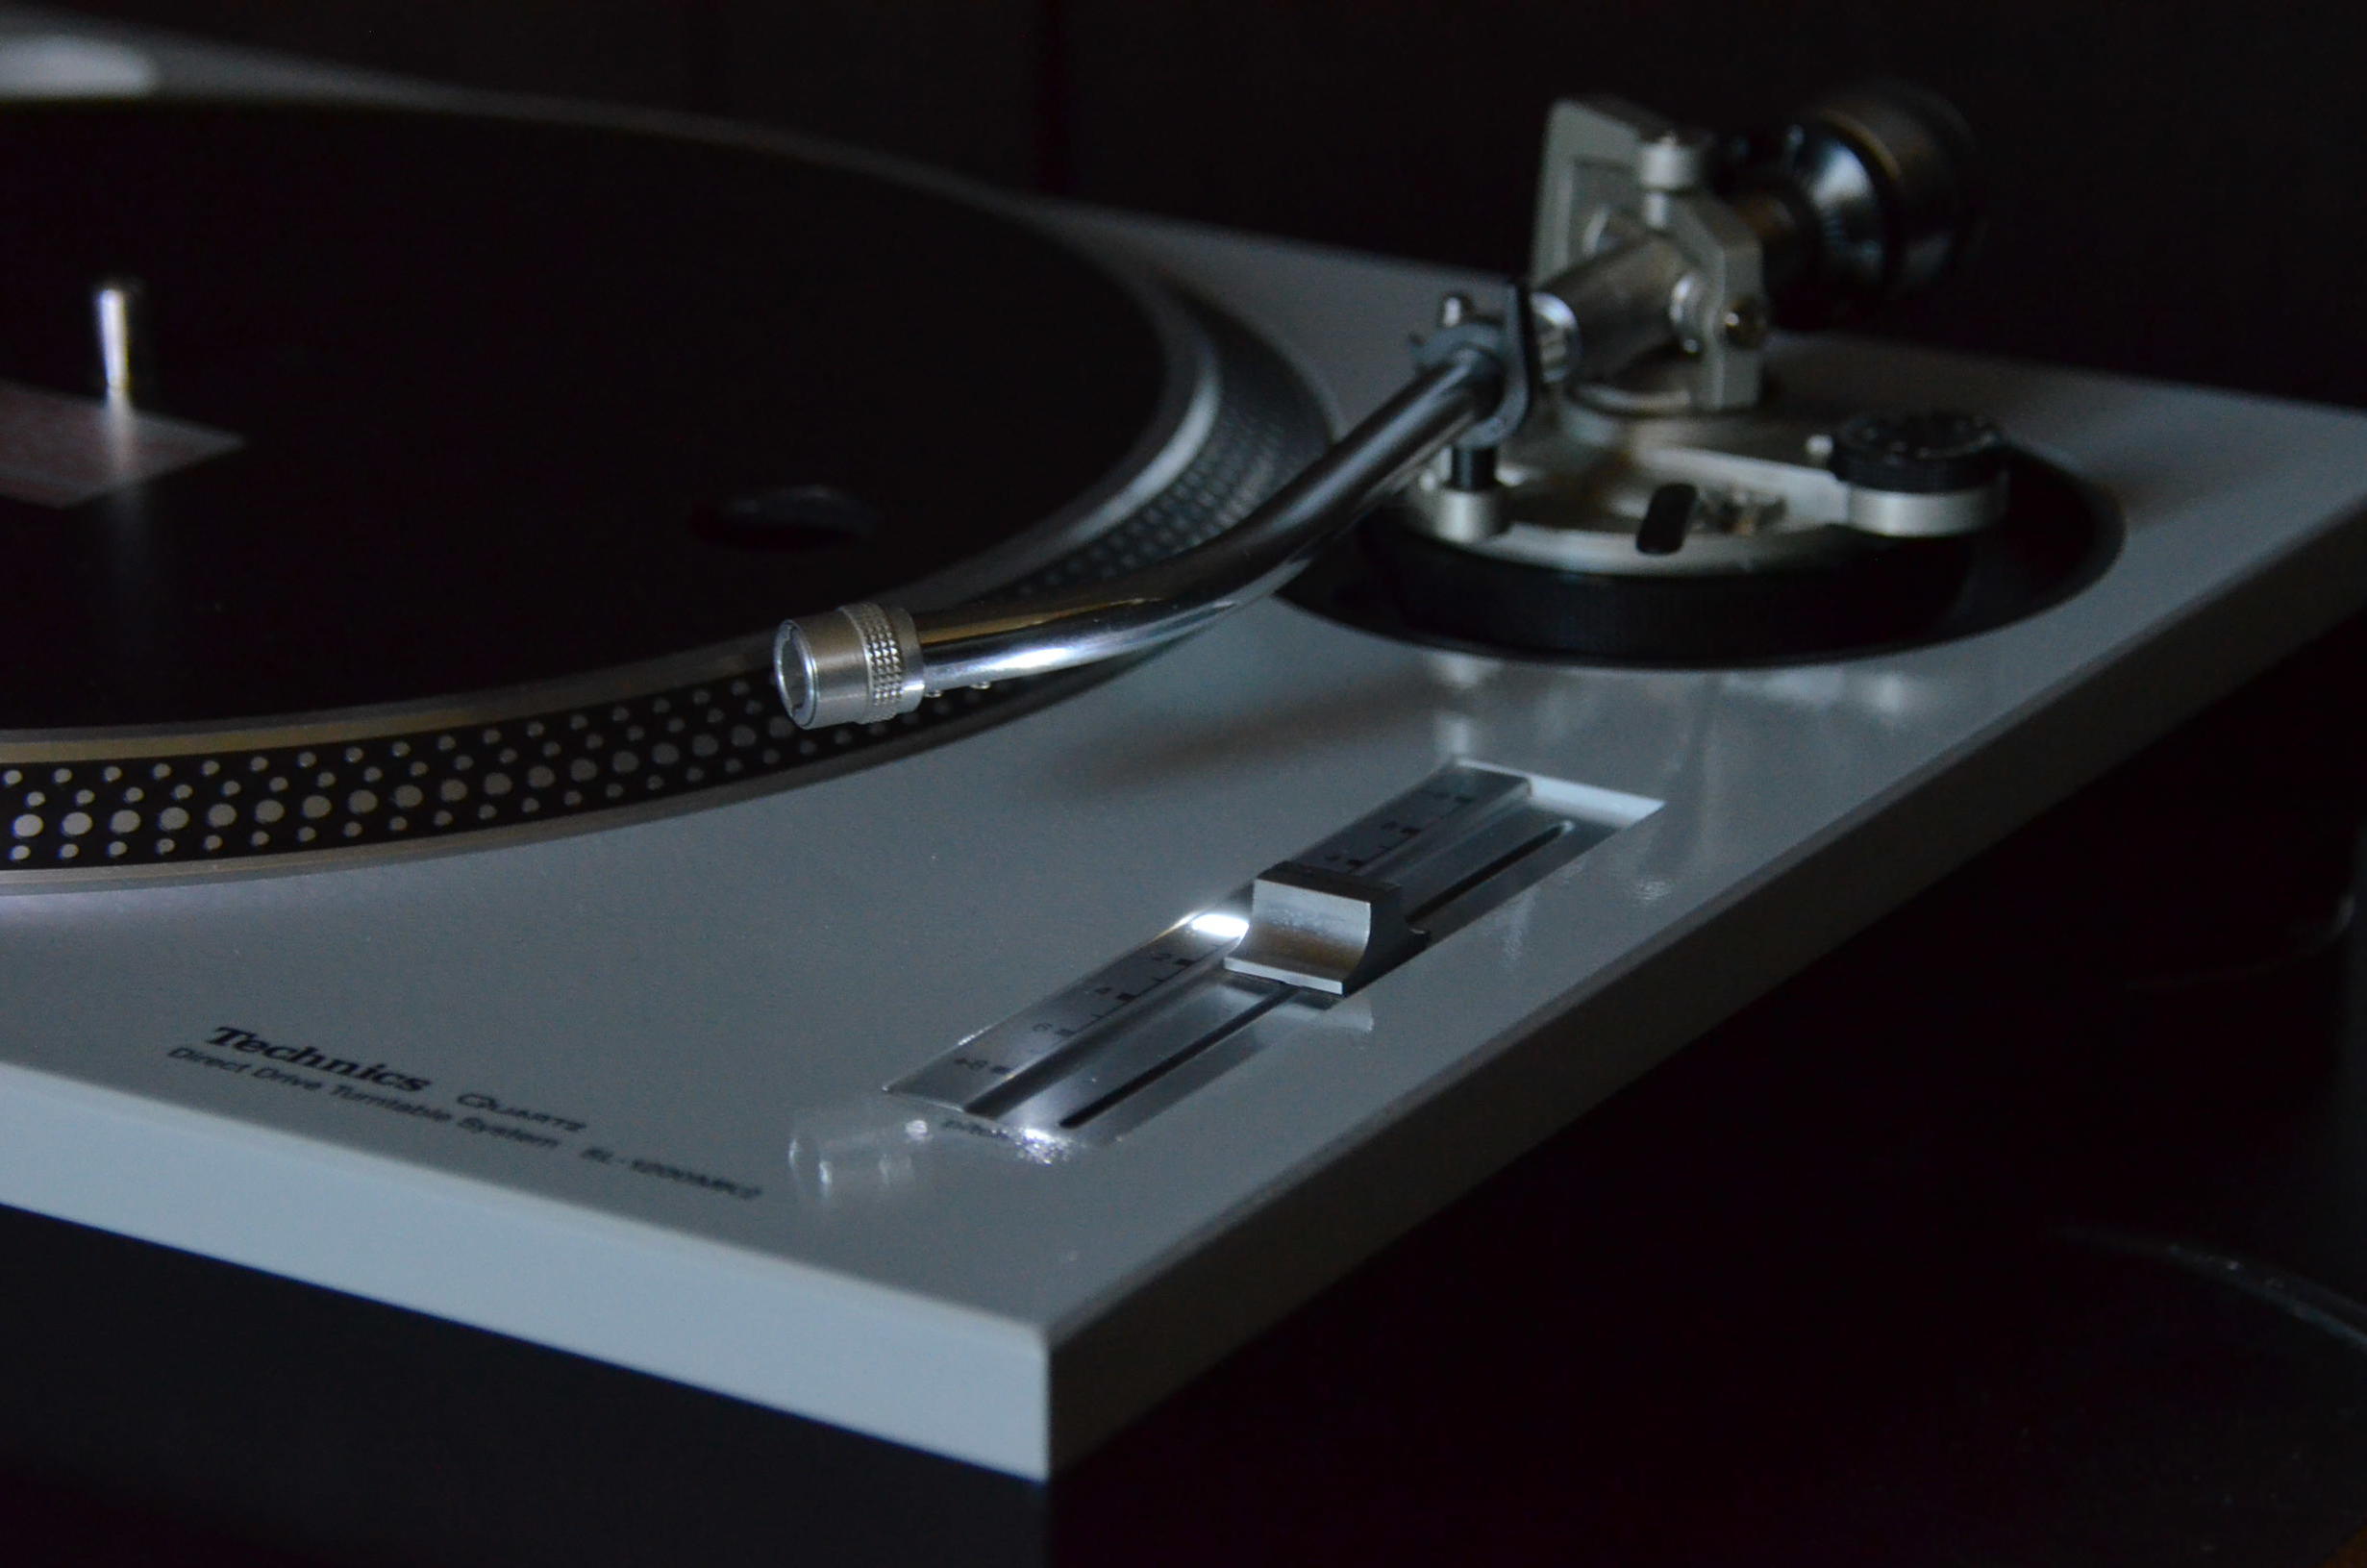
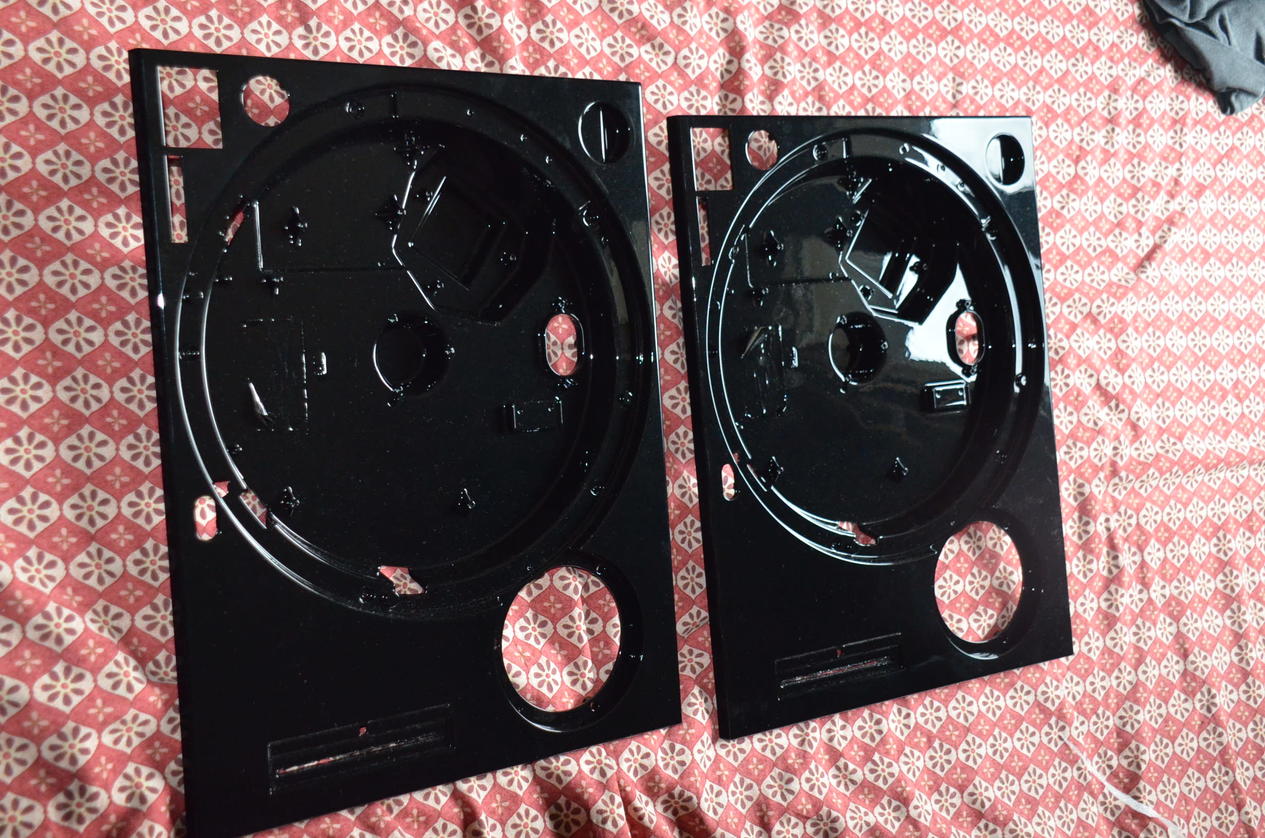
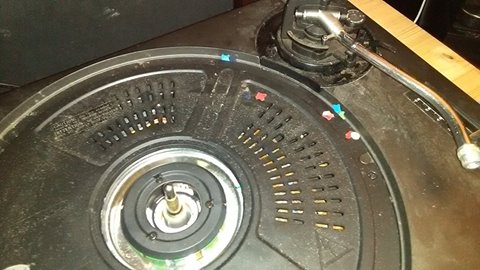
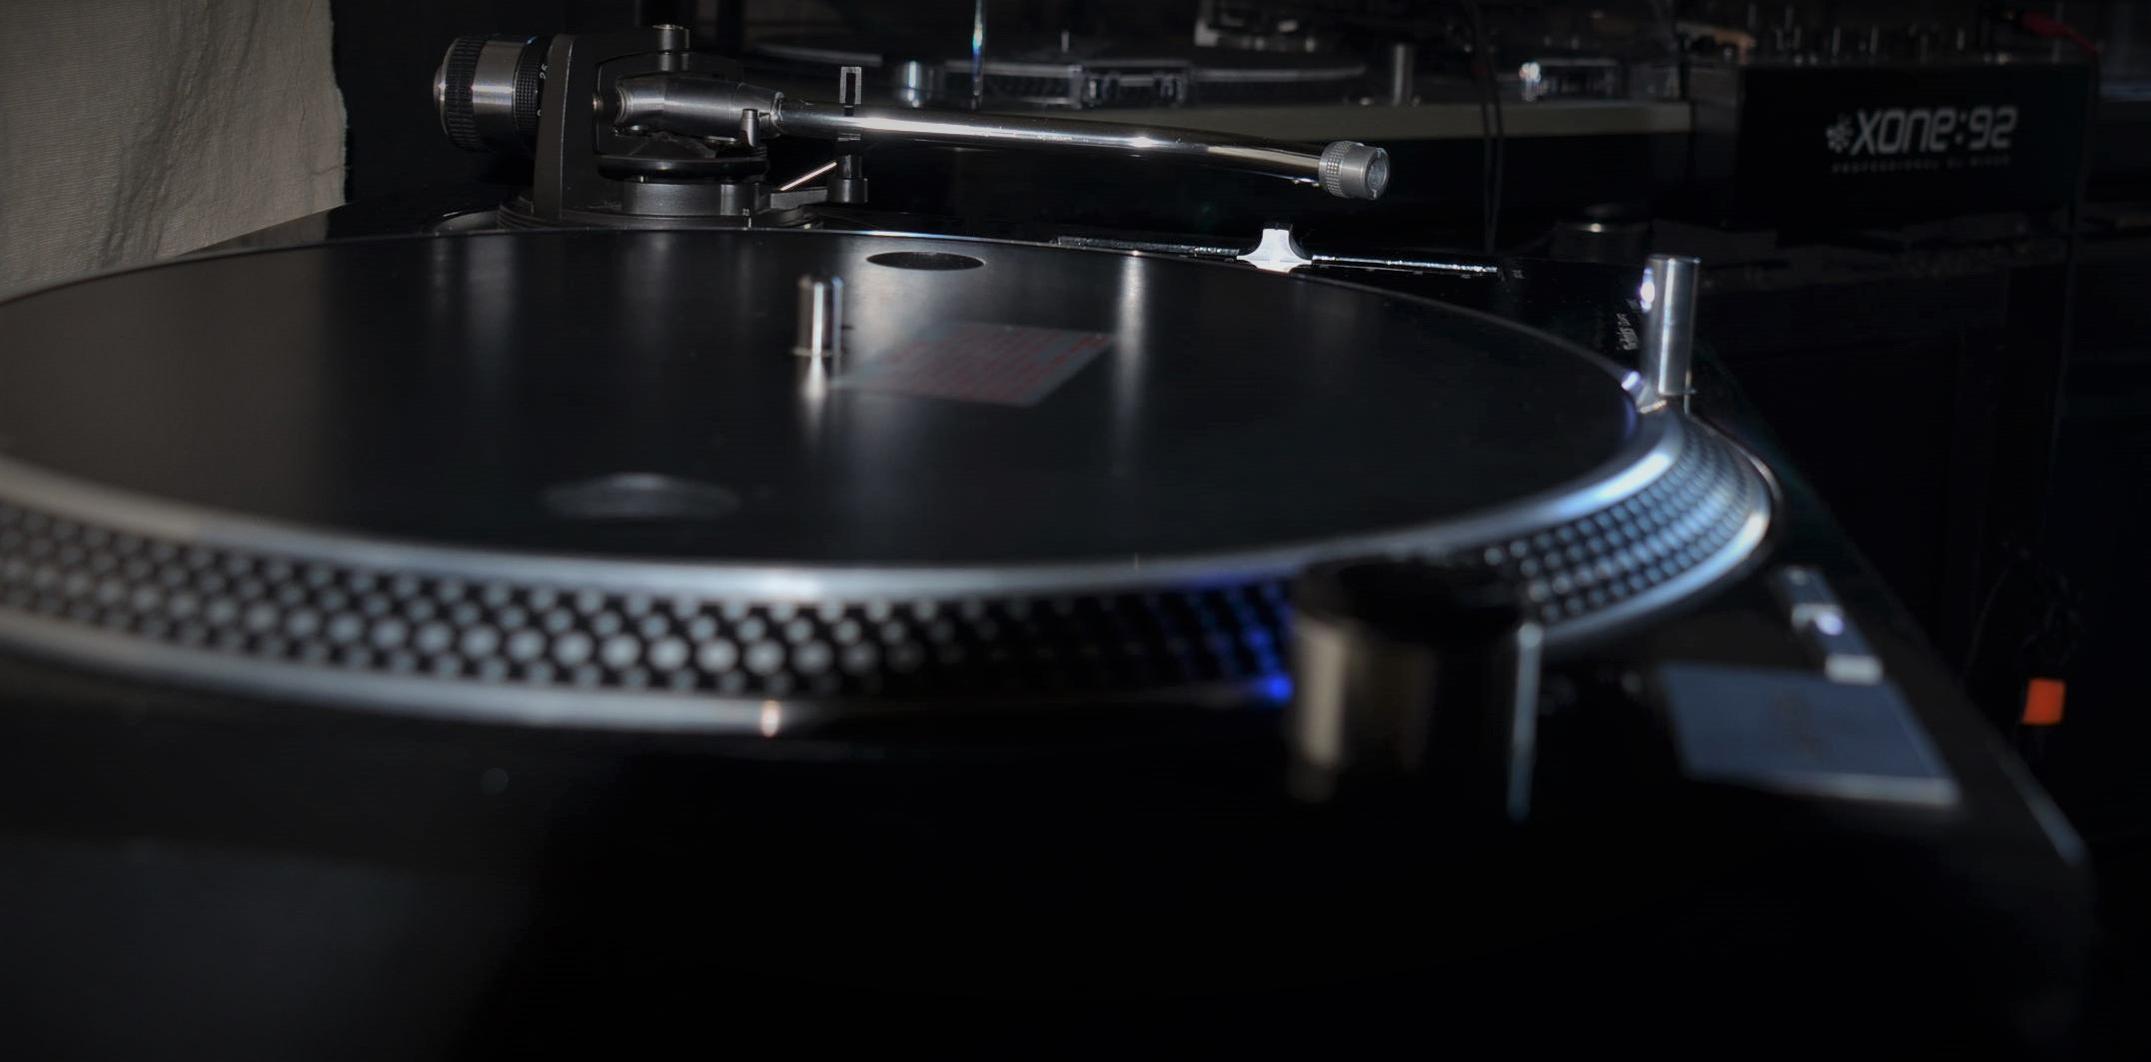
So the box can pass through the hole on the bottom? Looks like it is wider than the hole itself (on the left on this pic):
So, it pass through the hole on the left.
You just need to enlarge this 40 mm hole only for 1 o 2 mm , no more, just to be sure the RCA box will not force the hiole and be taken out easily if needeed for any fix. If you not enlarge it for this 1/2 mm, it will be less convenient if you have to take it off later
because may be you need to force a little bit.
The box is made from plastci, print by 3D printer.
You use the 2 original screws from the aluminium tone arm bottom base for mount it on the tone arm base.
Thanks for the info.
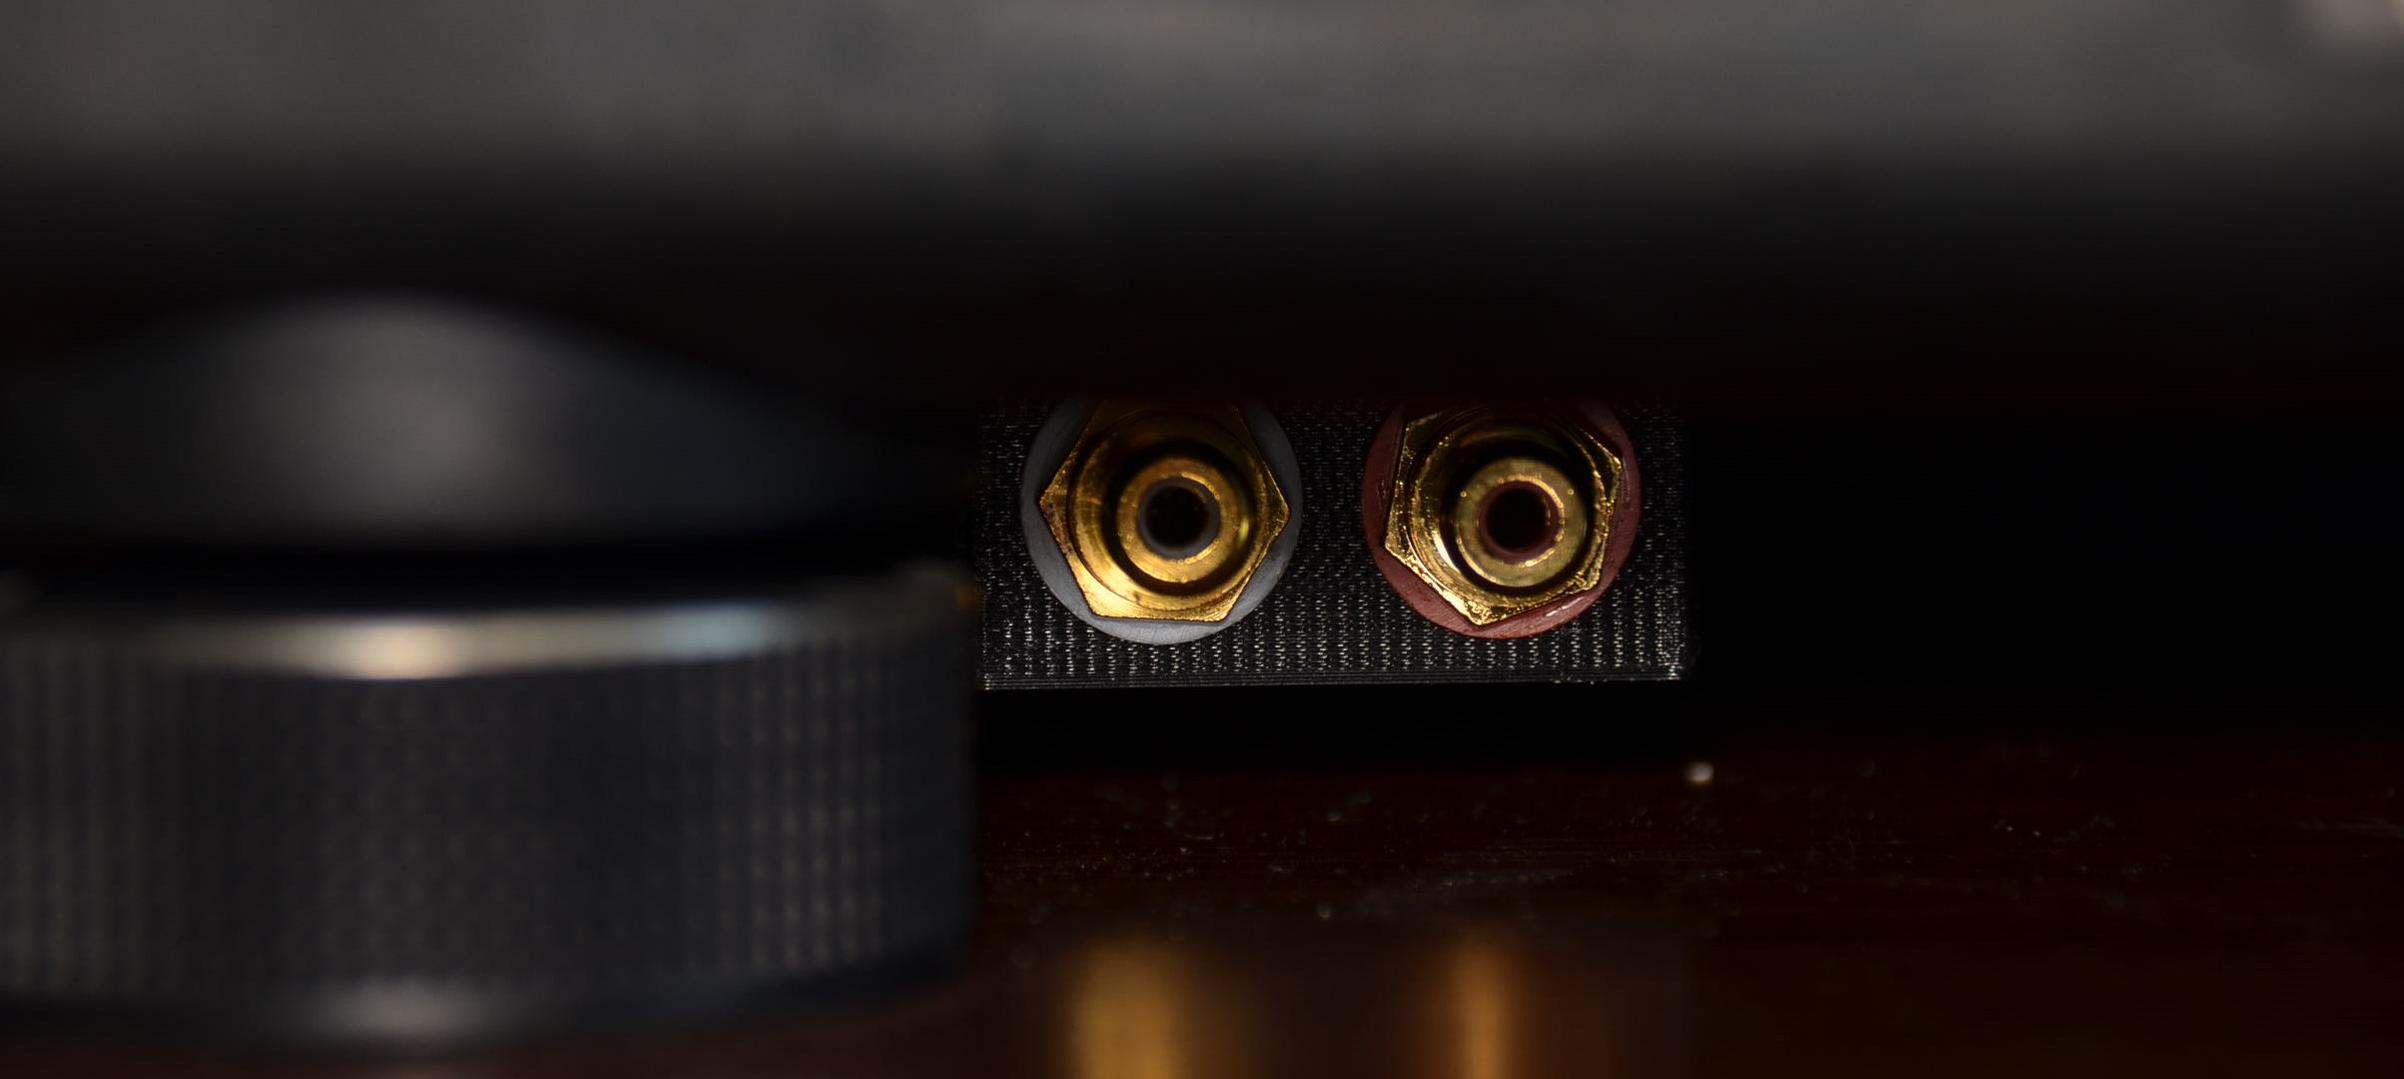
Important: in the configuration I show you, you can see that is a self grounding mount, means i supressed the tiny black ground wire.
if you want to keep a n independant ground wire , youneed to mount on the rca kit an additionnal ground base connector. You can see on the picture n° 2 , a small point on the right of the rca kit bottom wich is an indicator for where you have to pierce and install your groud base
That’s cool as I would keep the ground wire.
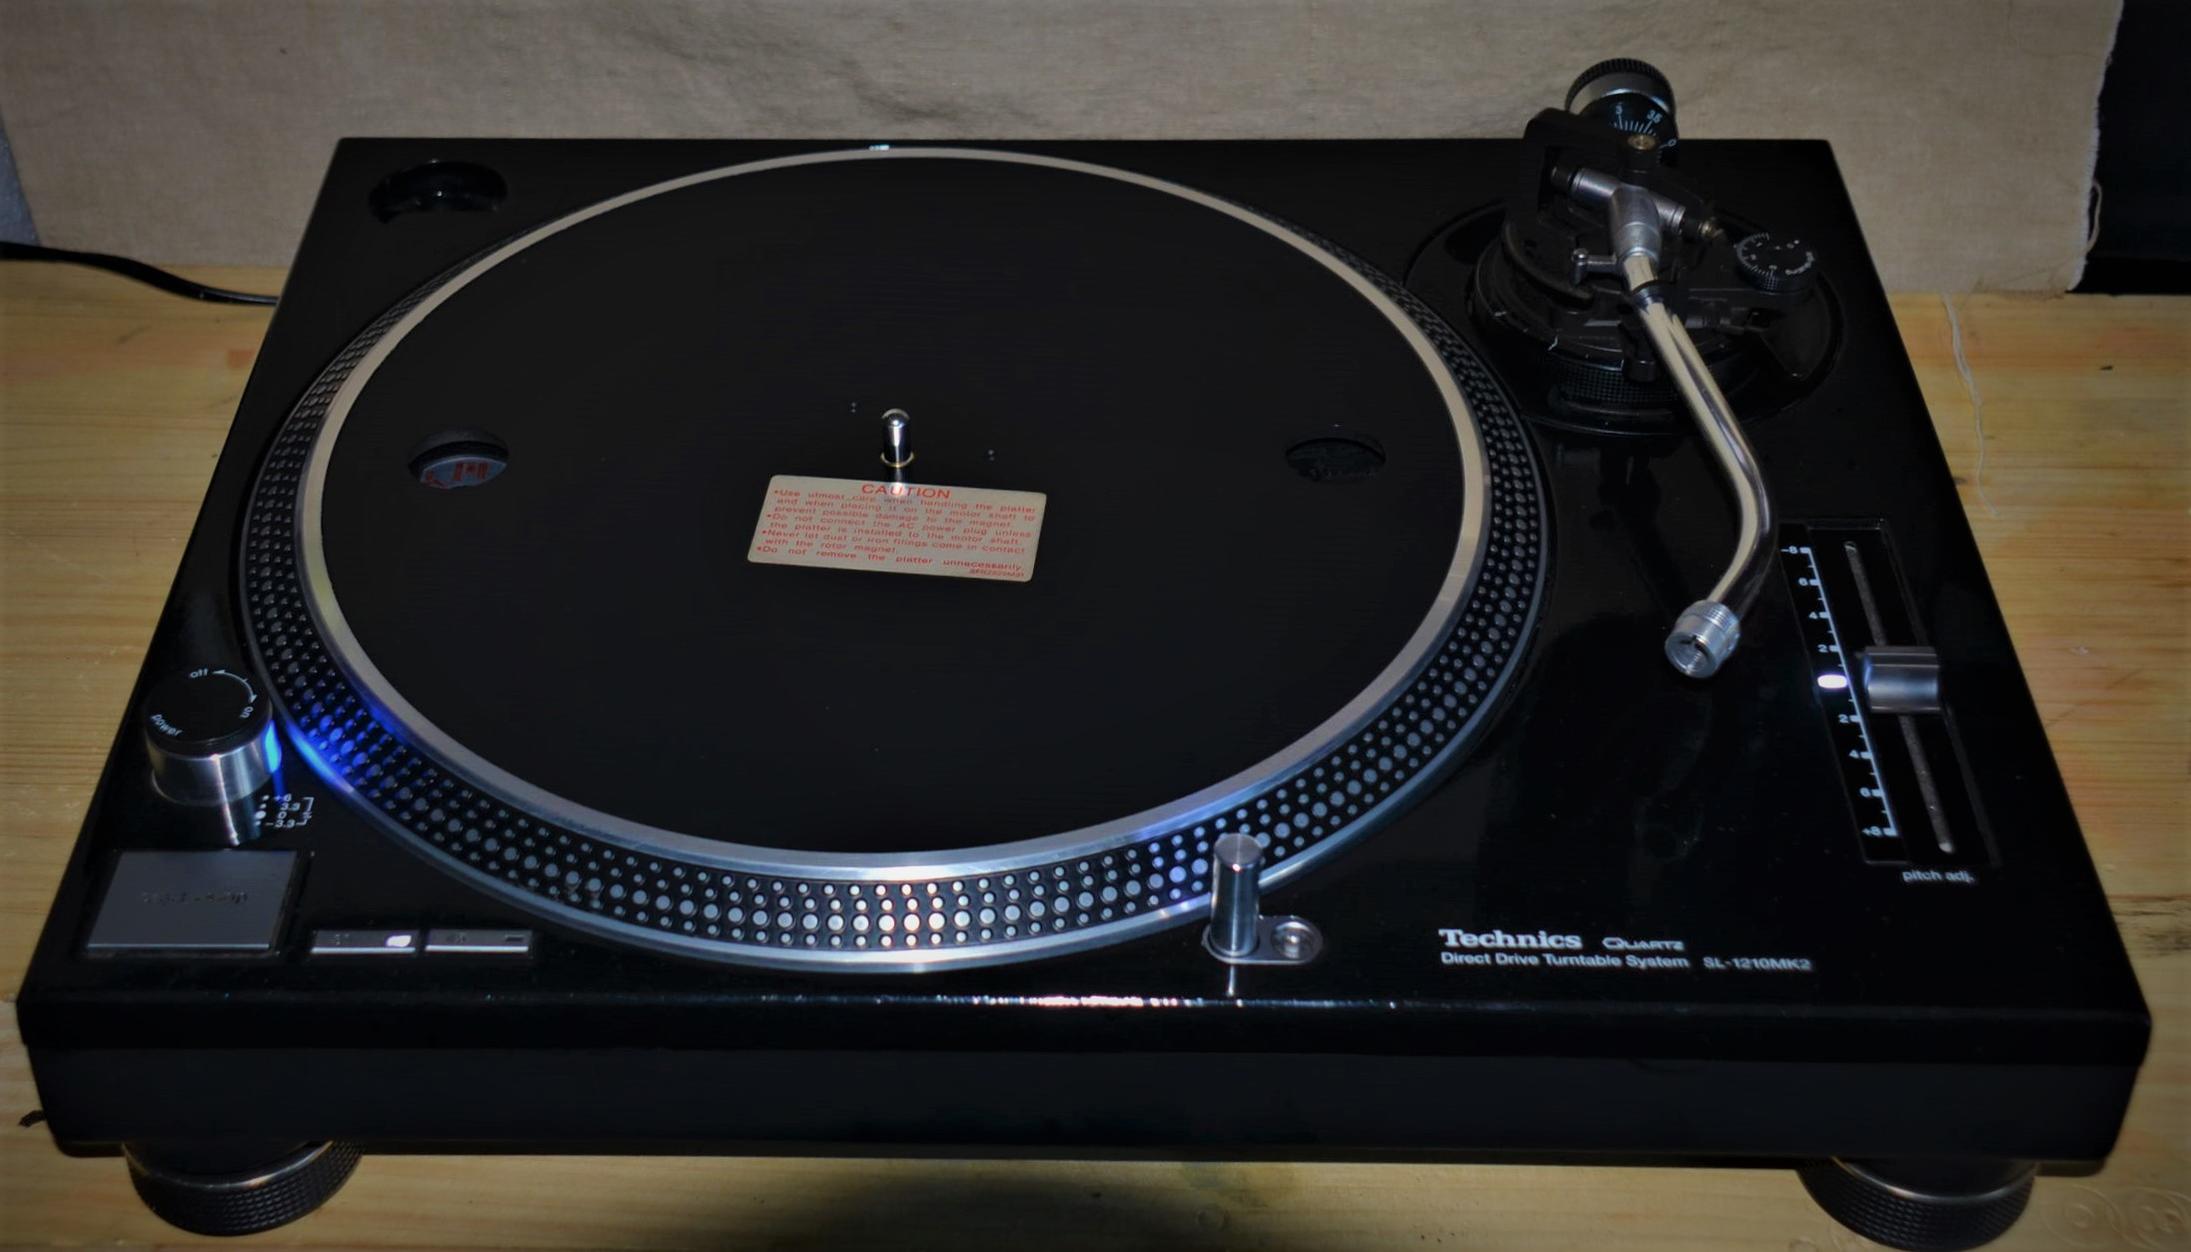
Last release
Full story album on
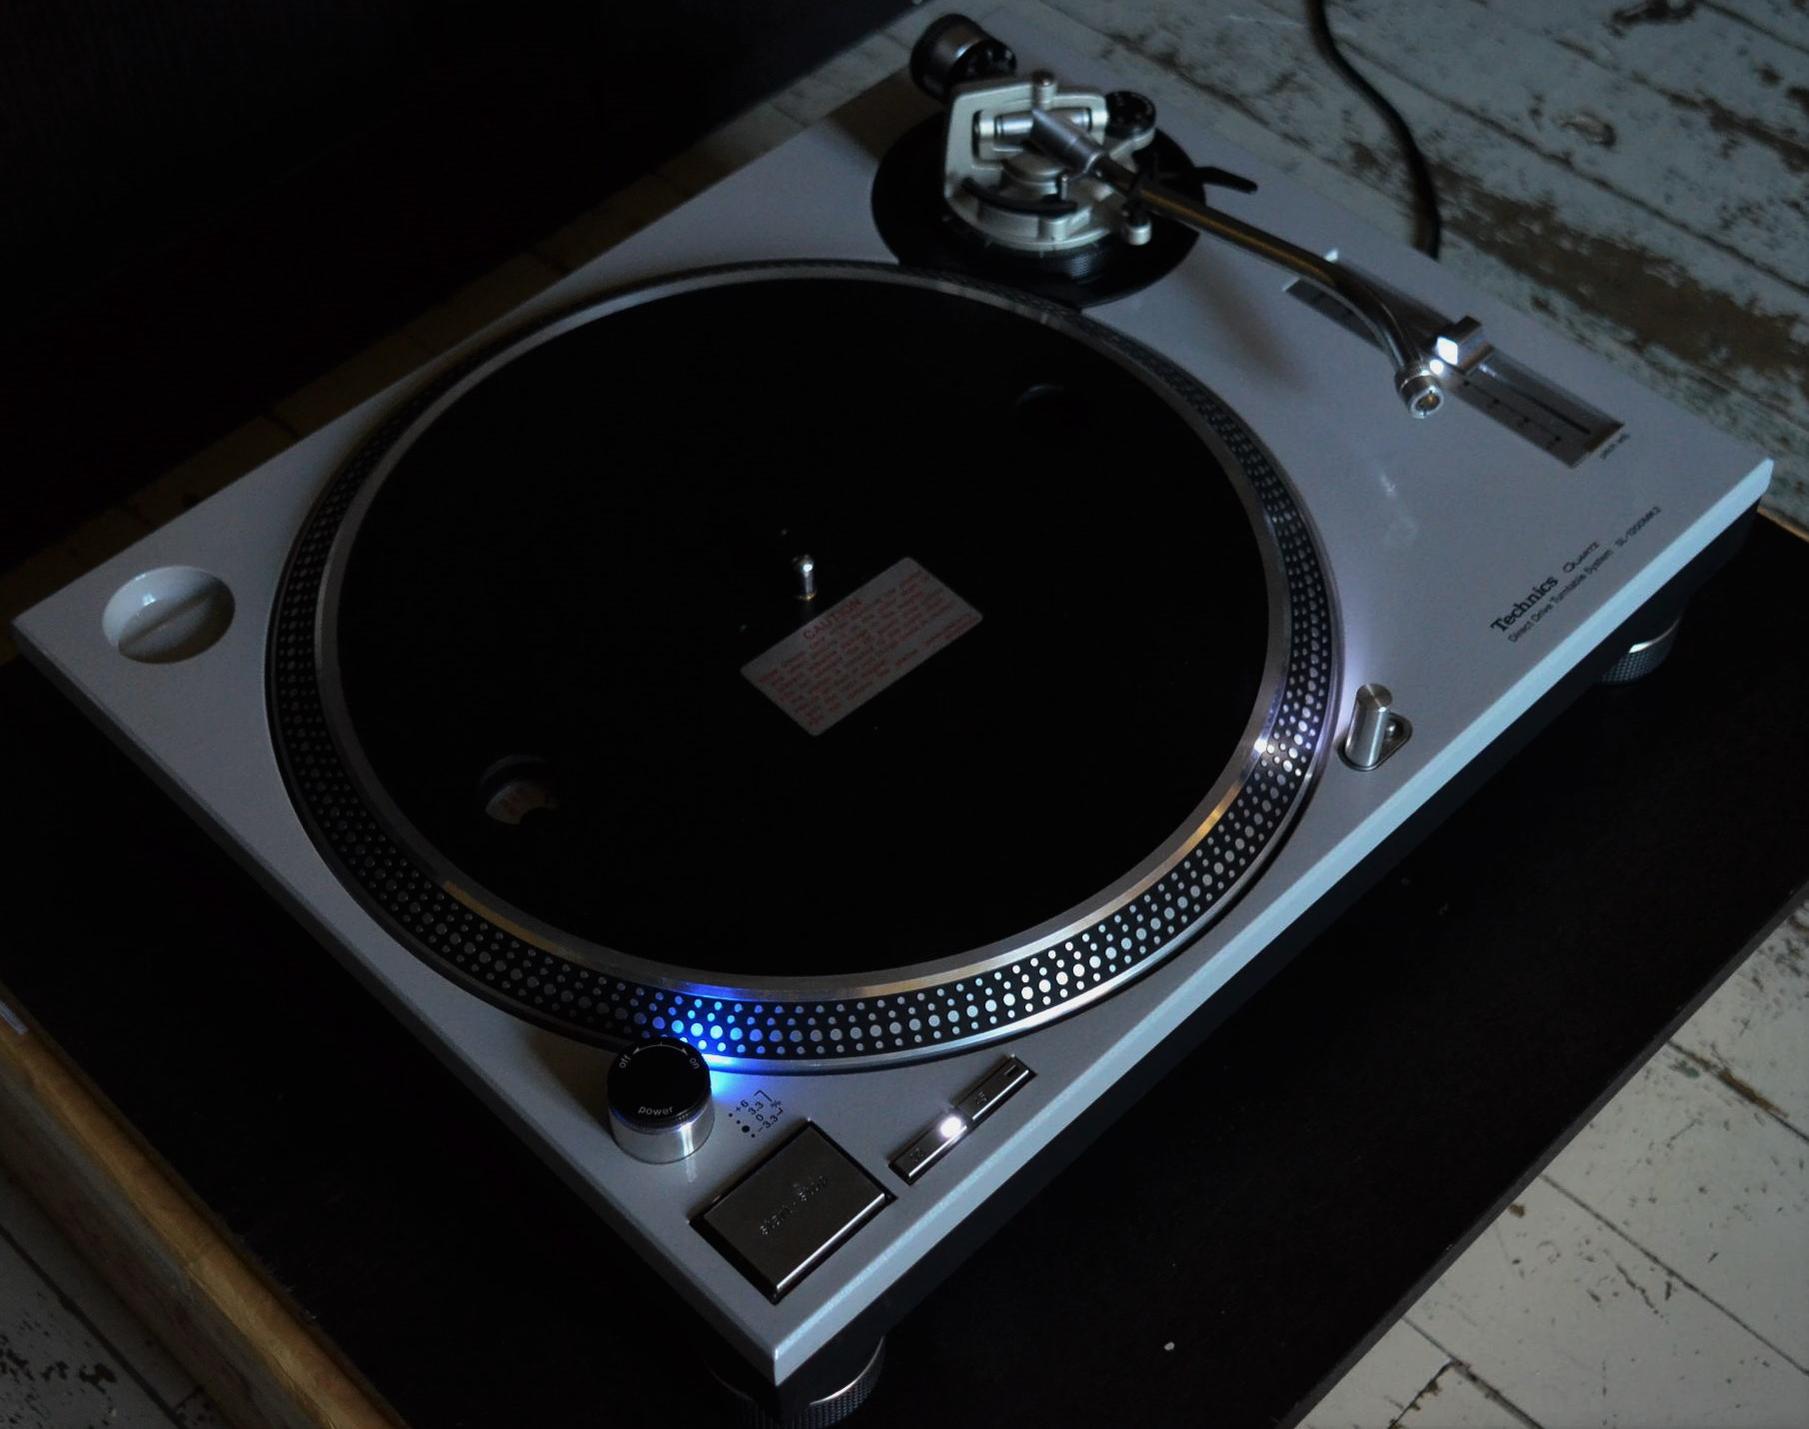
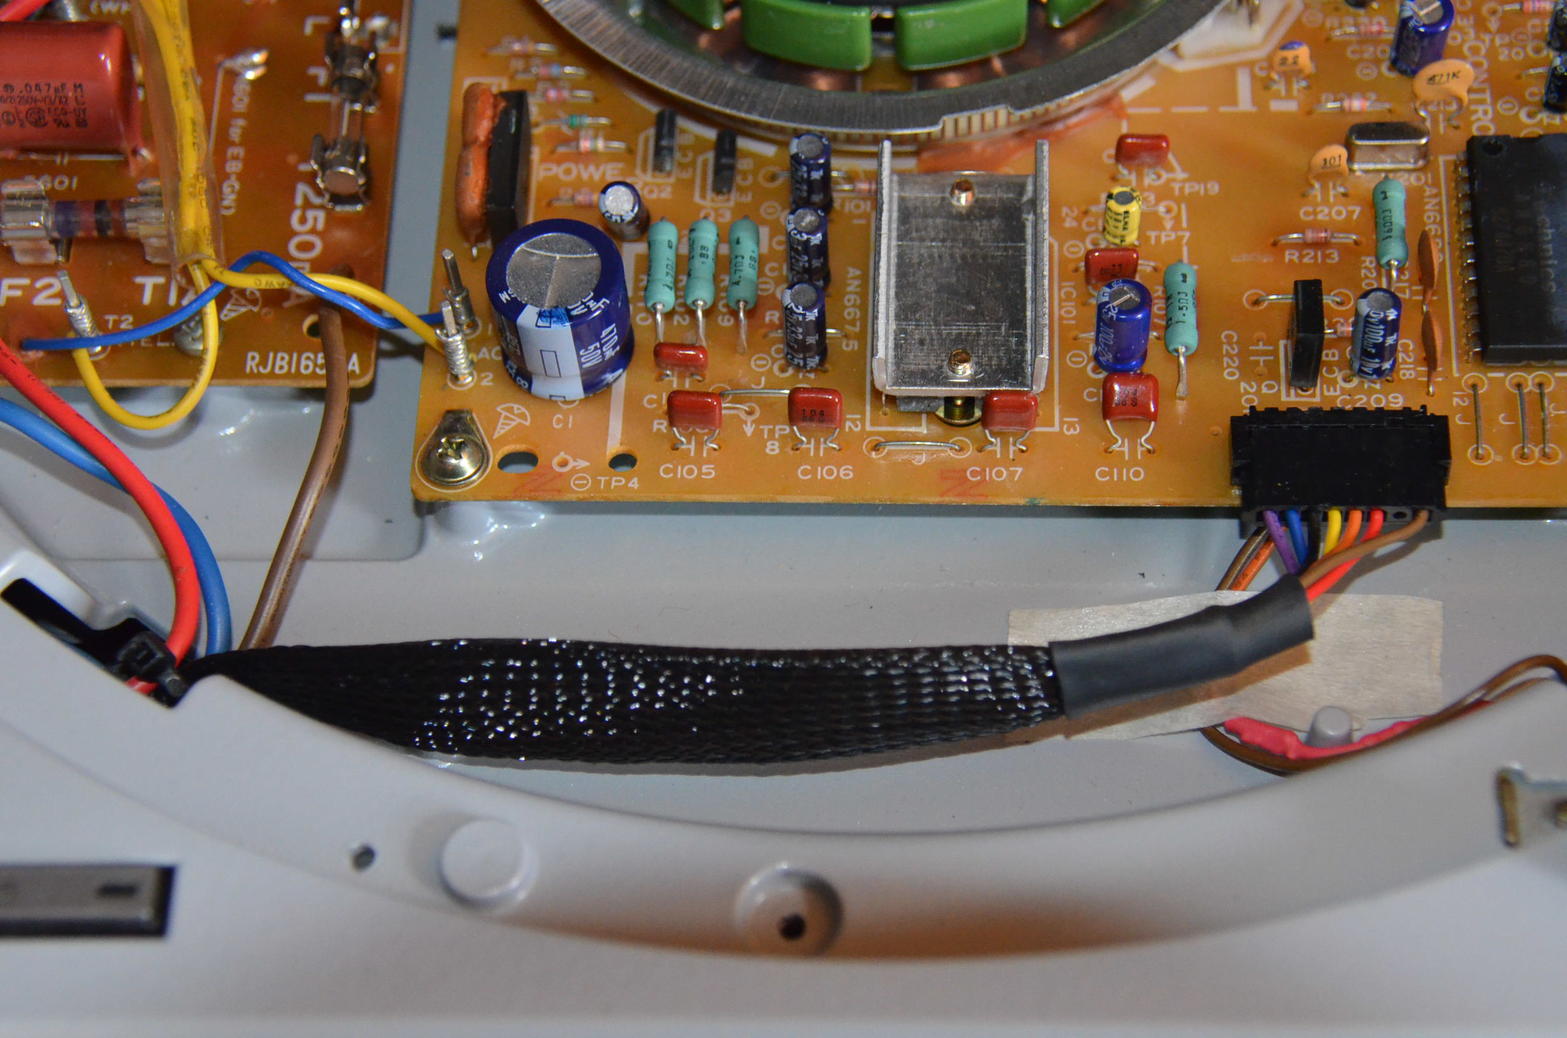
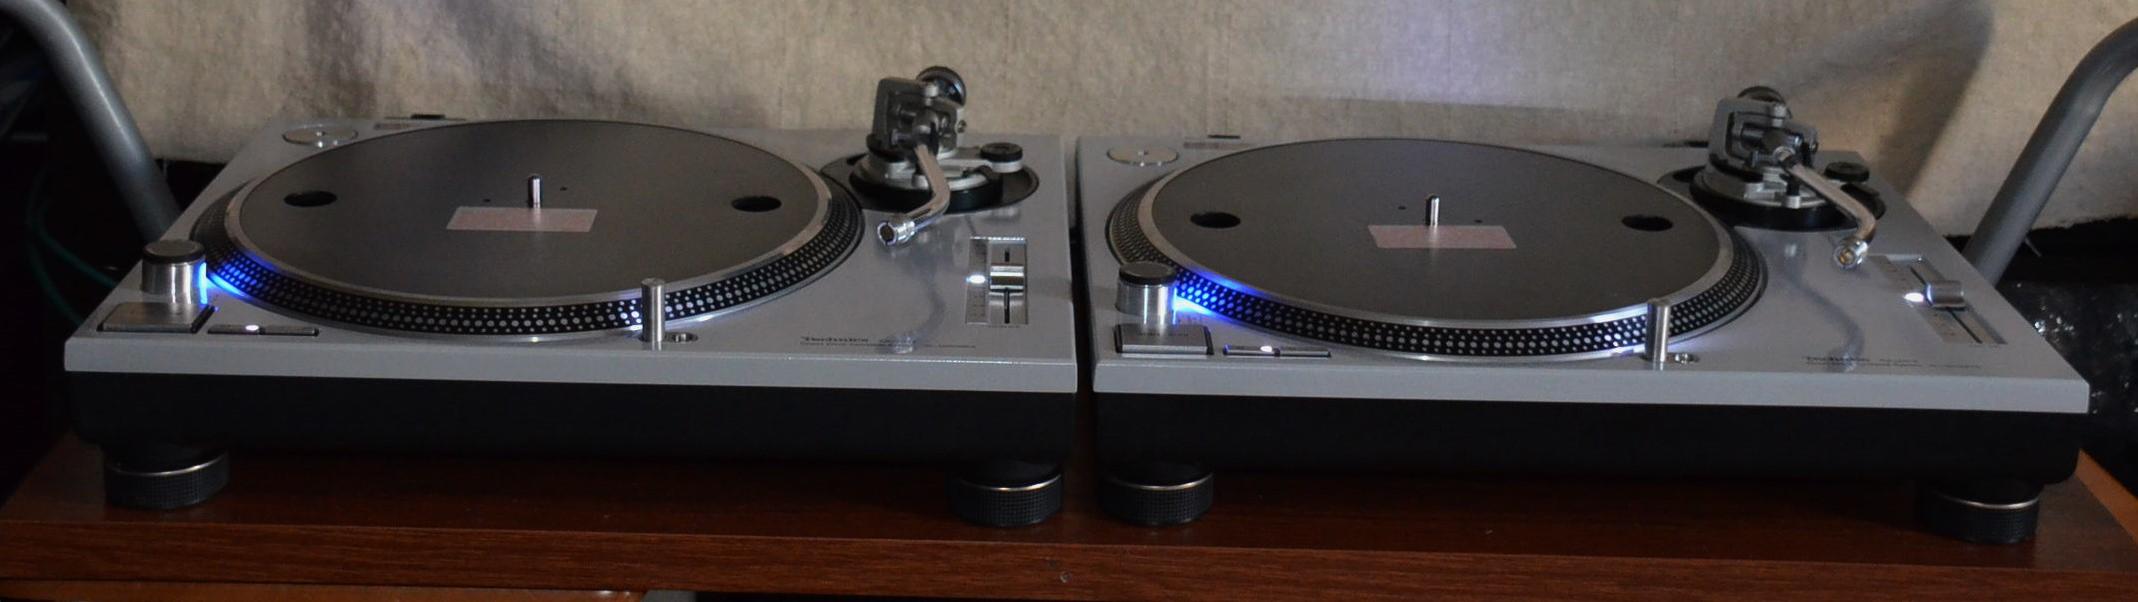
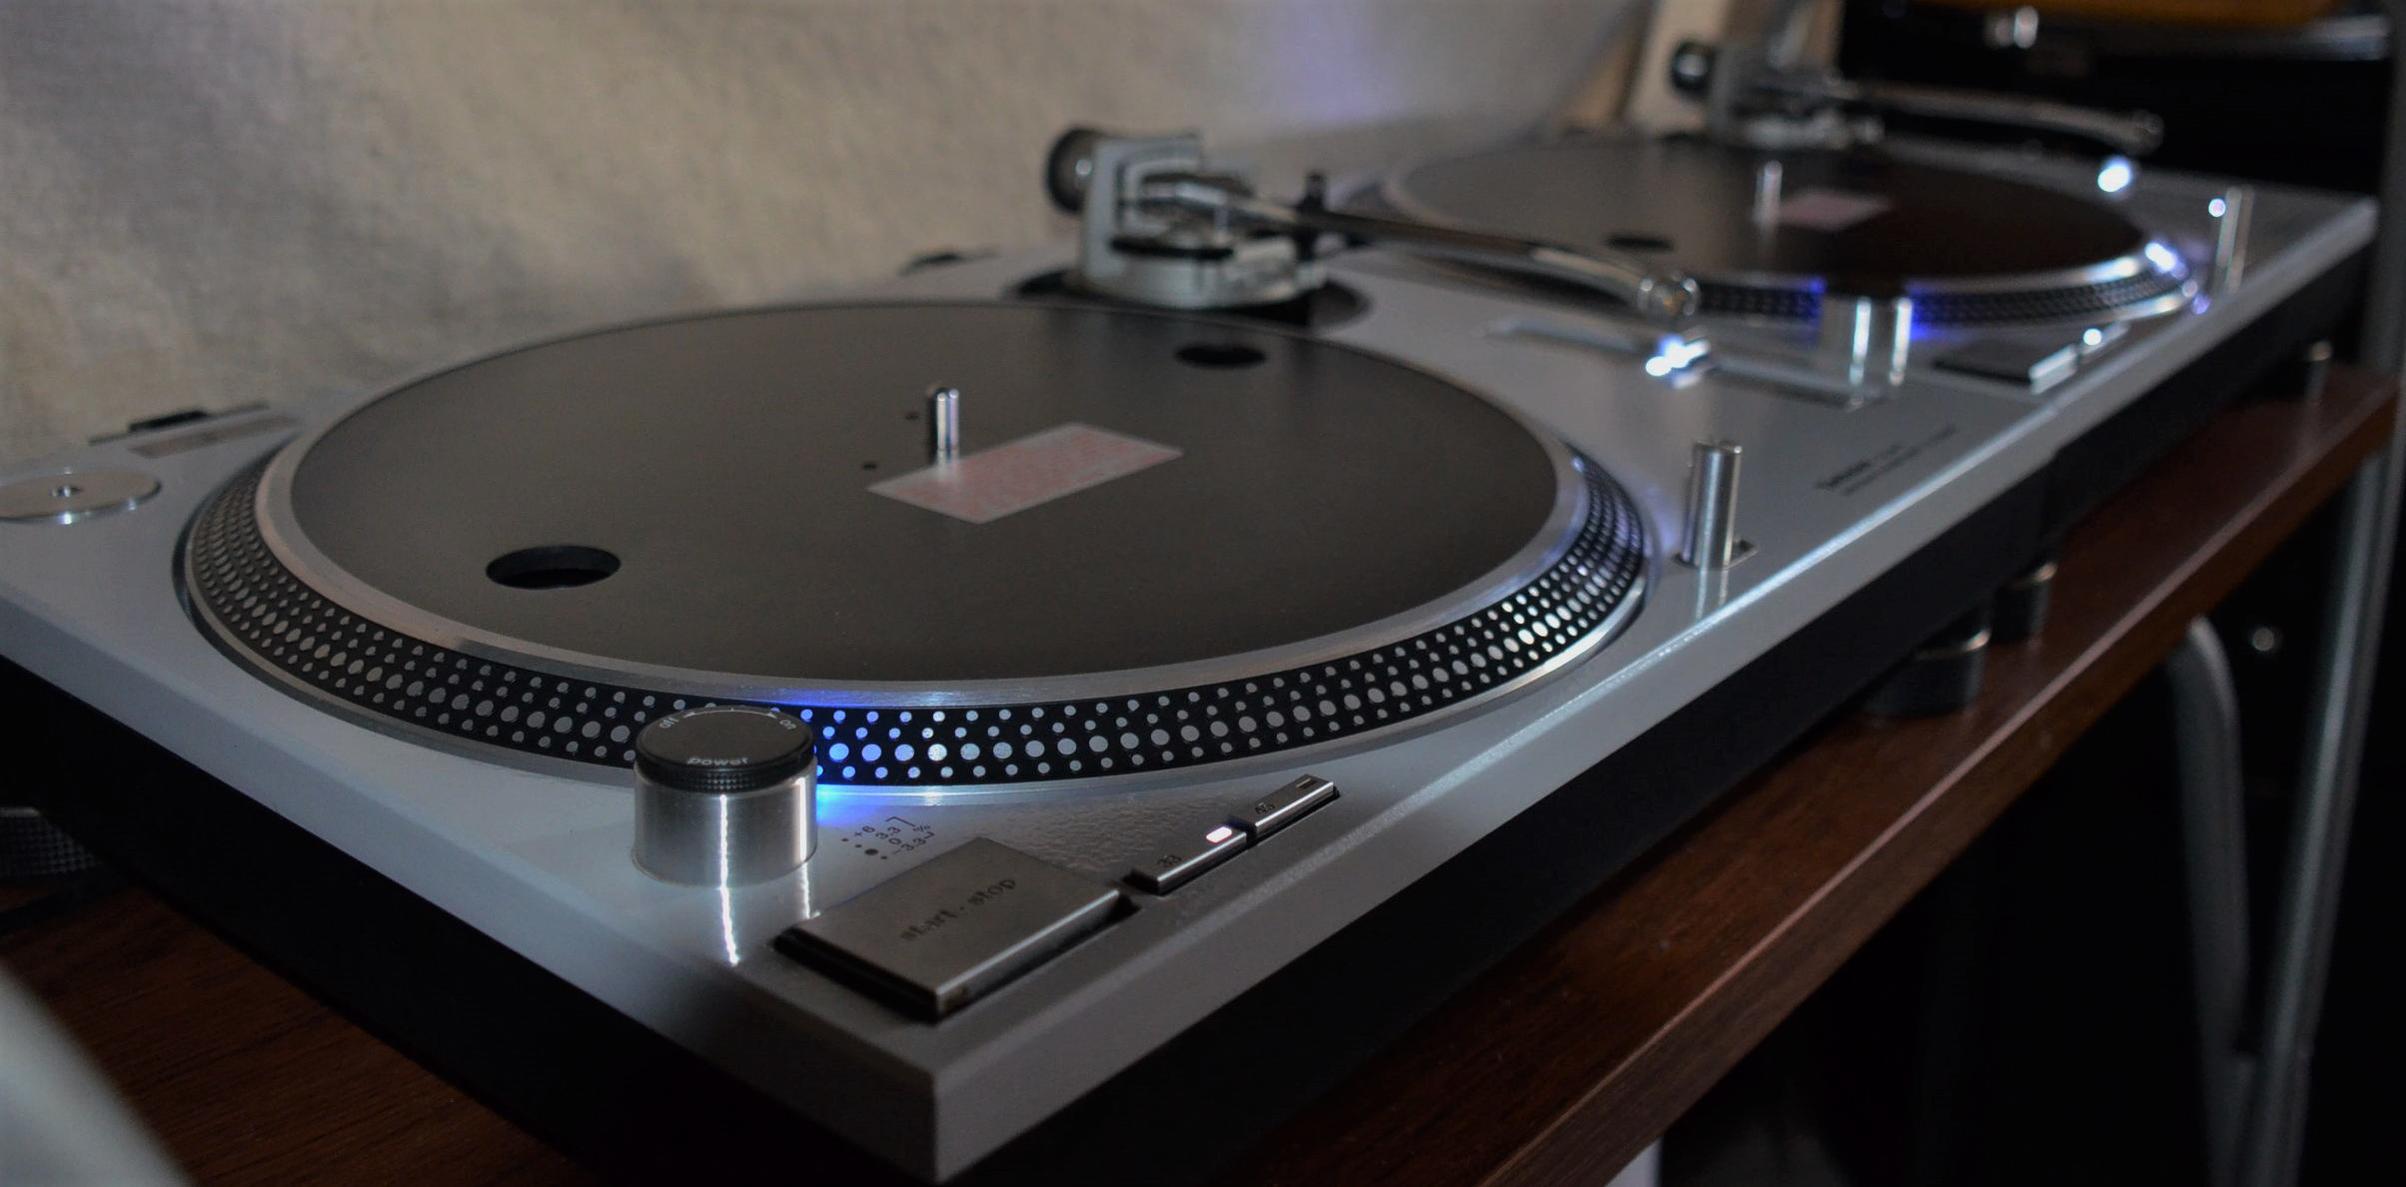
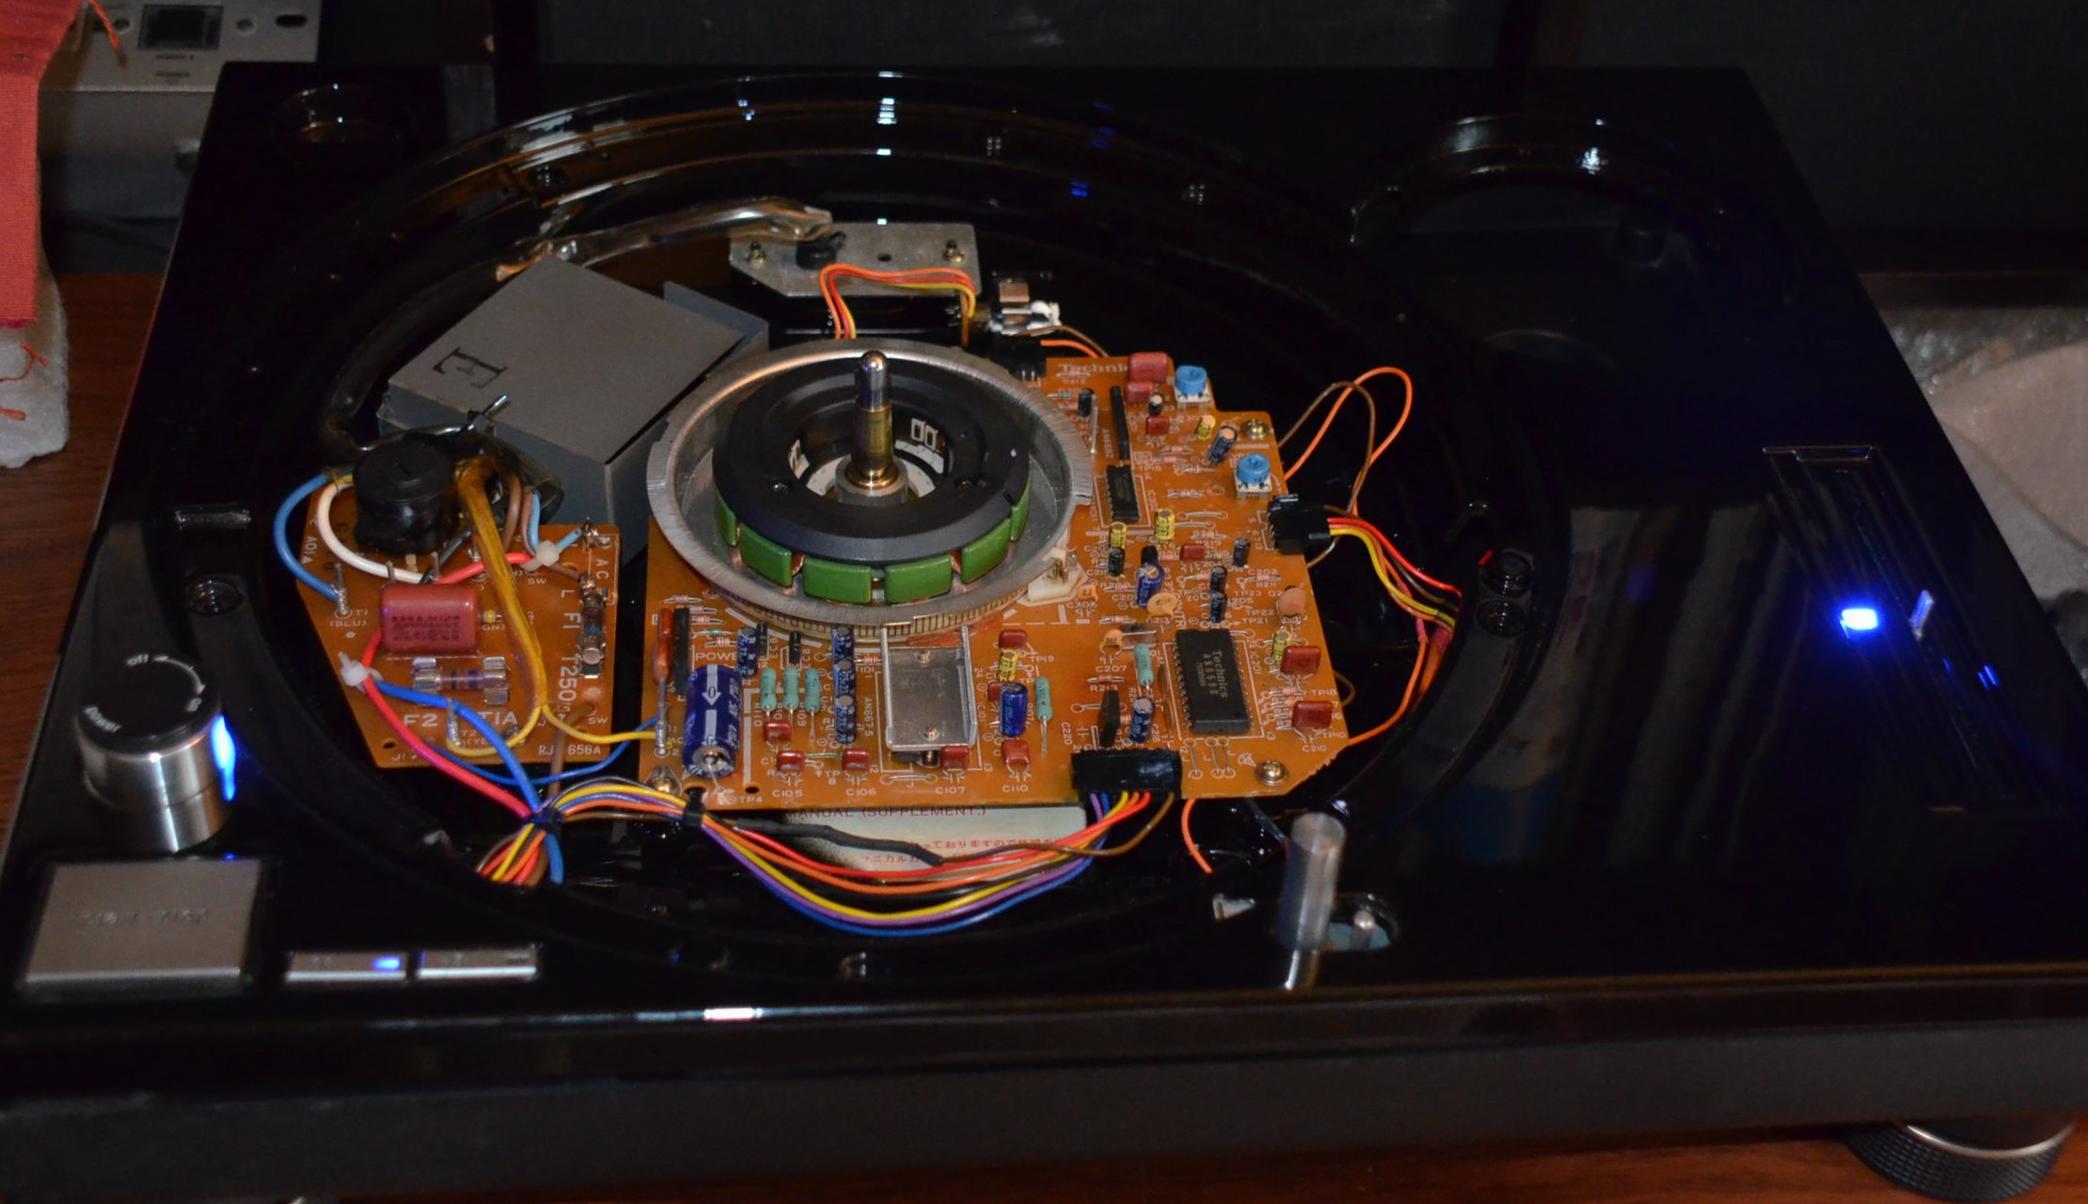
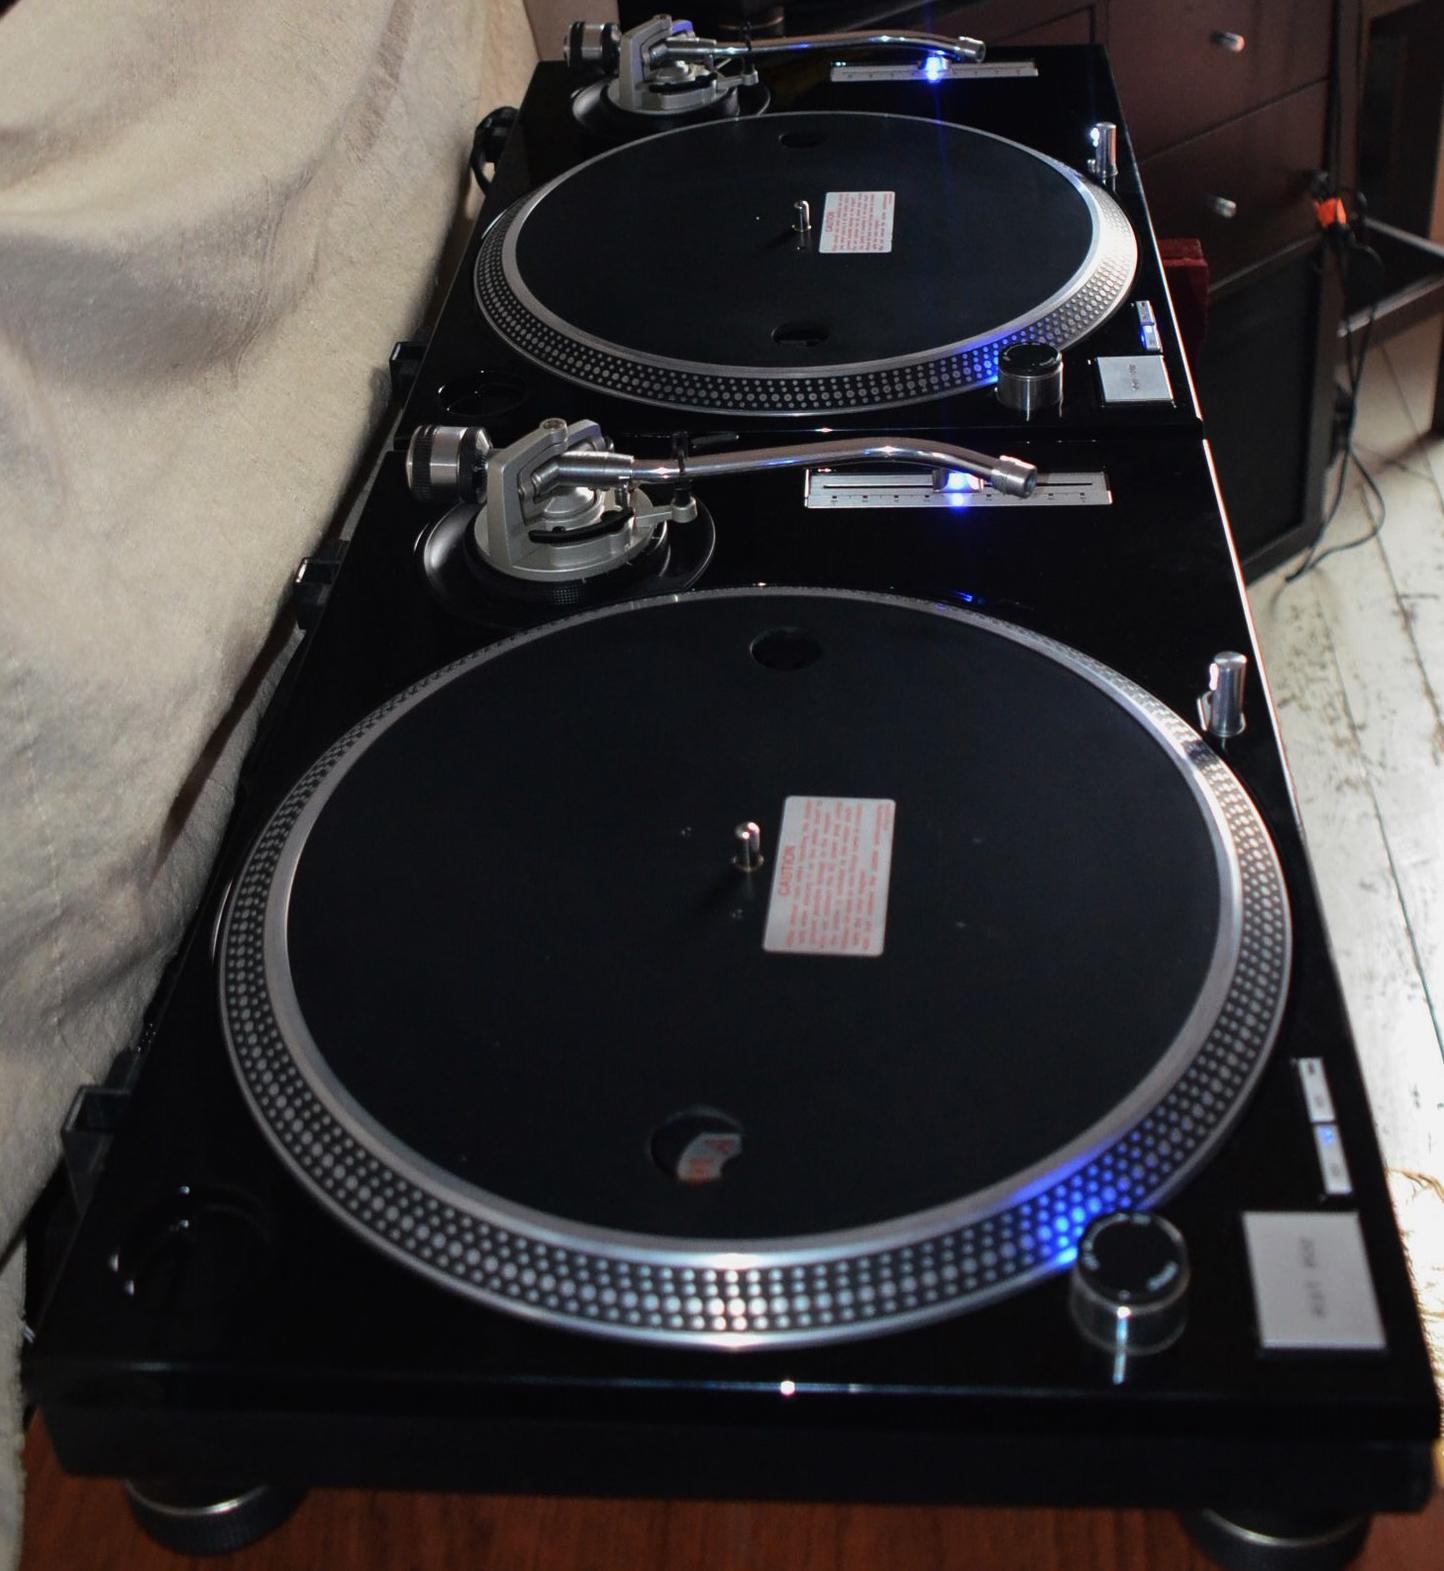
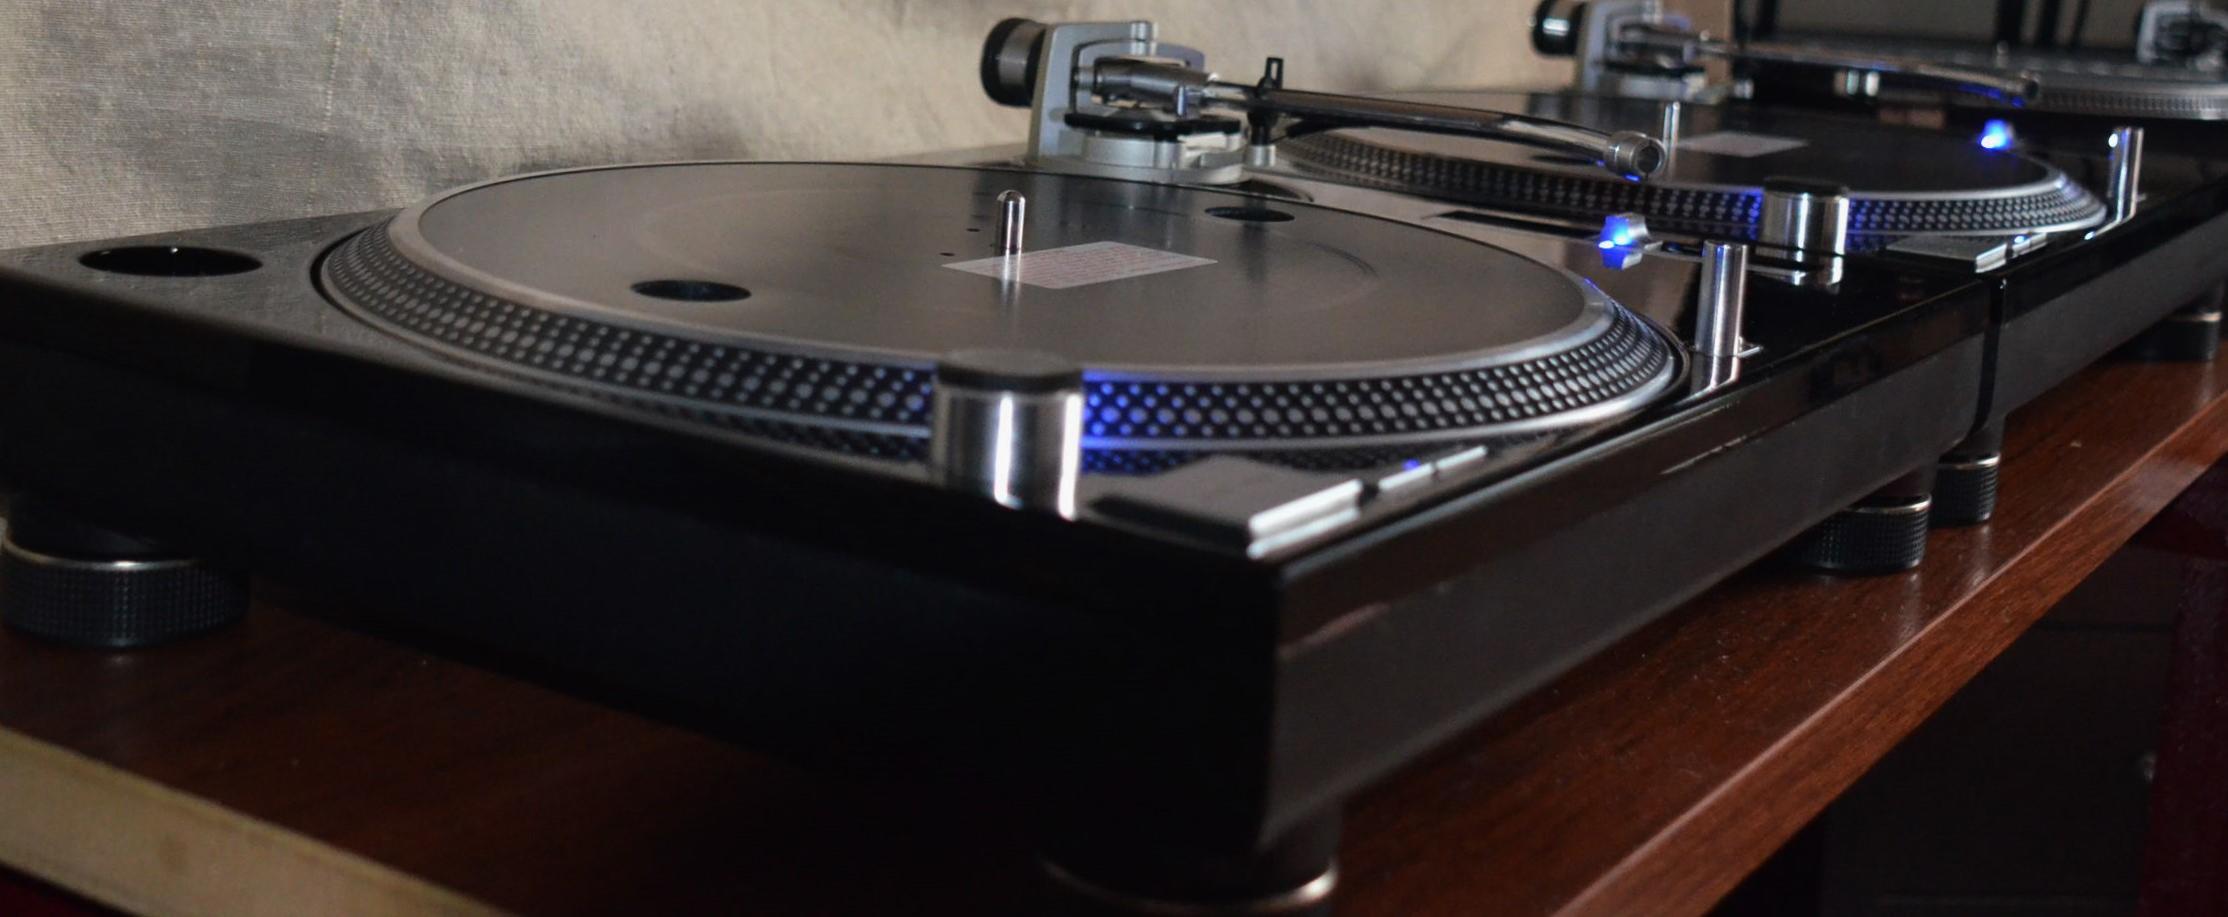
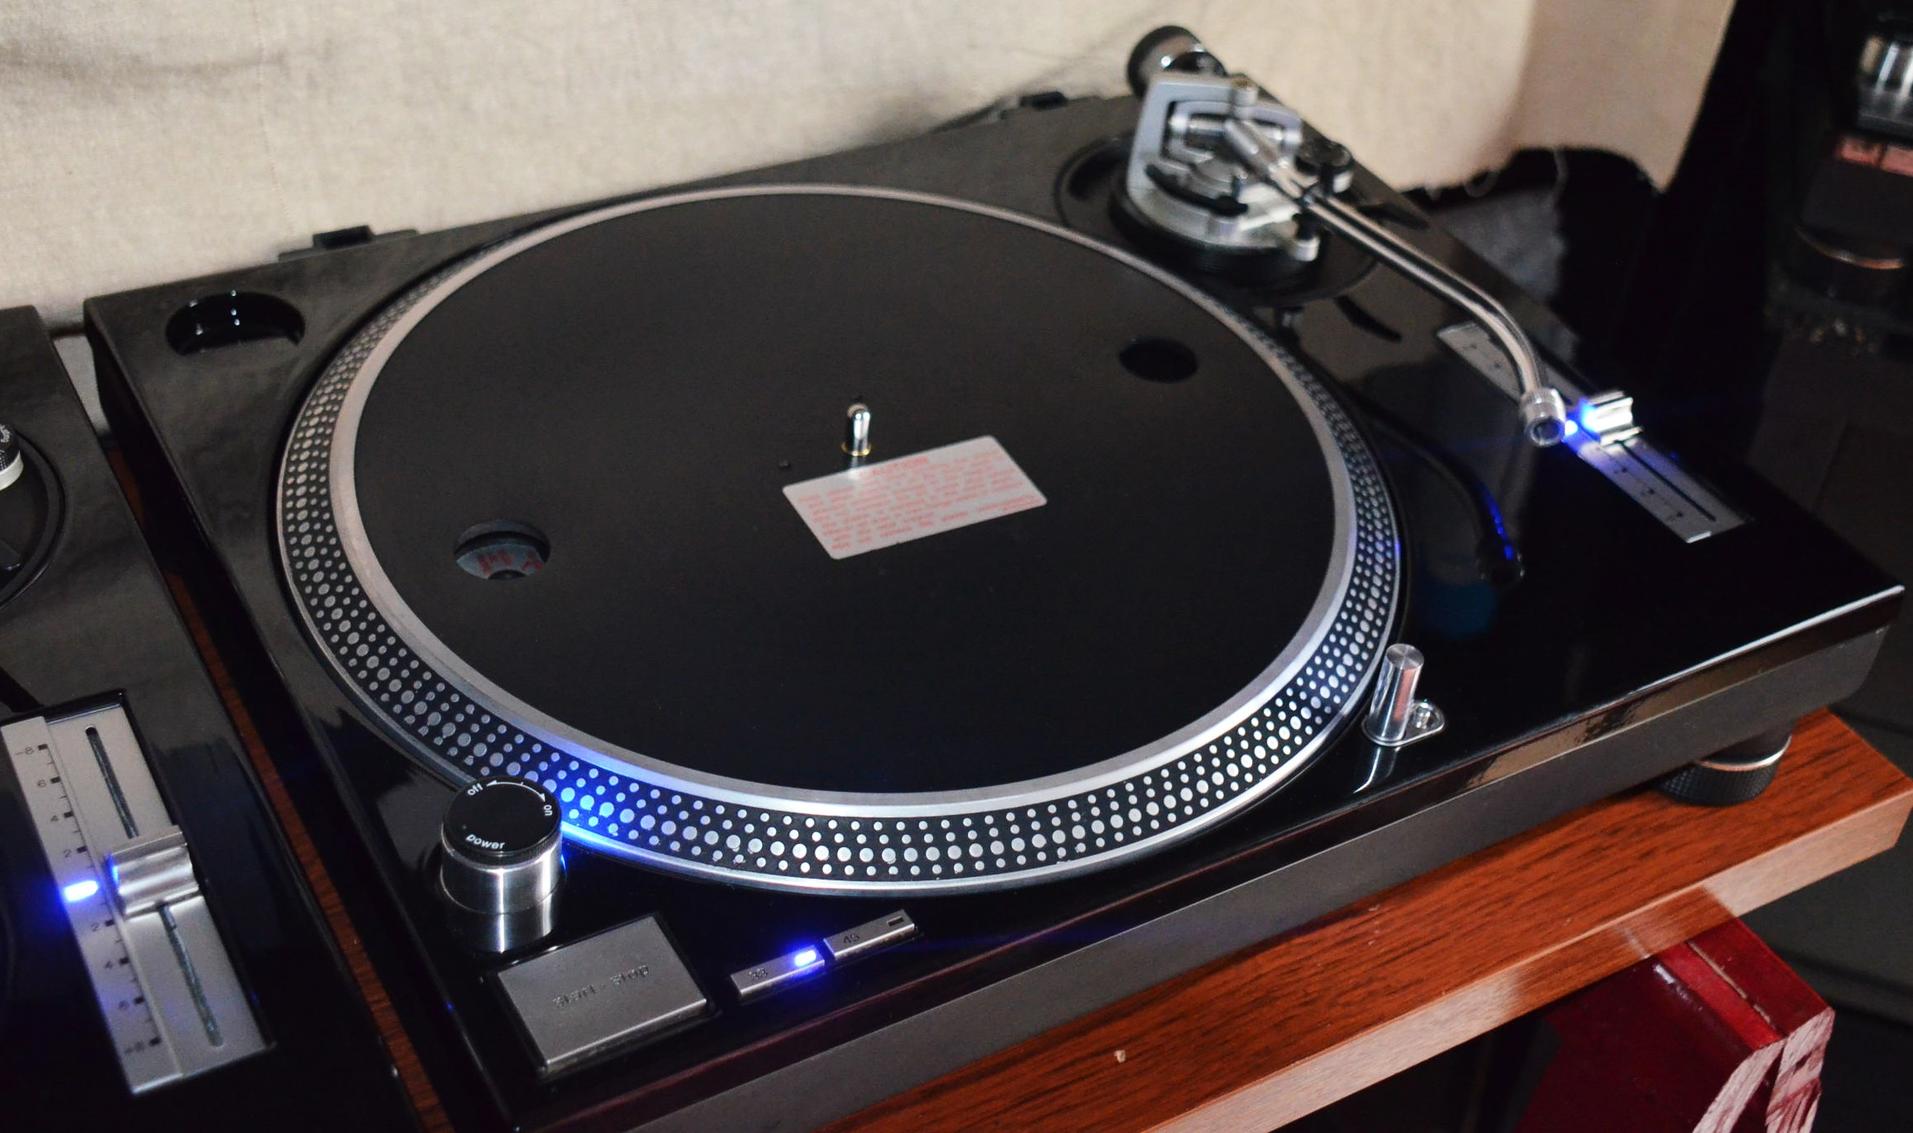
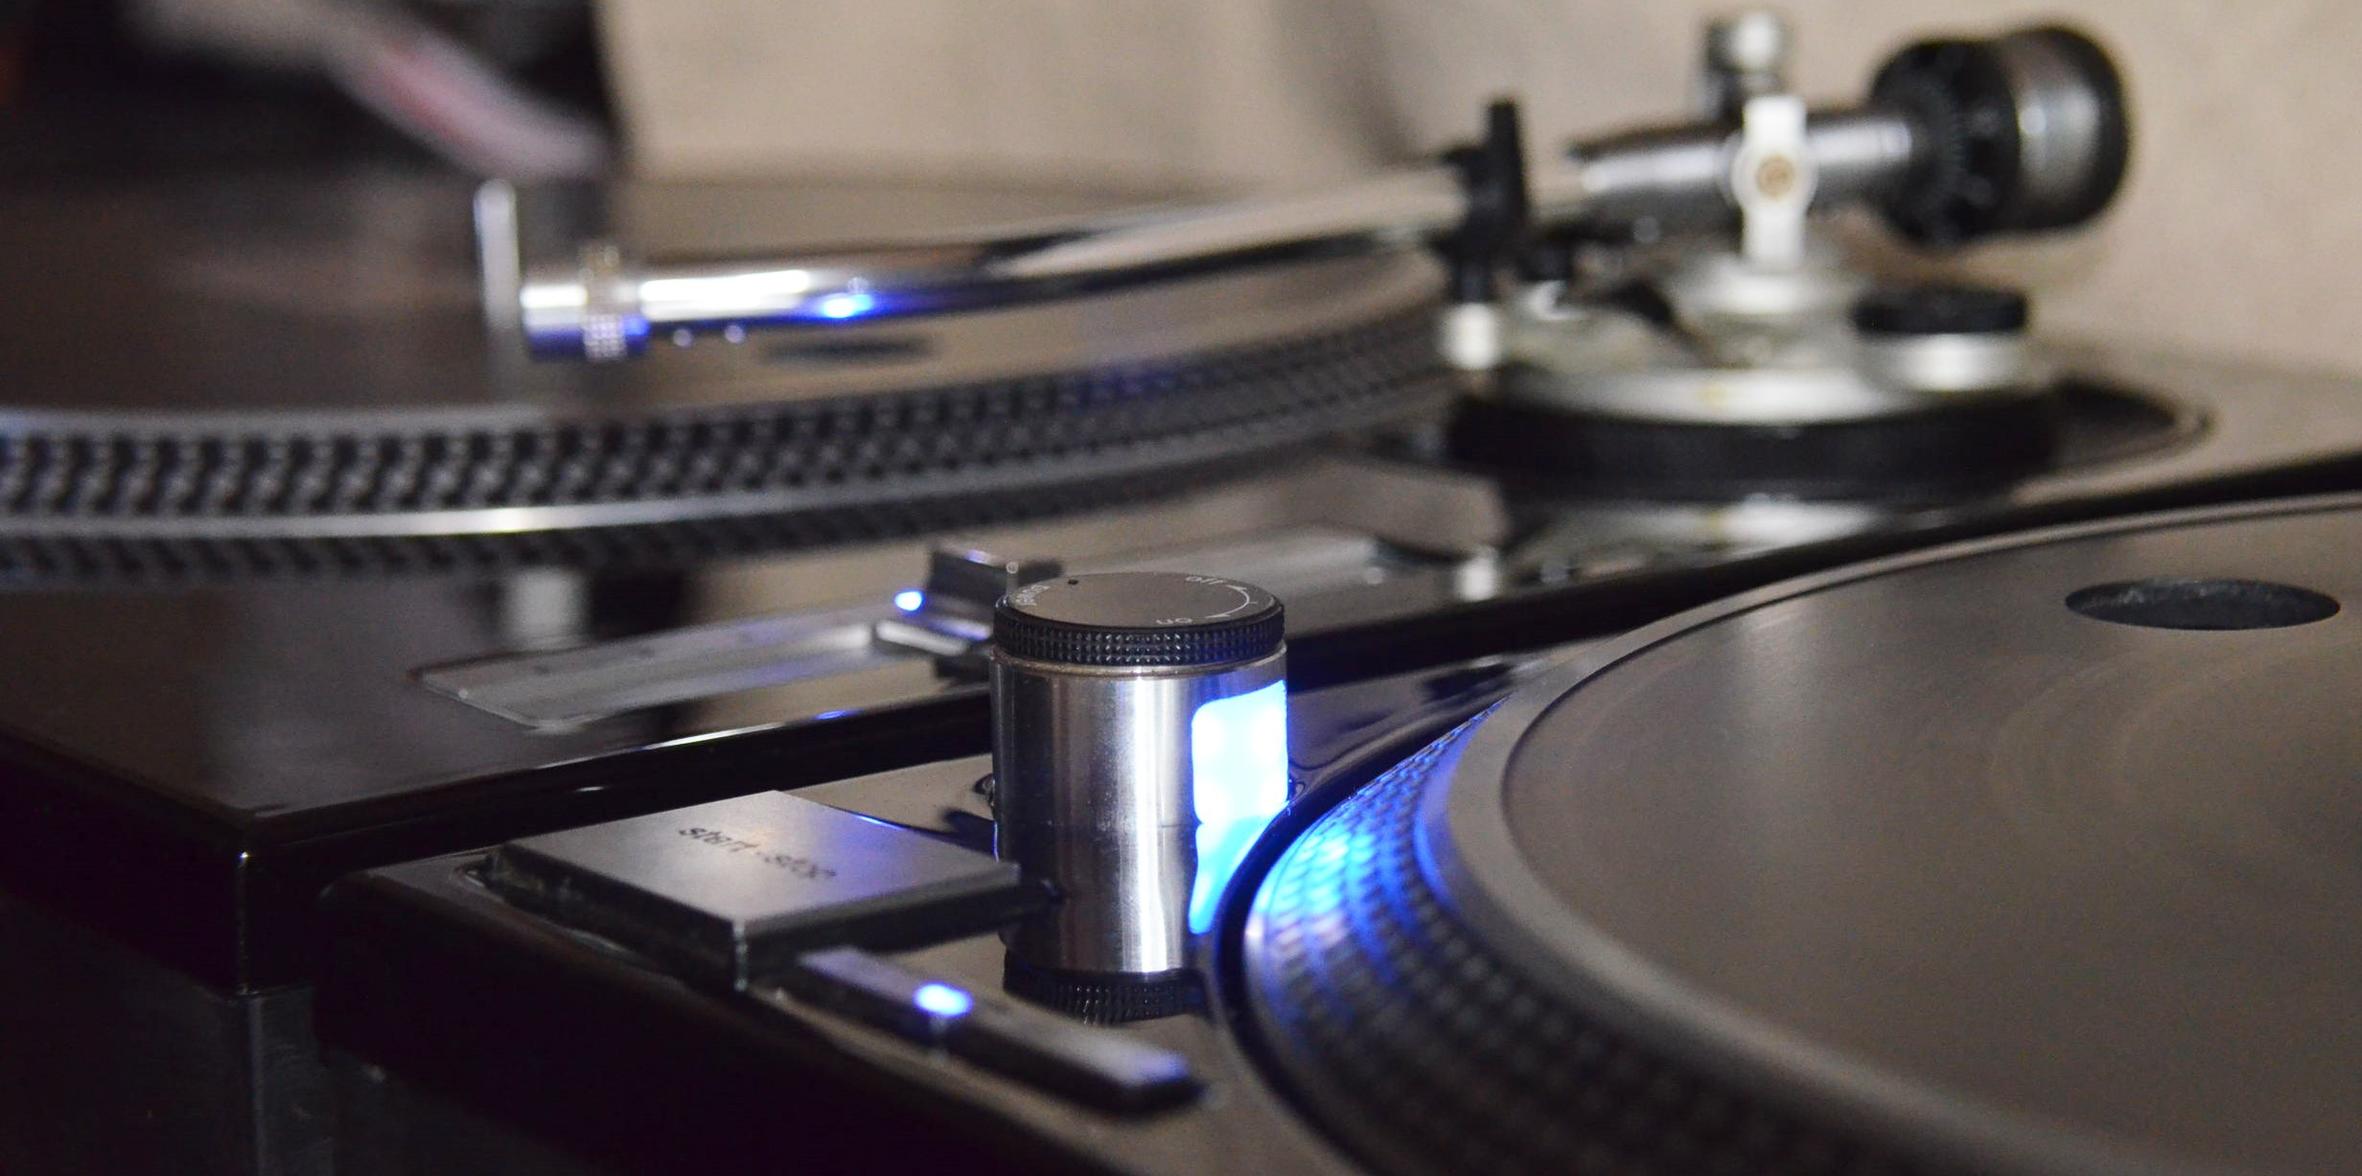
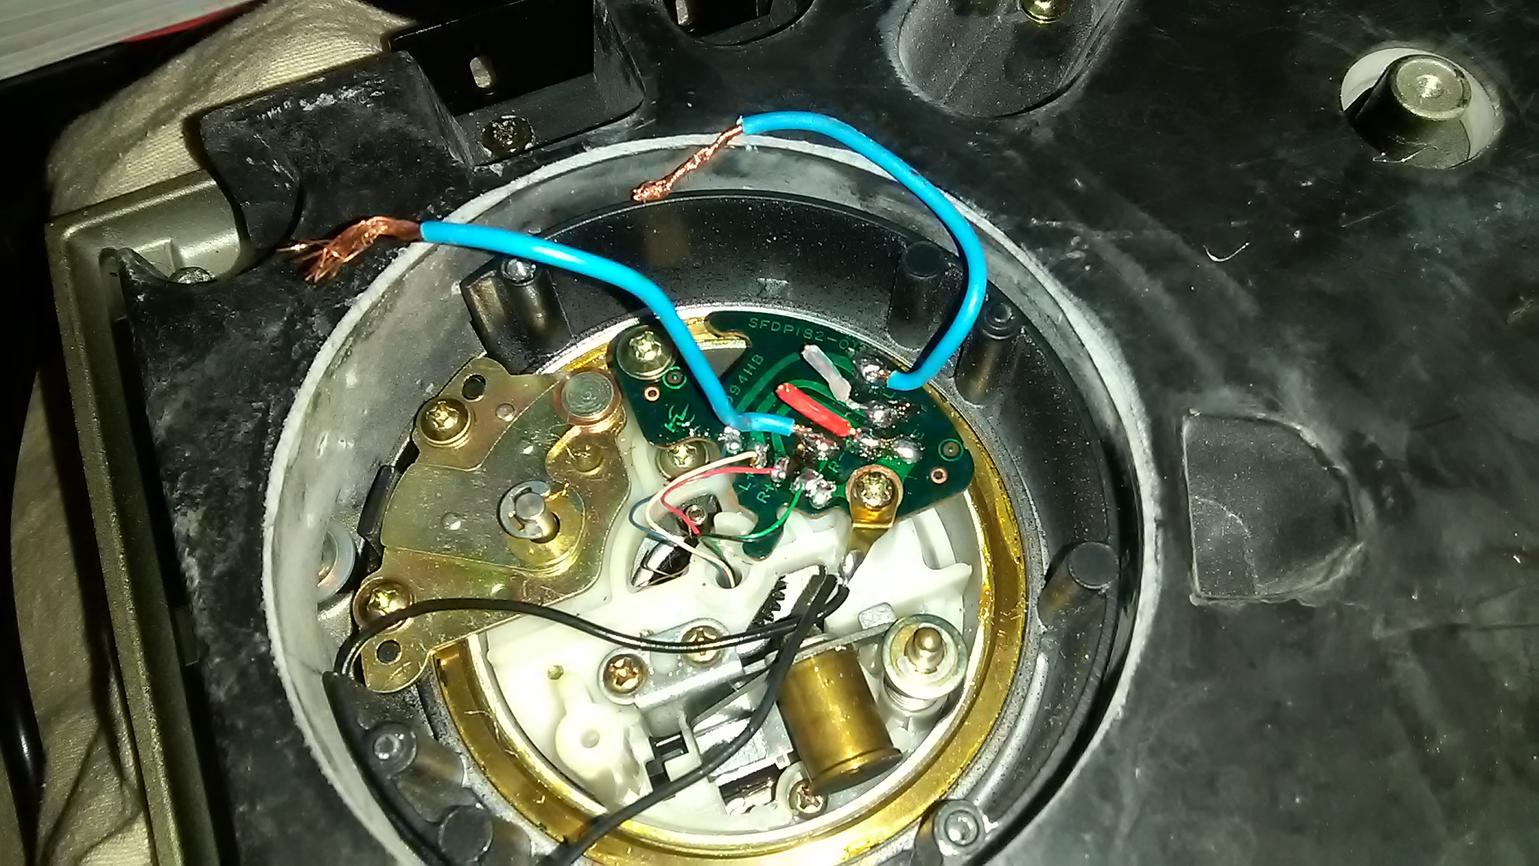
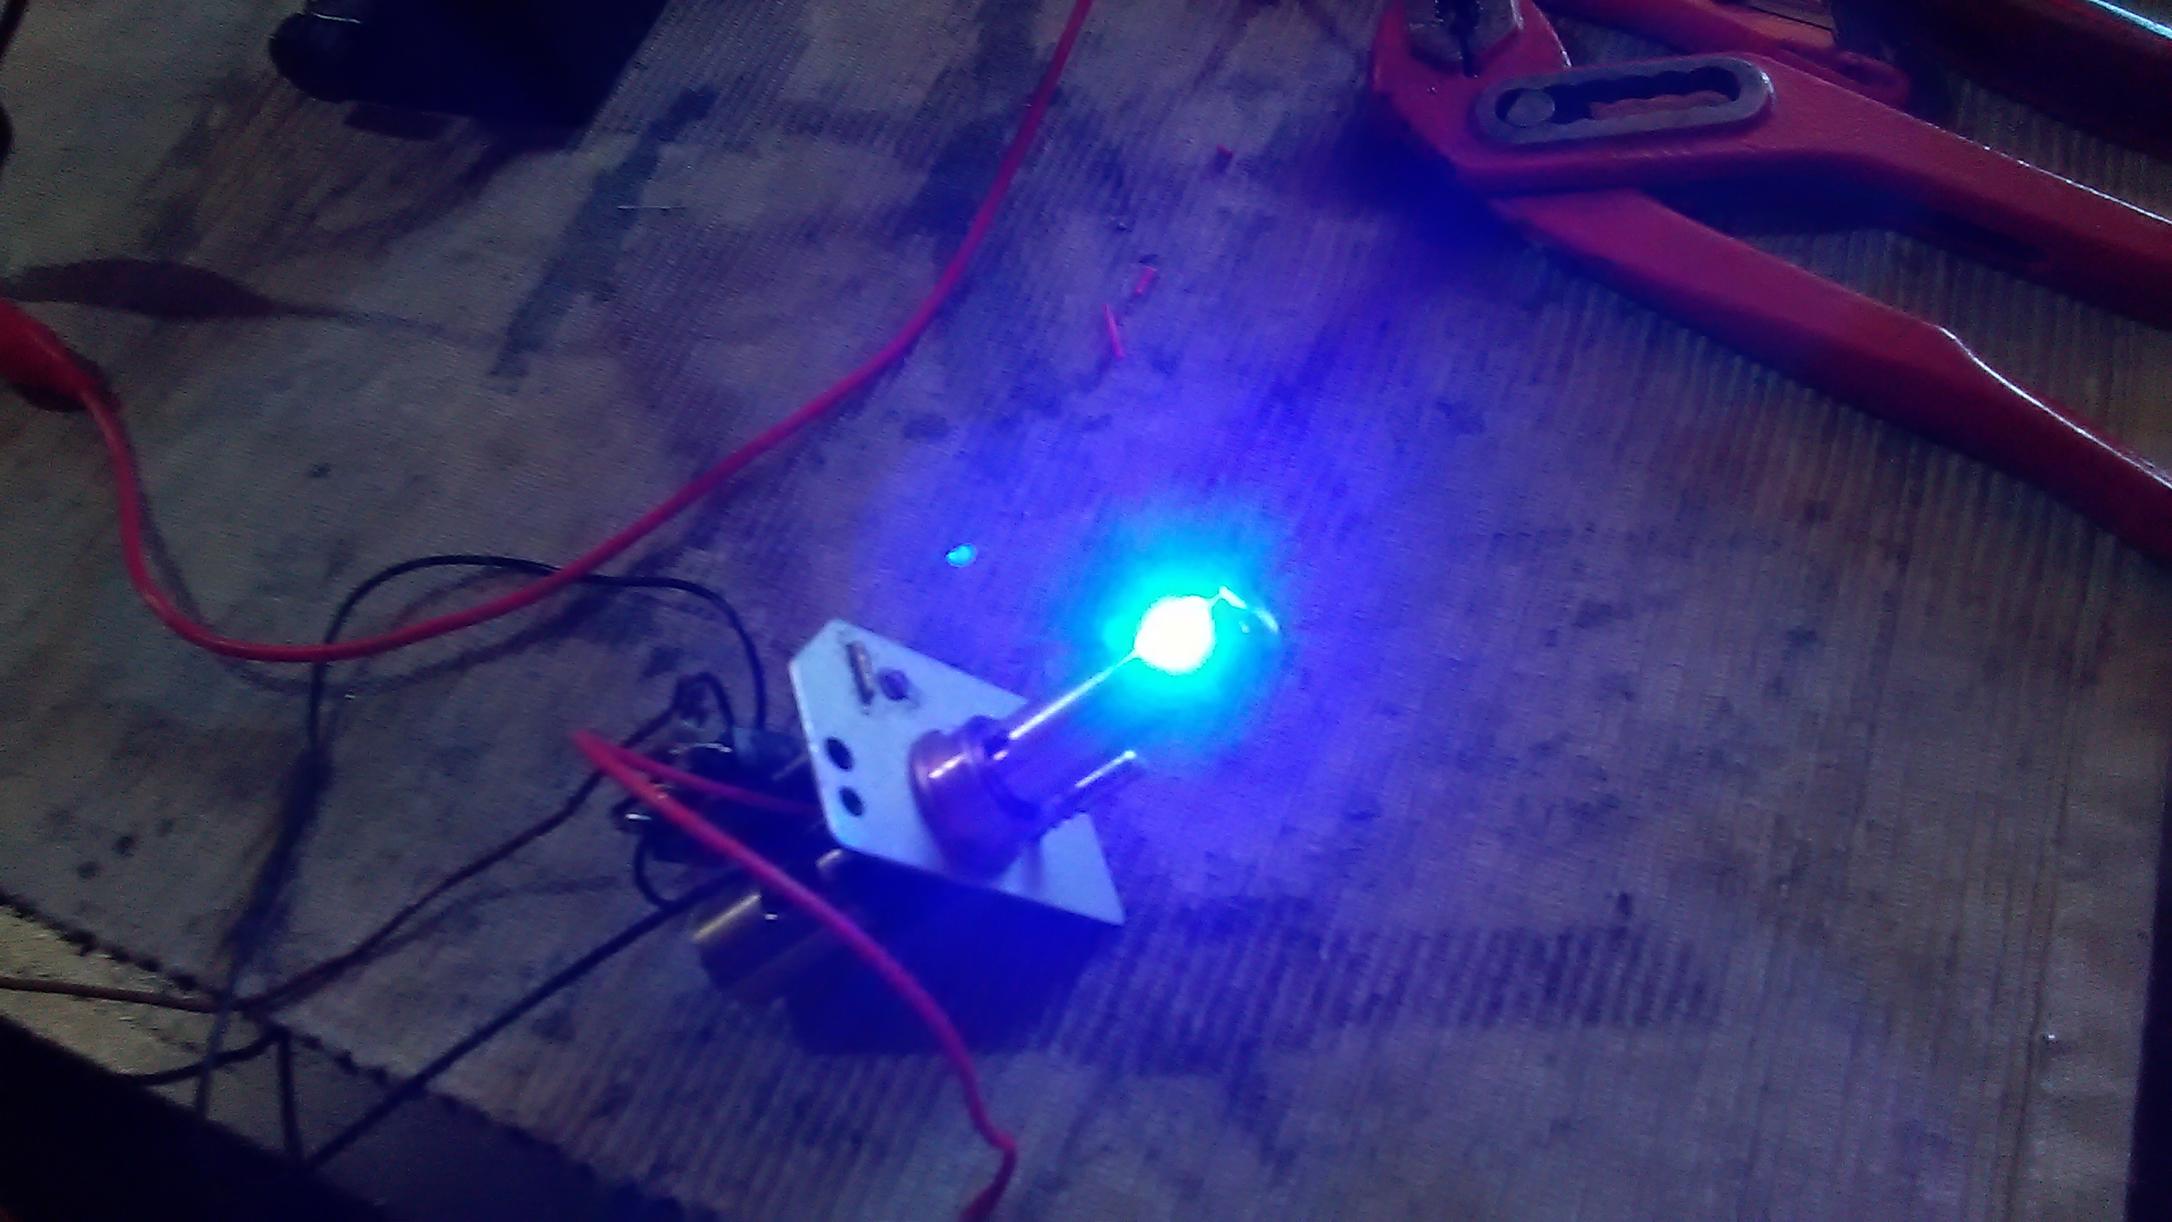
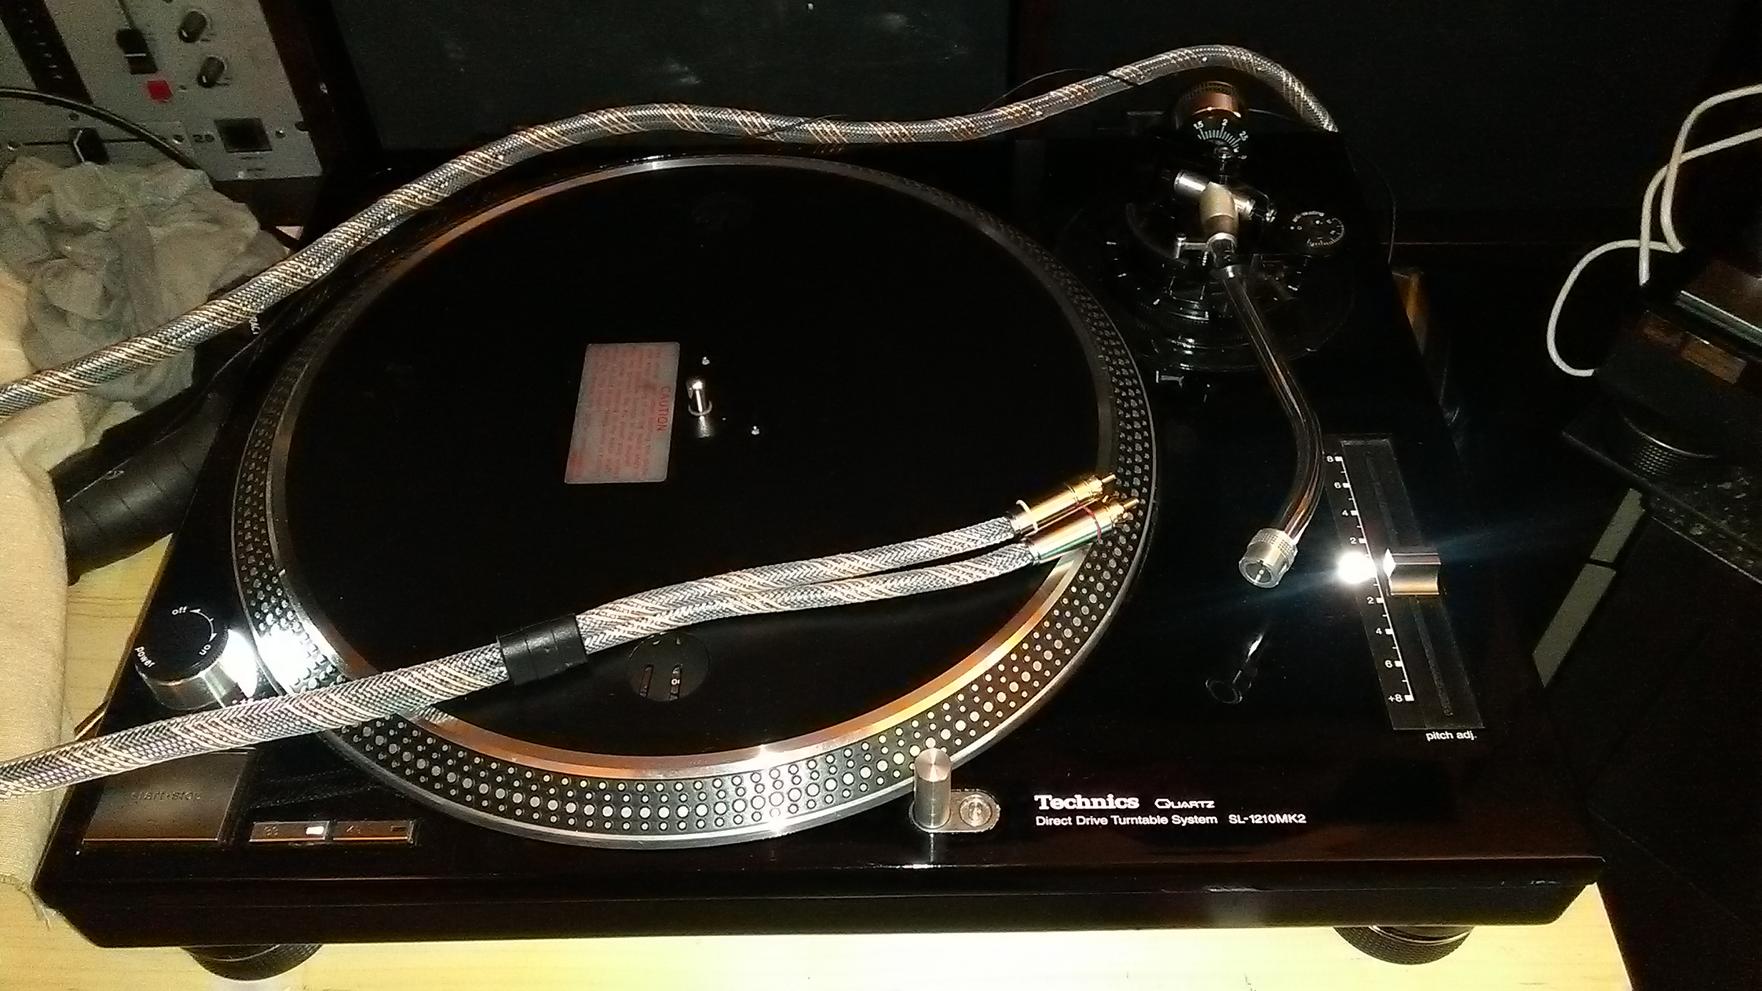
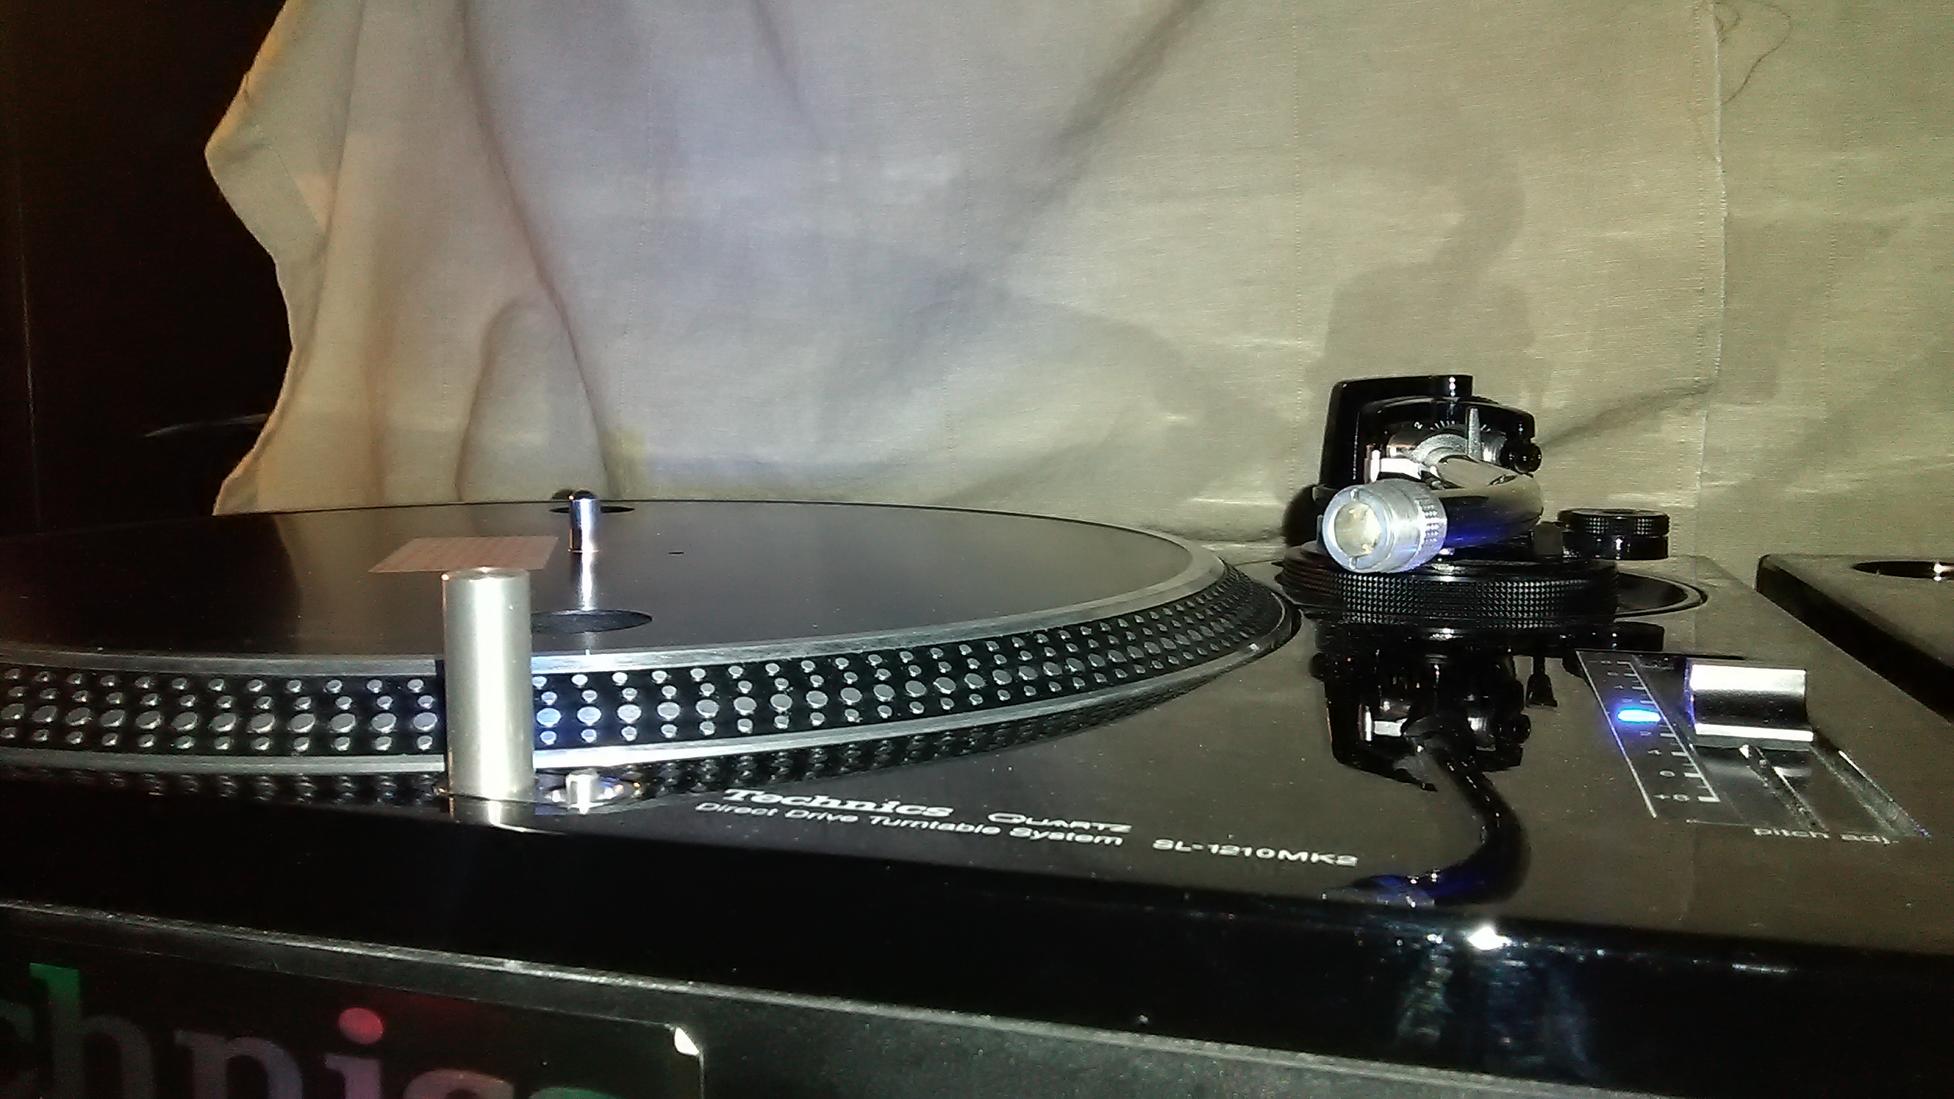
Repairing RCA butcher mess; install RCA free kit, Ac plug free kit, and changing white leds by blue leds
Reaction to “Shades of Grey”
Wow, “c’est manifique”. 2 years of high school French and that’s pretty much the extent of my knowledge.
A.